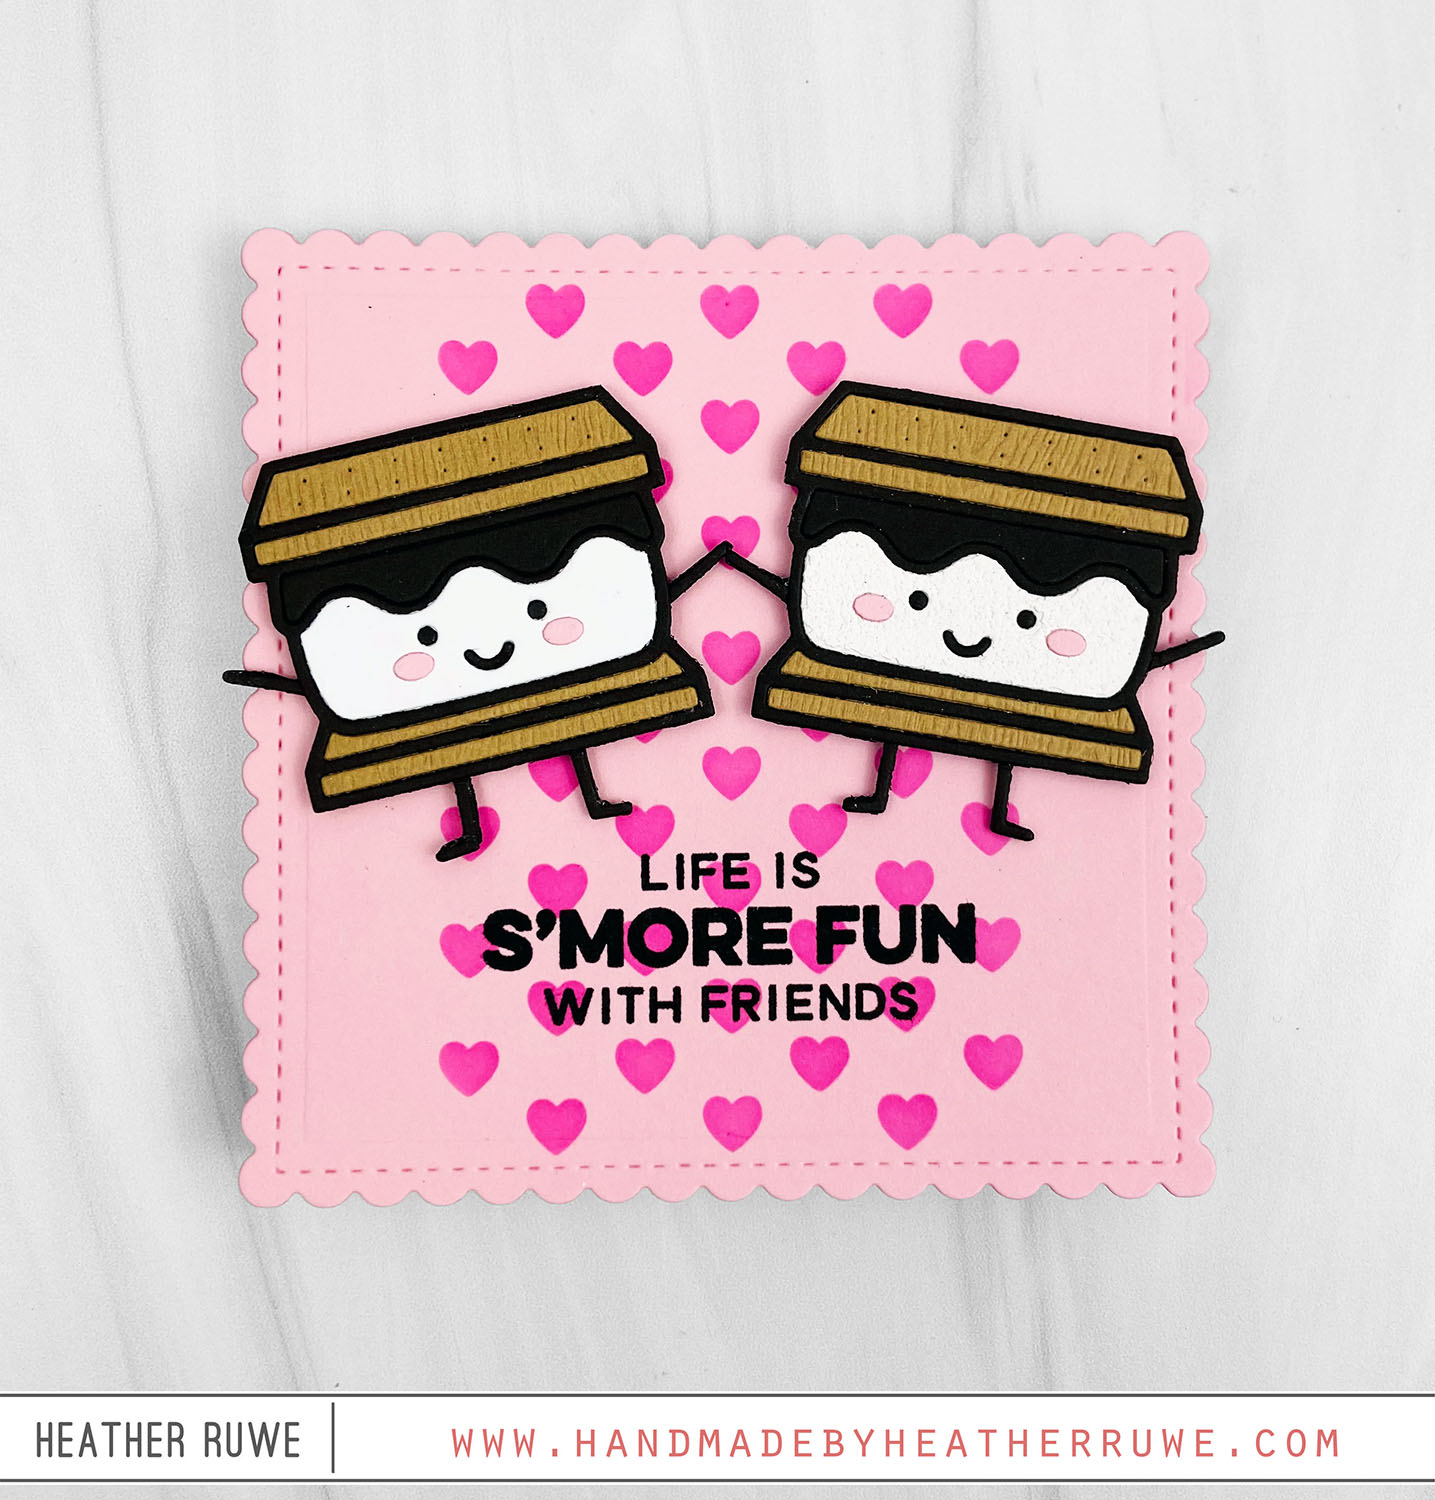
Hi, crafty friends. I’m back today with a cute shaped card… I started by creating a card base by cutting two squares from the Stitched Scallop Squares die set. On the front panel of the card, I applied ink through the heart stencil from the Simple Duo Stencil Set and stamped a sentiment from an older stamp set by My Favorite Things (Get Toasty). I die-cut the Smiley S’mores Die from several pieces of...
You’re tops in my book
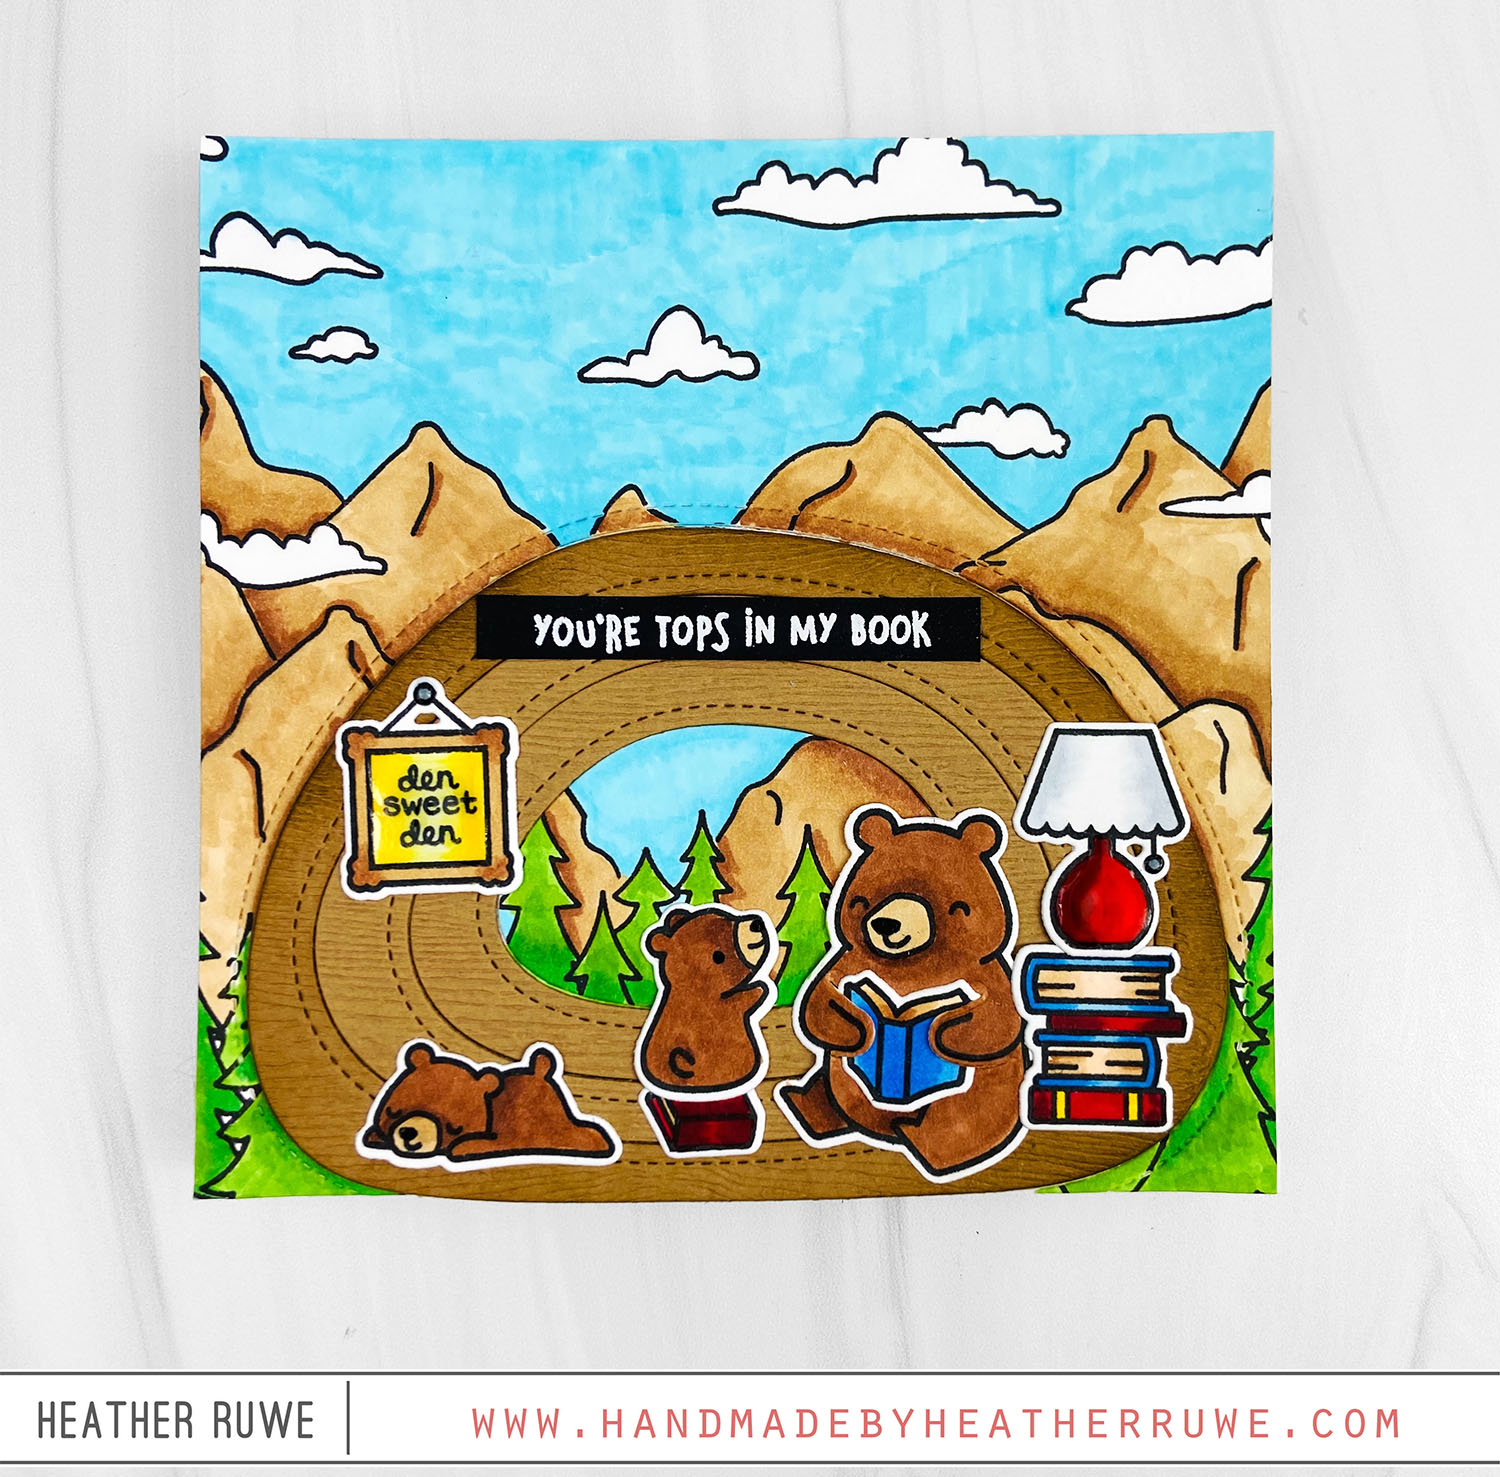
Hello, crafty friends. I’m back with a fun scene card today… I started with a 5.25 x 5.25 card panel. I stamped the Mountainscape Background and colored it with Copic Markers. I stamped and colored images from the Den Sweet Den stamp set and used the coordinating dies to cut them out. I die-cut the Stitched Den dies from the card panel and from woodgrain card stock. I layered the woodgrain pieces into the...
Interactive Birthday Card
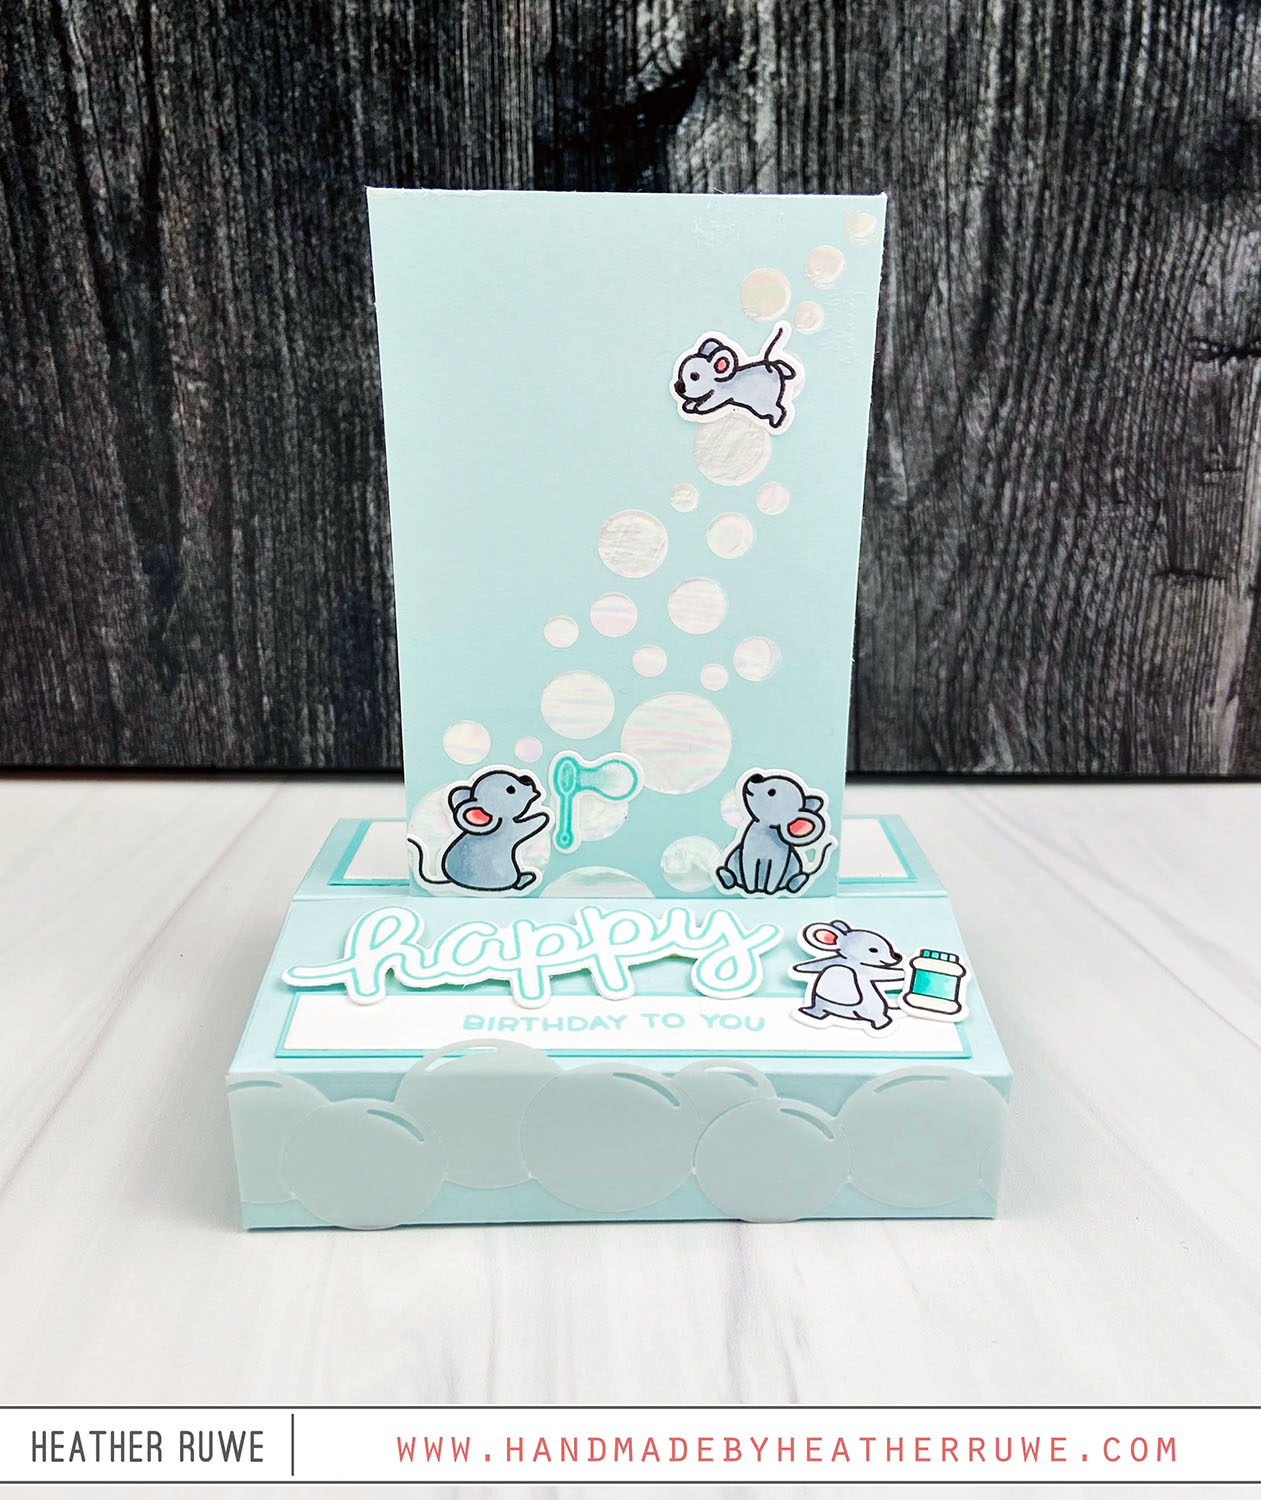
Hi, crafty friends. I’m sharing a card today featuring the new 3D Card Die Set… I started by cutting a piece of blue card stock to 2.75 x 5.25 to create the reveal panel. I applied the Blanco transfer gel through the Fading Circles stencil on the panel. I chose to use the Blanco transfer gel because I was applying it on top of colored card stock. After it was completely dry, I laid...
Cards for Hospital Heroes
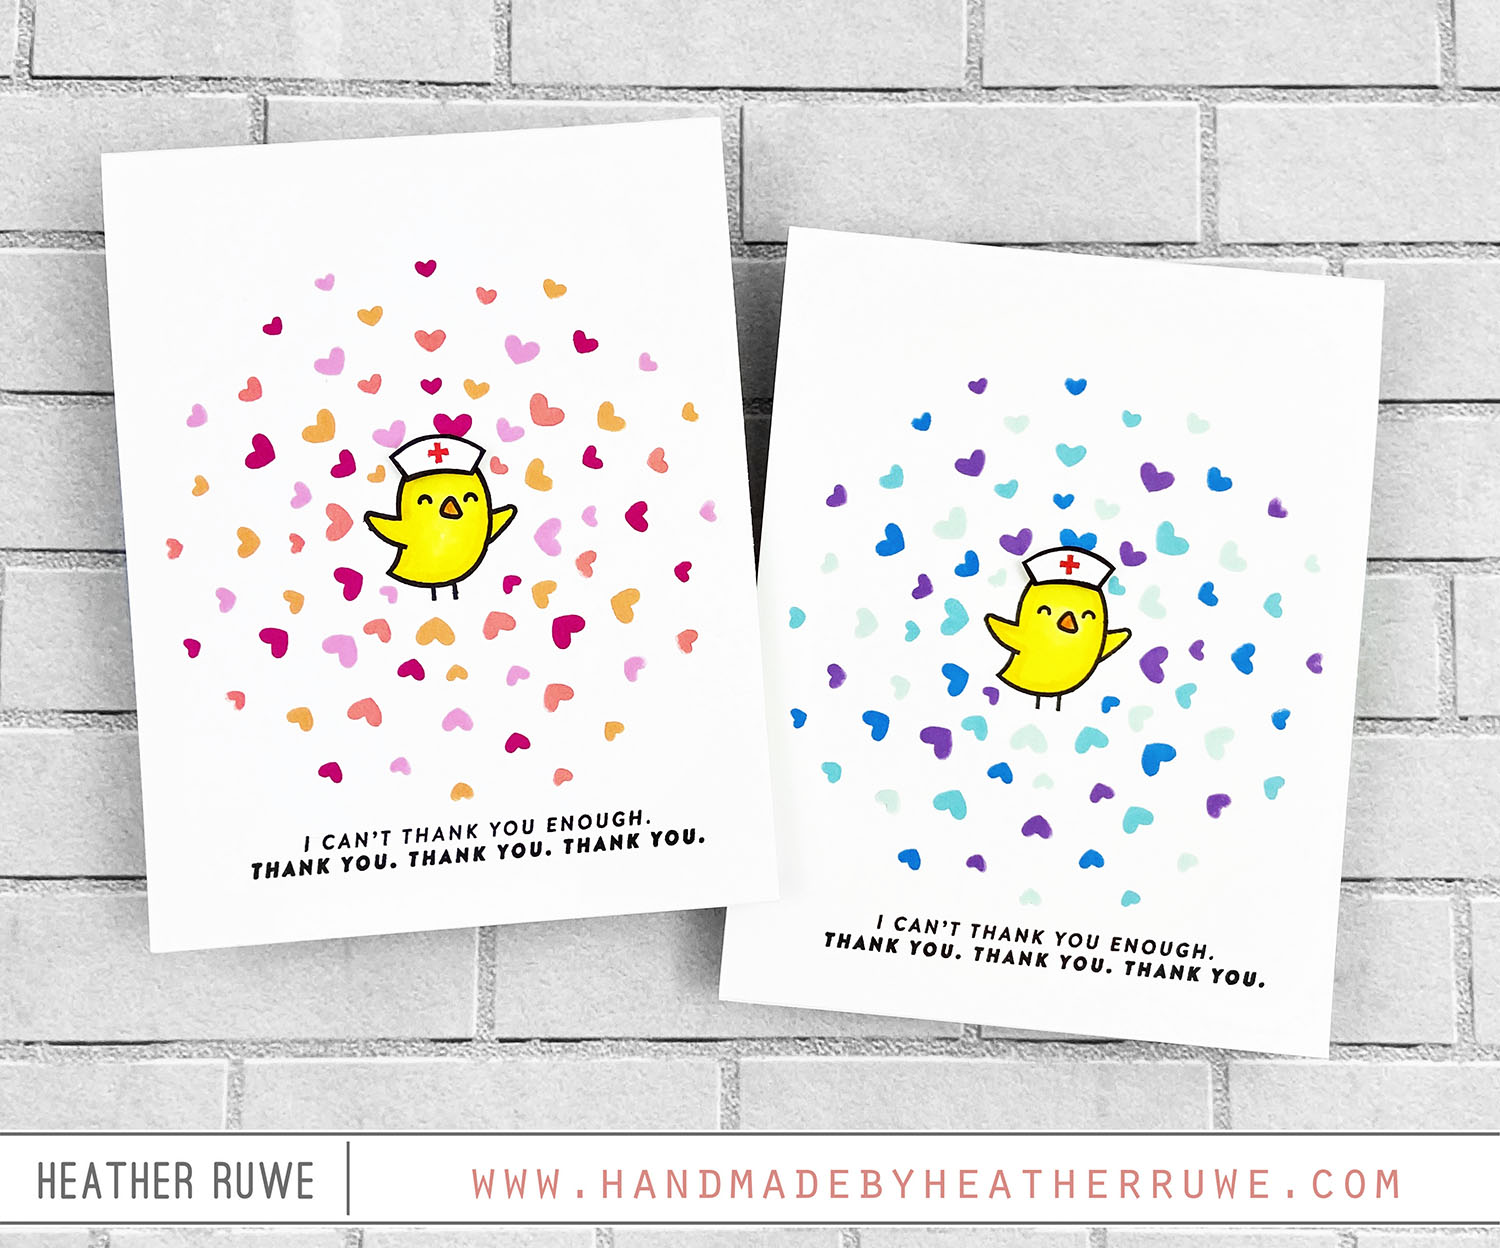
Hi, crafty friends. I hope you are doing well and staying safe. I wanted to create some cards for my sister-in-law and her fellow team of nurses at our local hospital. They are NICU nurses that hold a special place in my heart as they helped my son when he was a newborn. He was in the NICU for ten days after he was born. It was such a scary time and they took...
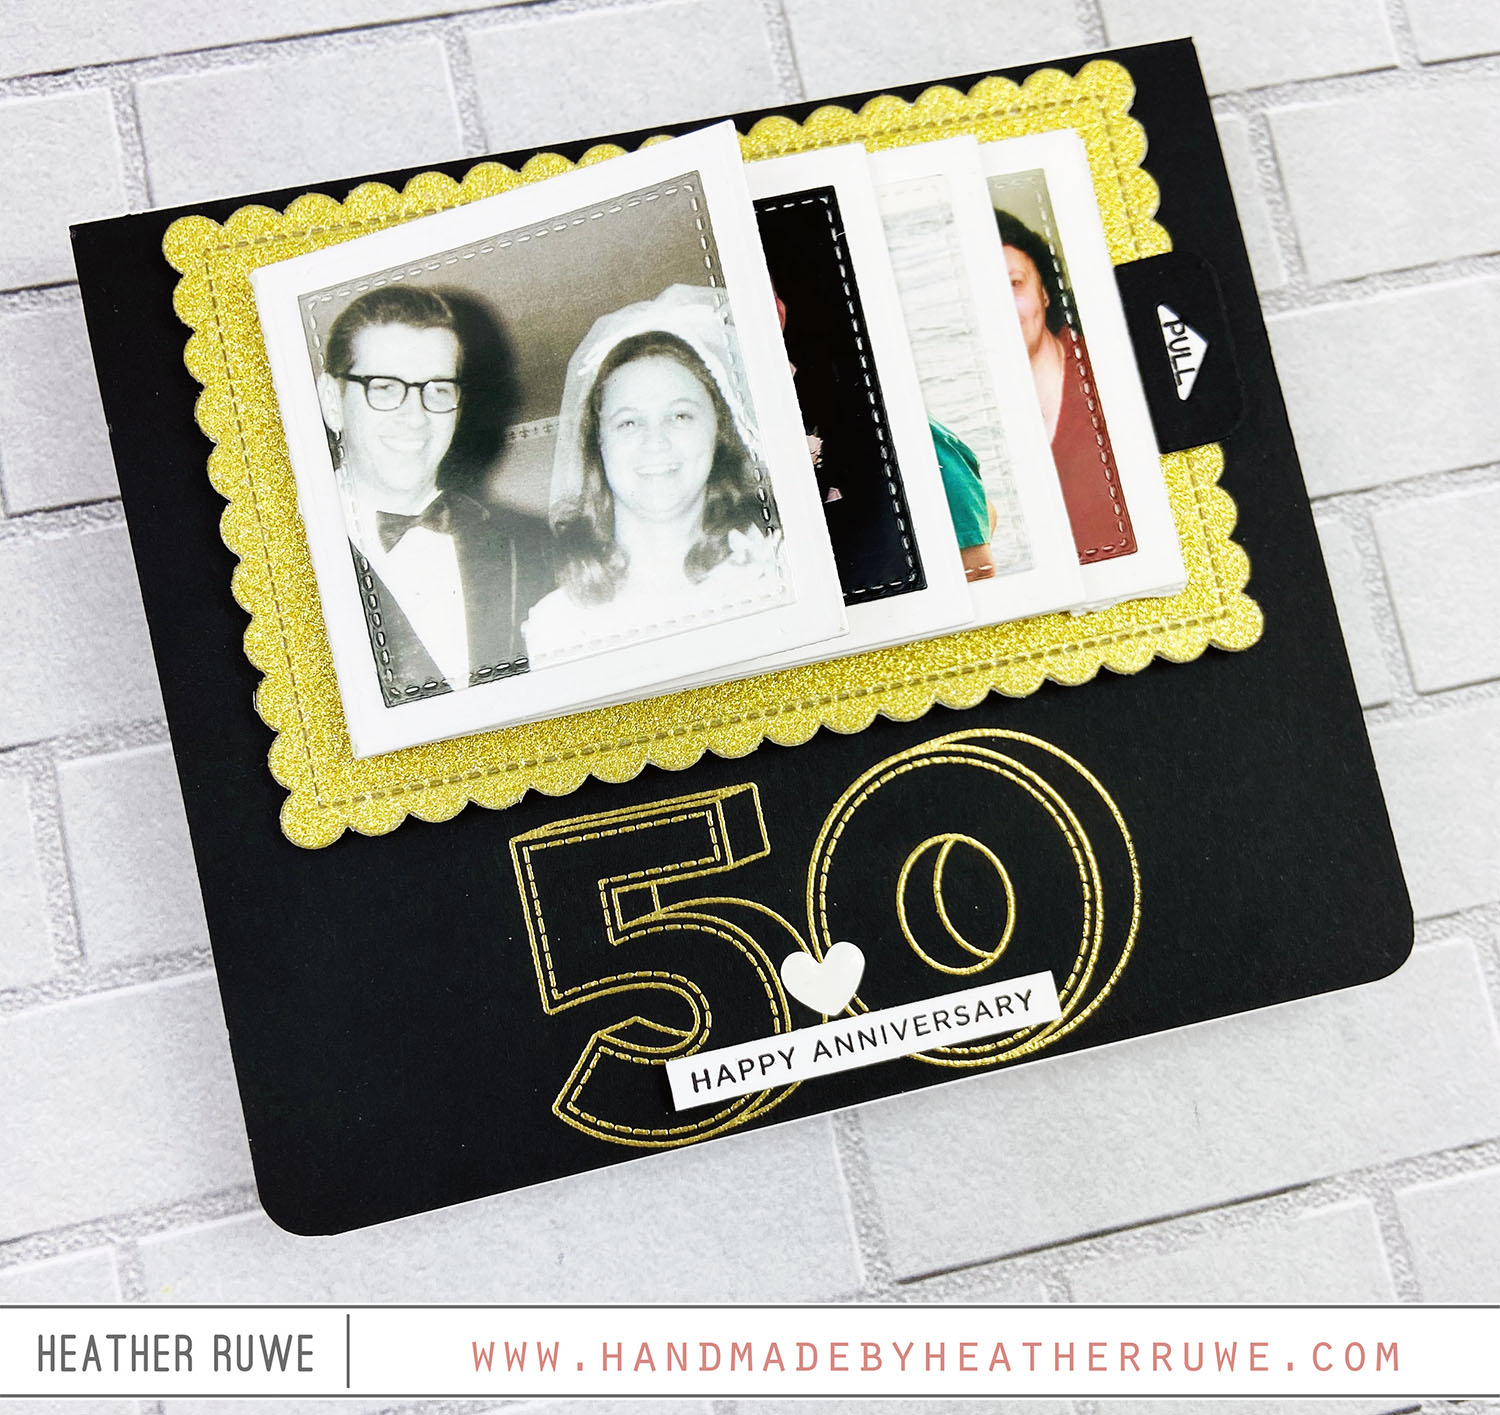
Interactive Anniversary Card with Photos
Howdy, crafty friends. Recently, my parents celebrated their 50th wedding anniversary and I thought I would share the card I created for them… I started by creating the interactive element with THIS die. I die-cut the largest die from the set and reinforced the score lines in both directions. I die-cut the solid square panel and adhered one to the bottom of the die and right next to each score line. I tucked the...
Simon Says Wednesday Challenge: Interactive Christmas Cards
Hi there, crafty friends. I’m thrilled to be a December guest over HERE on the Simon Says Stamp Wednesday Challenge Blog. This week’s challenge is Interactive Christmas cards showcasing Lawn Fawn products… For both cards, I used THIS die to create a flip-book style interactive card. I watched THIS video by Kelly Marie (the owner of Lawn Fawn) when assembling the interactive elements. I have a lot of interactive dies and this one was...
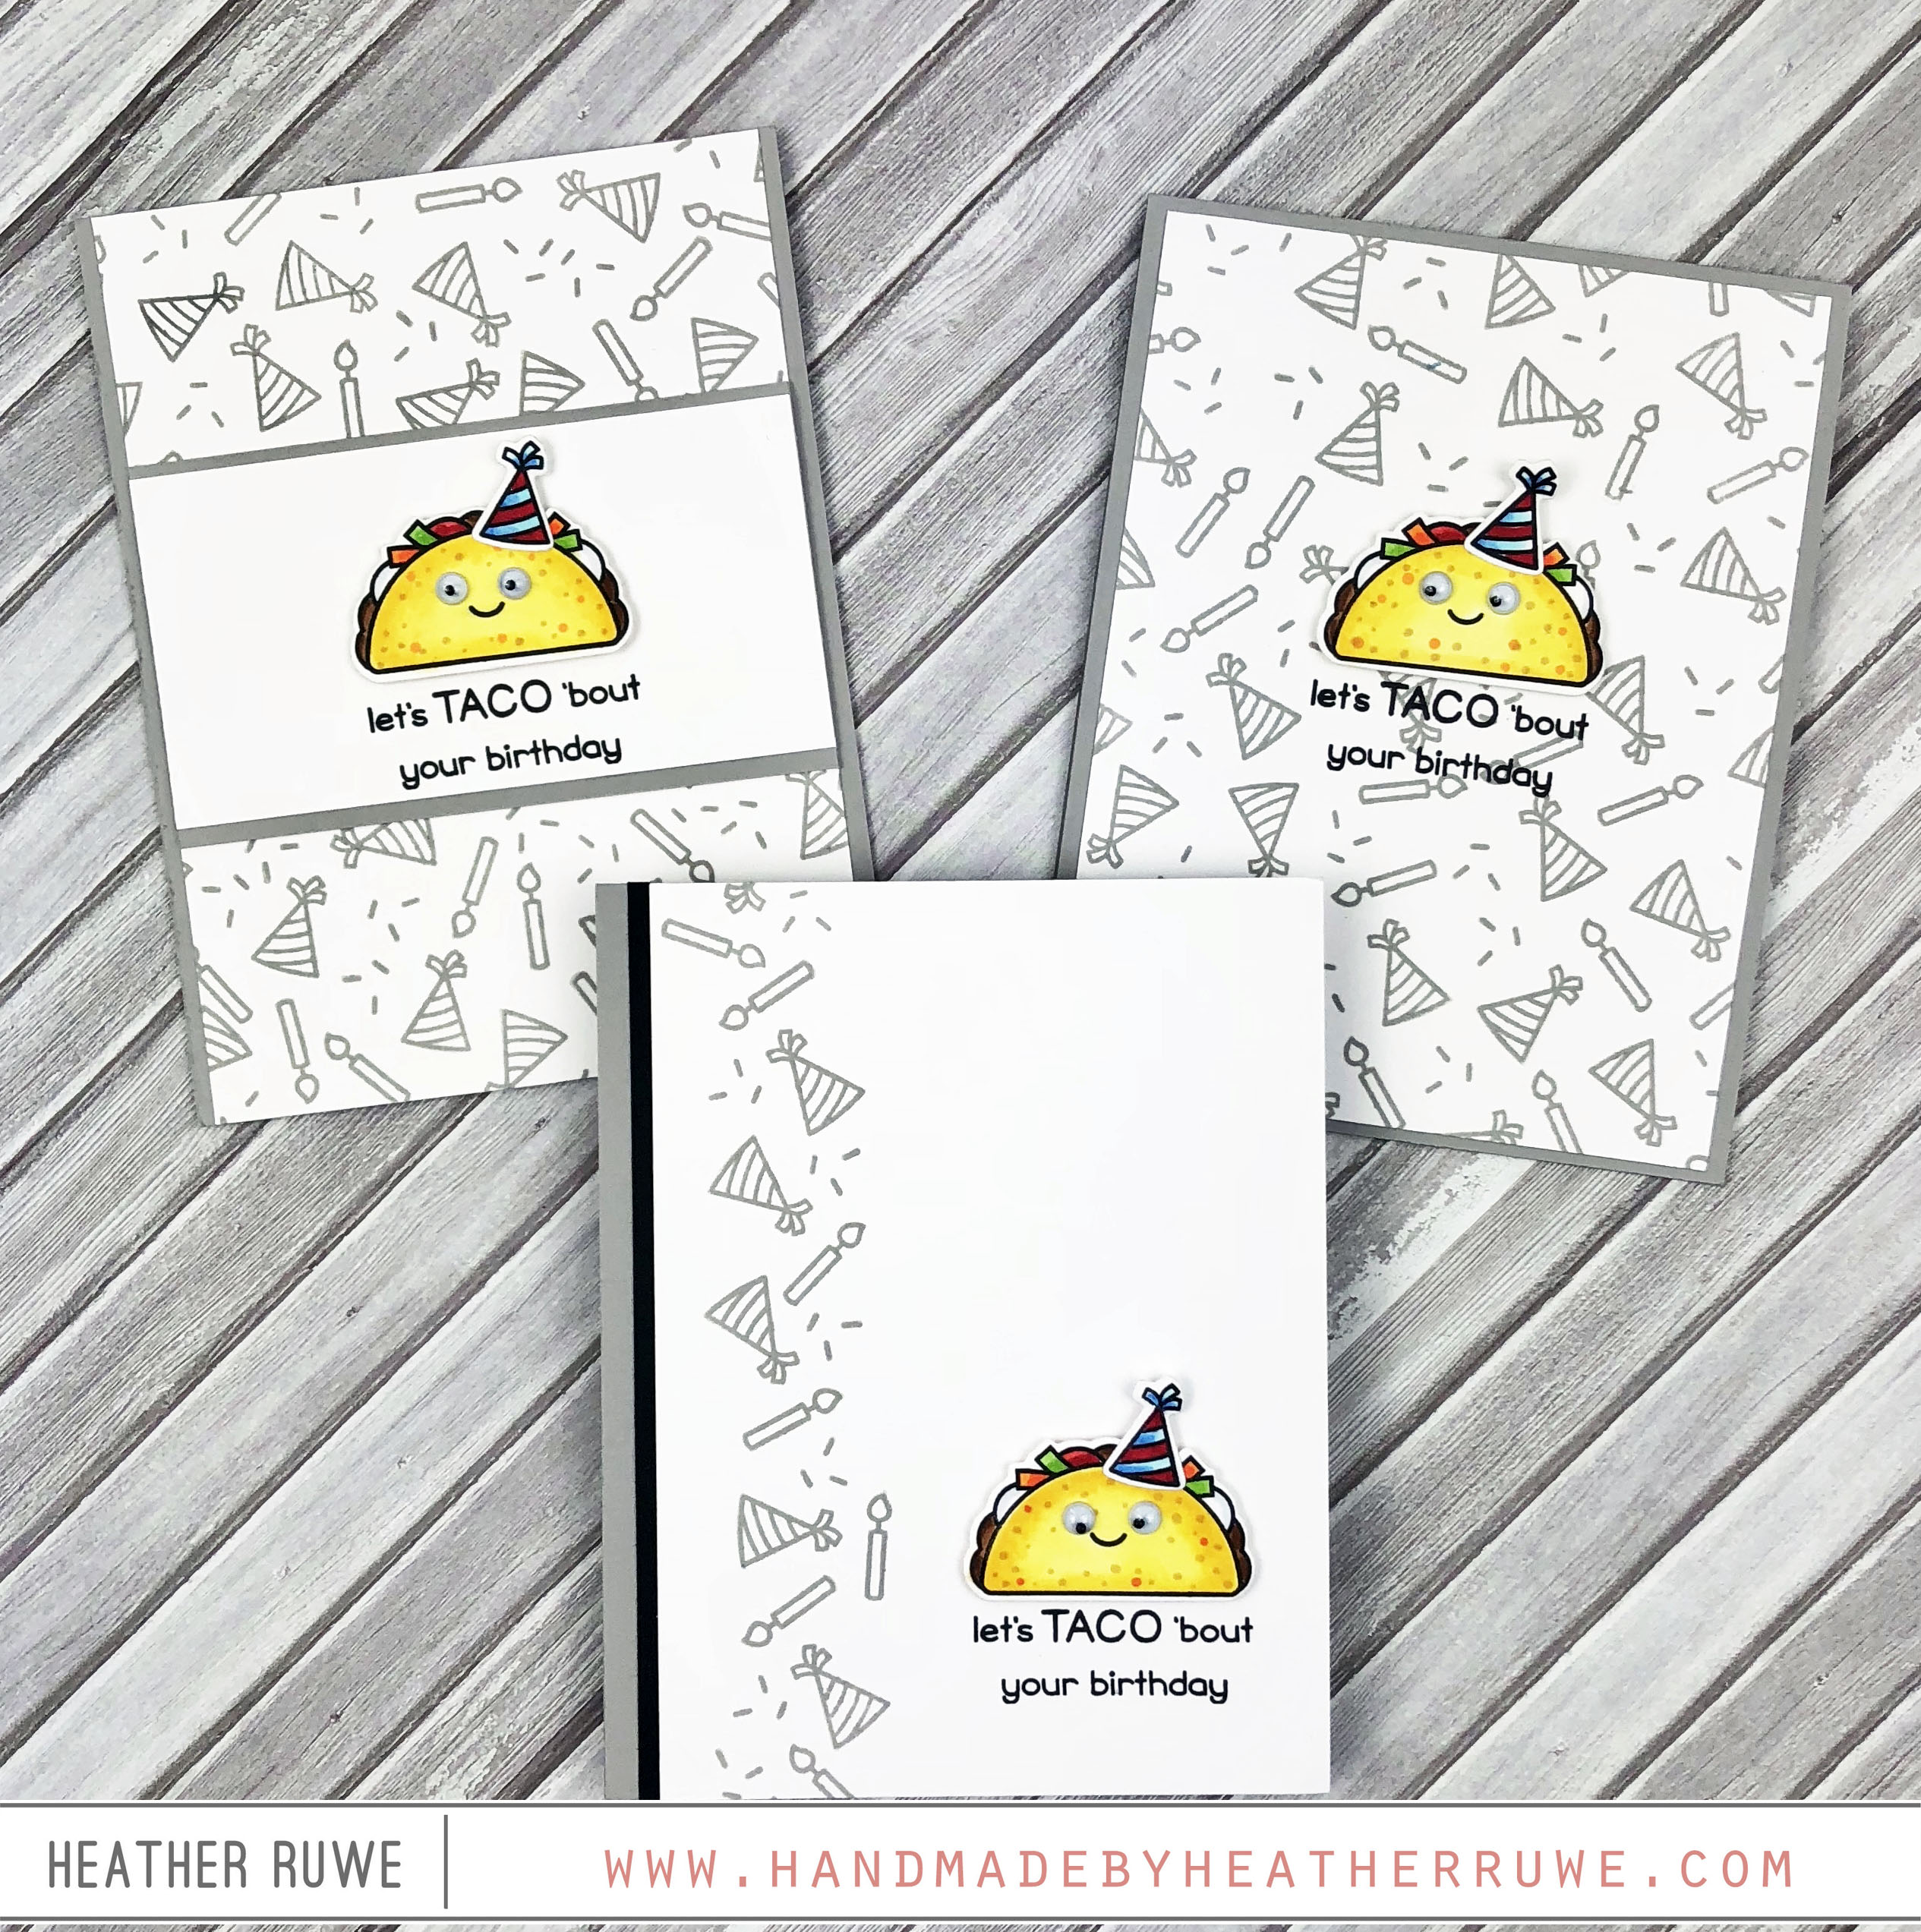
Taco Birthday Cards
Hi there, crafty friends. Today’s card share is just for fun. I couldn’t help but make some birthday cards with THIS cute stamp set from Lawn Fawn… I started by stamping and coloring the taco images. I used THIS coordinating die to cut out the images. I created three backgrounds using the smaller images in the stamp set. Here’s a closer look at each card… I added a party hat to each taco as...
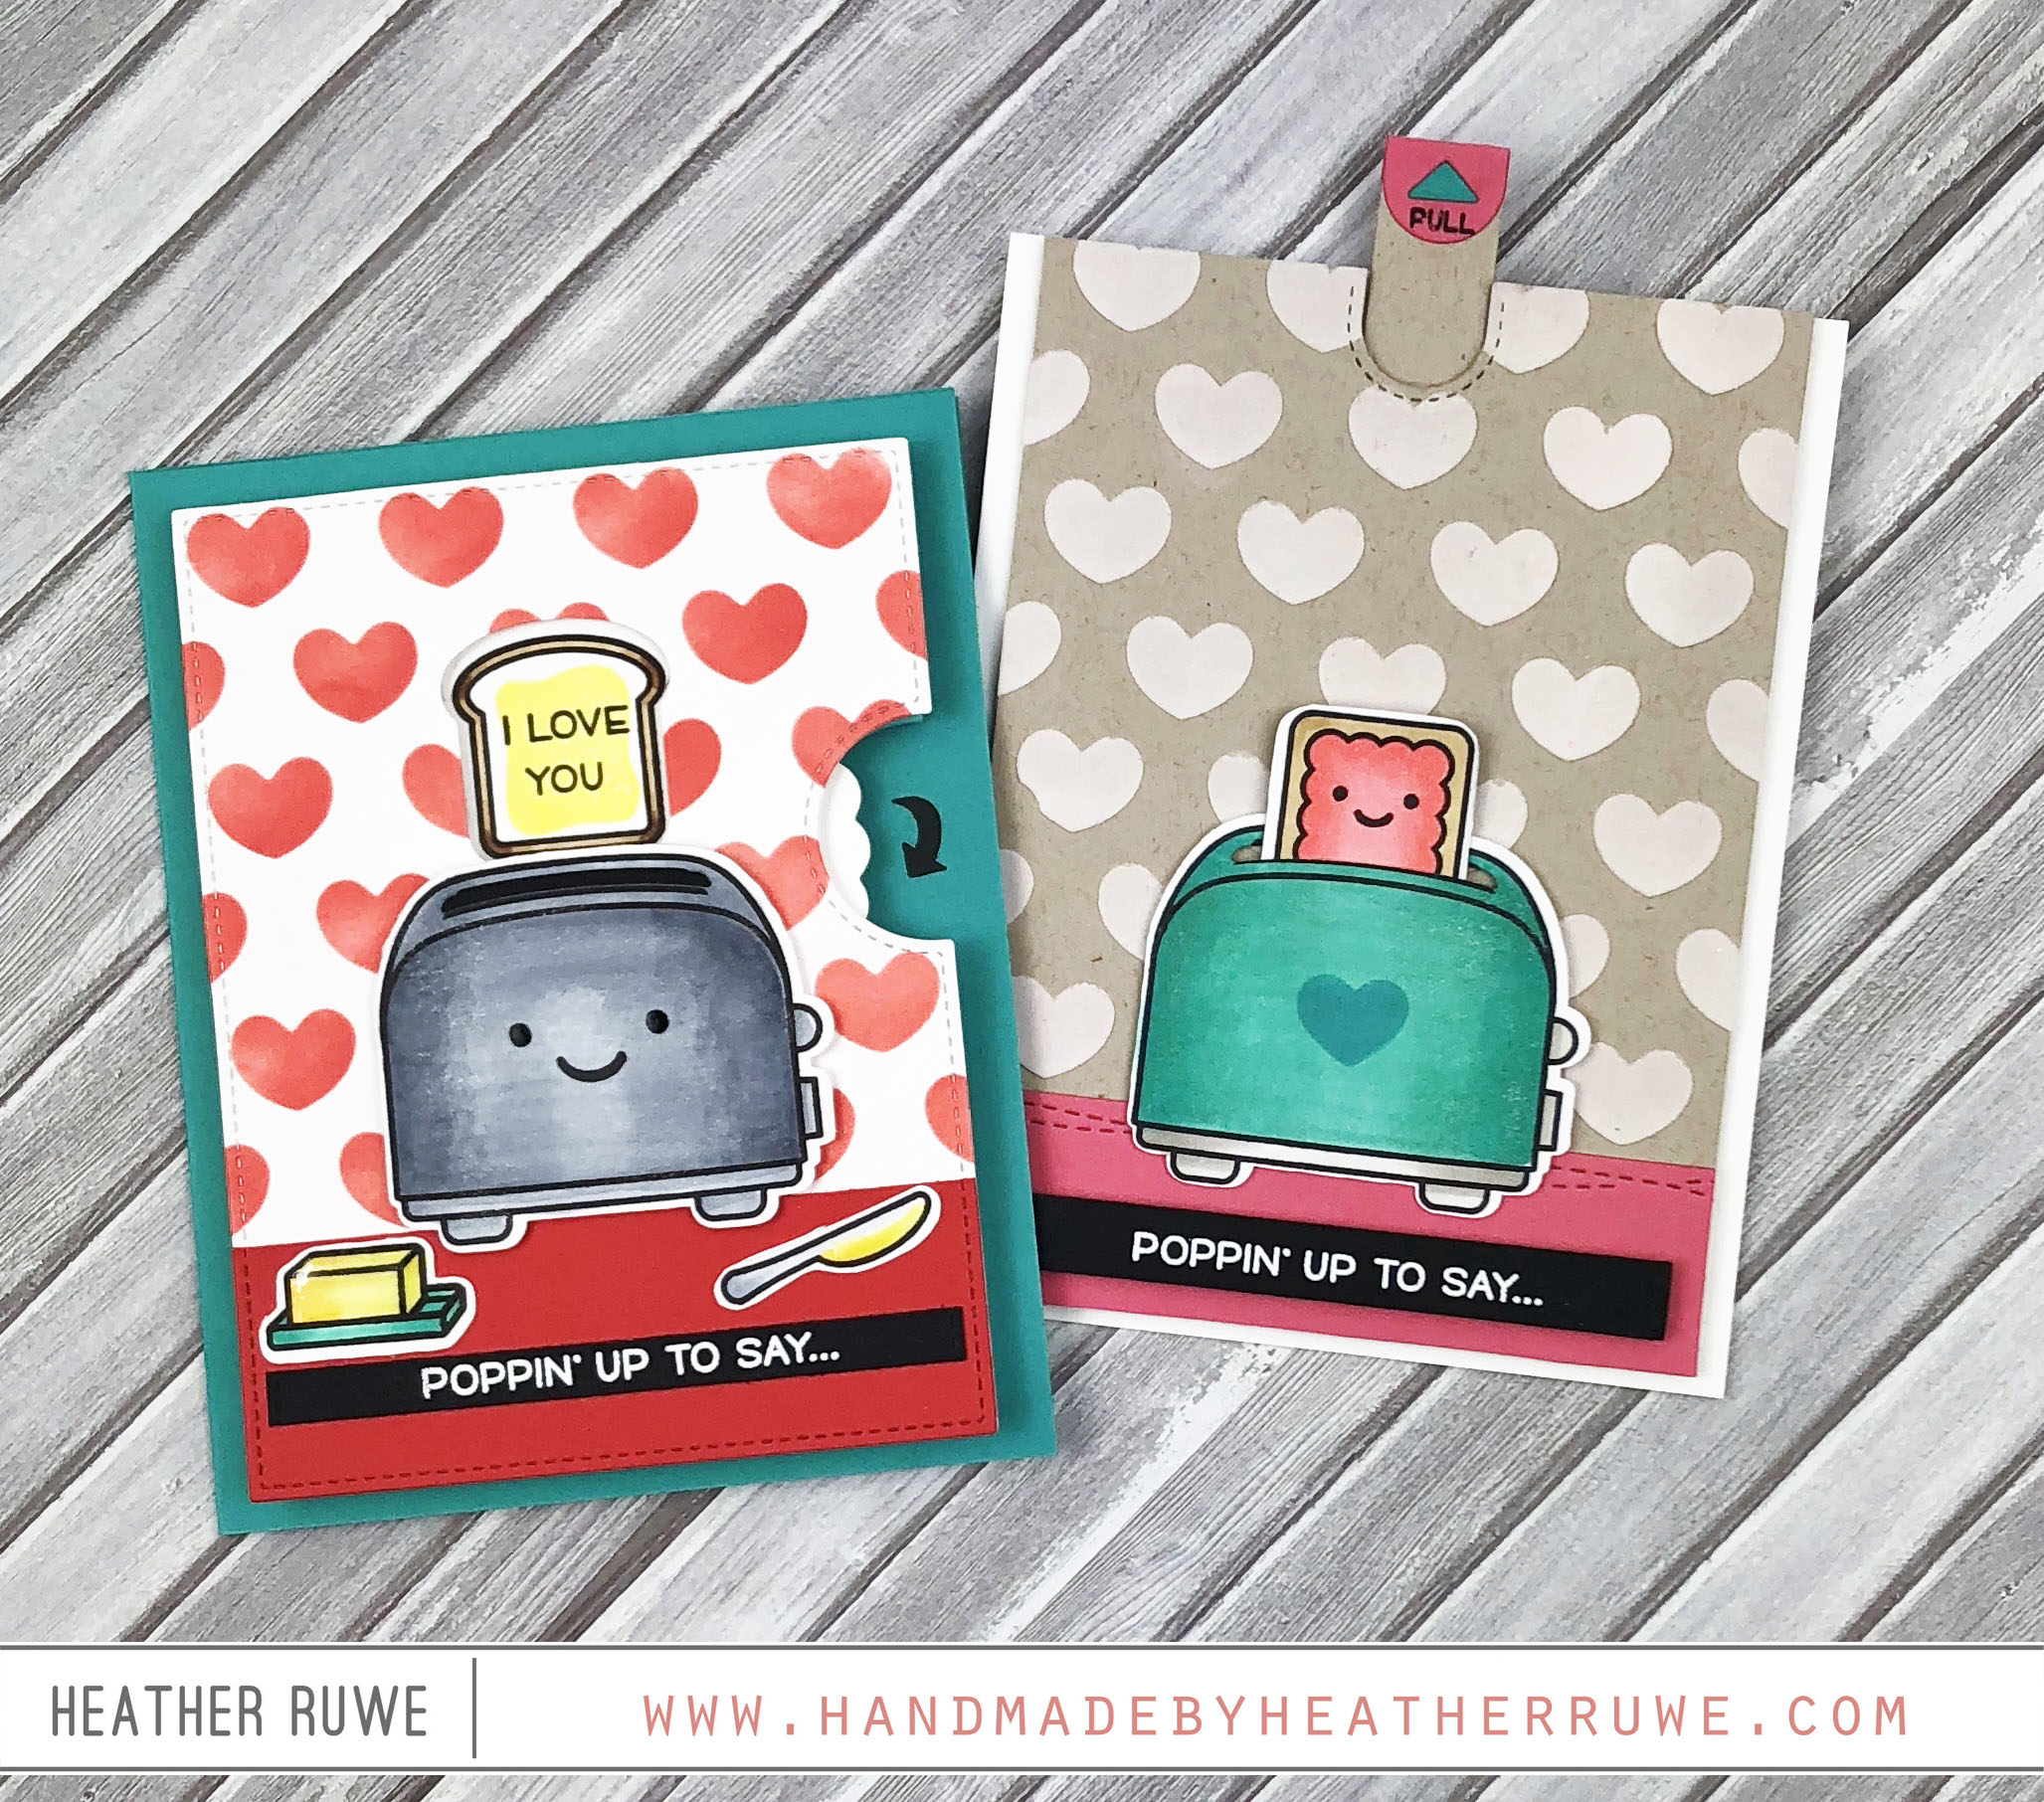
Interactive Valentine’s Day Cards
Hi there, crafty friends. I’m sharing a couple of interactive cards today… I couldn’t wait to use THIS cute stamp set. I stamped and colored the images with Copics. I used THESE dies to cut them out. For the first card… I inked up THIS stencil with THIS ink. I cut it out with THIS die as well as a piece of red card stock. I die-cut the toast die from the panel and...
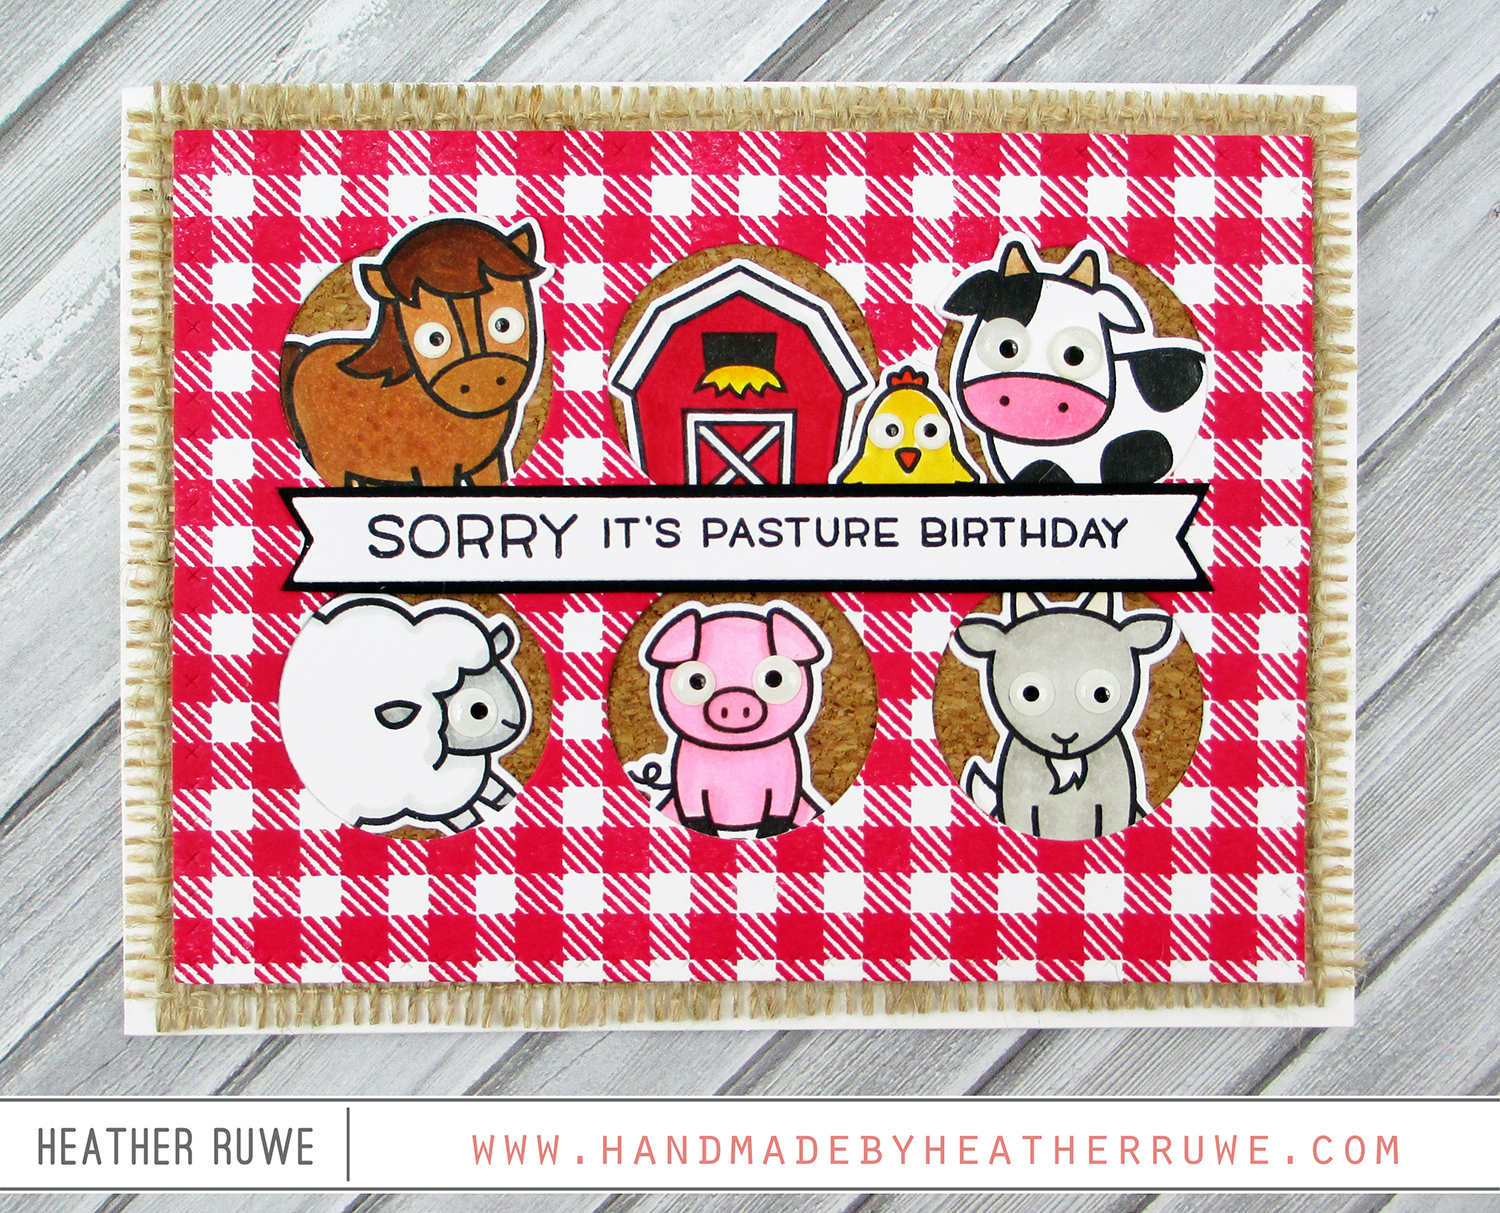
Lawn Fawn Belated Birthday Card
Hello, crafty friends. I’m always in need of belated birthday cards because I’m notorious for sending them late. Better late than never, right? Today’s belated birthday card features THIS cute stamp set from Lawn Fawn… After stamping and coloring the animals, I used THESE coordinating dies to cut them out. I added THESE eyes for a playful look. I stamped THIS background using THIS ink and die-cut it using THIS die. I stamped the...
Reveal Wheel Week-Day Five
Howdy, crafty friends. Every day this week I shared a new card created with THIS reveal wheel die from Lawn Fawn. Today is the last day. I’ve had so much fun sharing these cards and I hope you’ve enjoyed them too. In case you missed it… Click HERE to see Day One Click HERE for Day Two Click HERE for Day Three Click HERE for Day Four Today’s card shares a completely different way...

