STAMPtember 2021-Halloween Gnomies

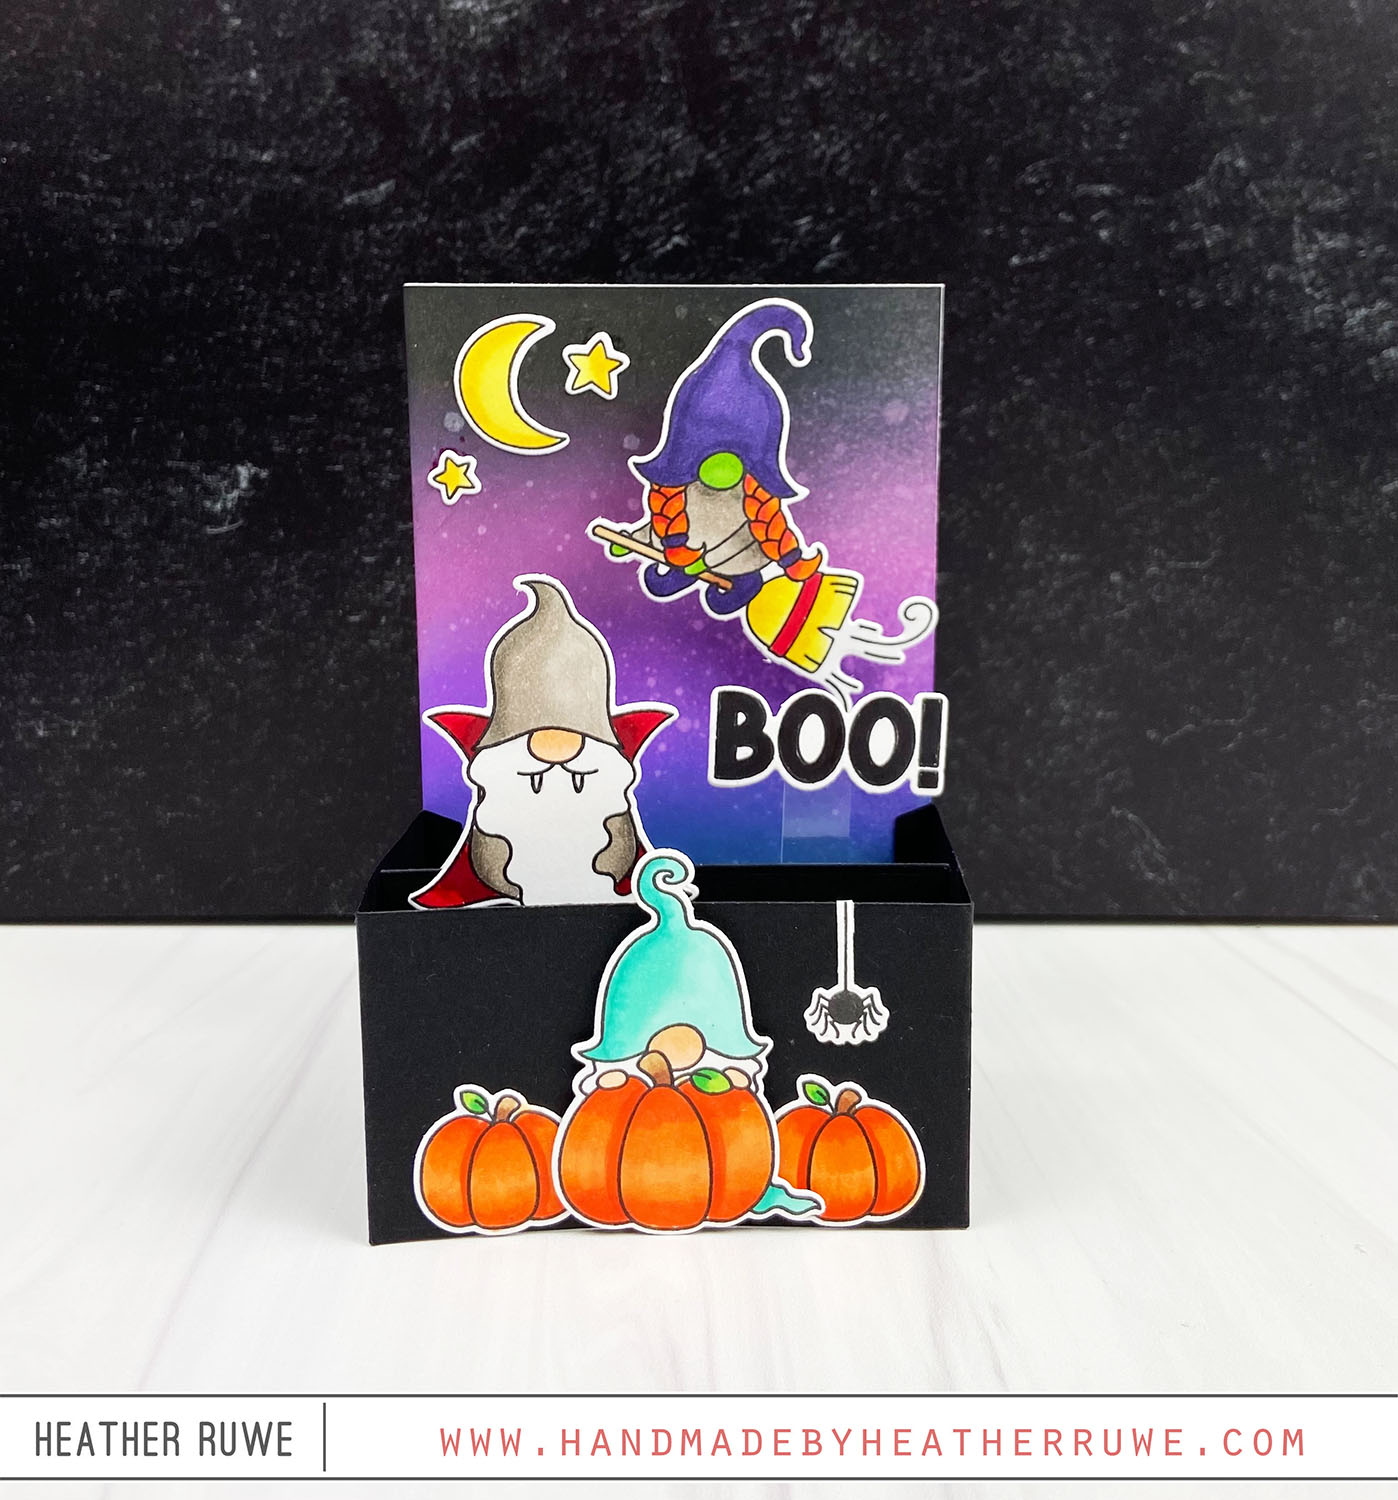
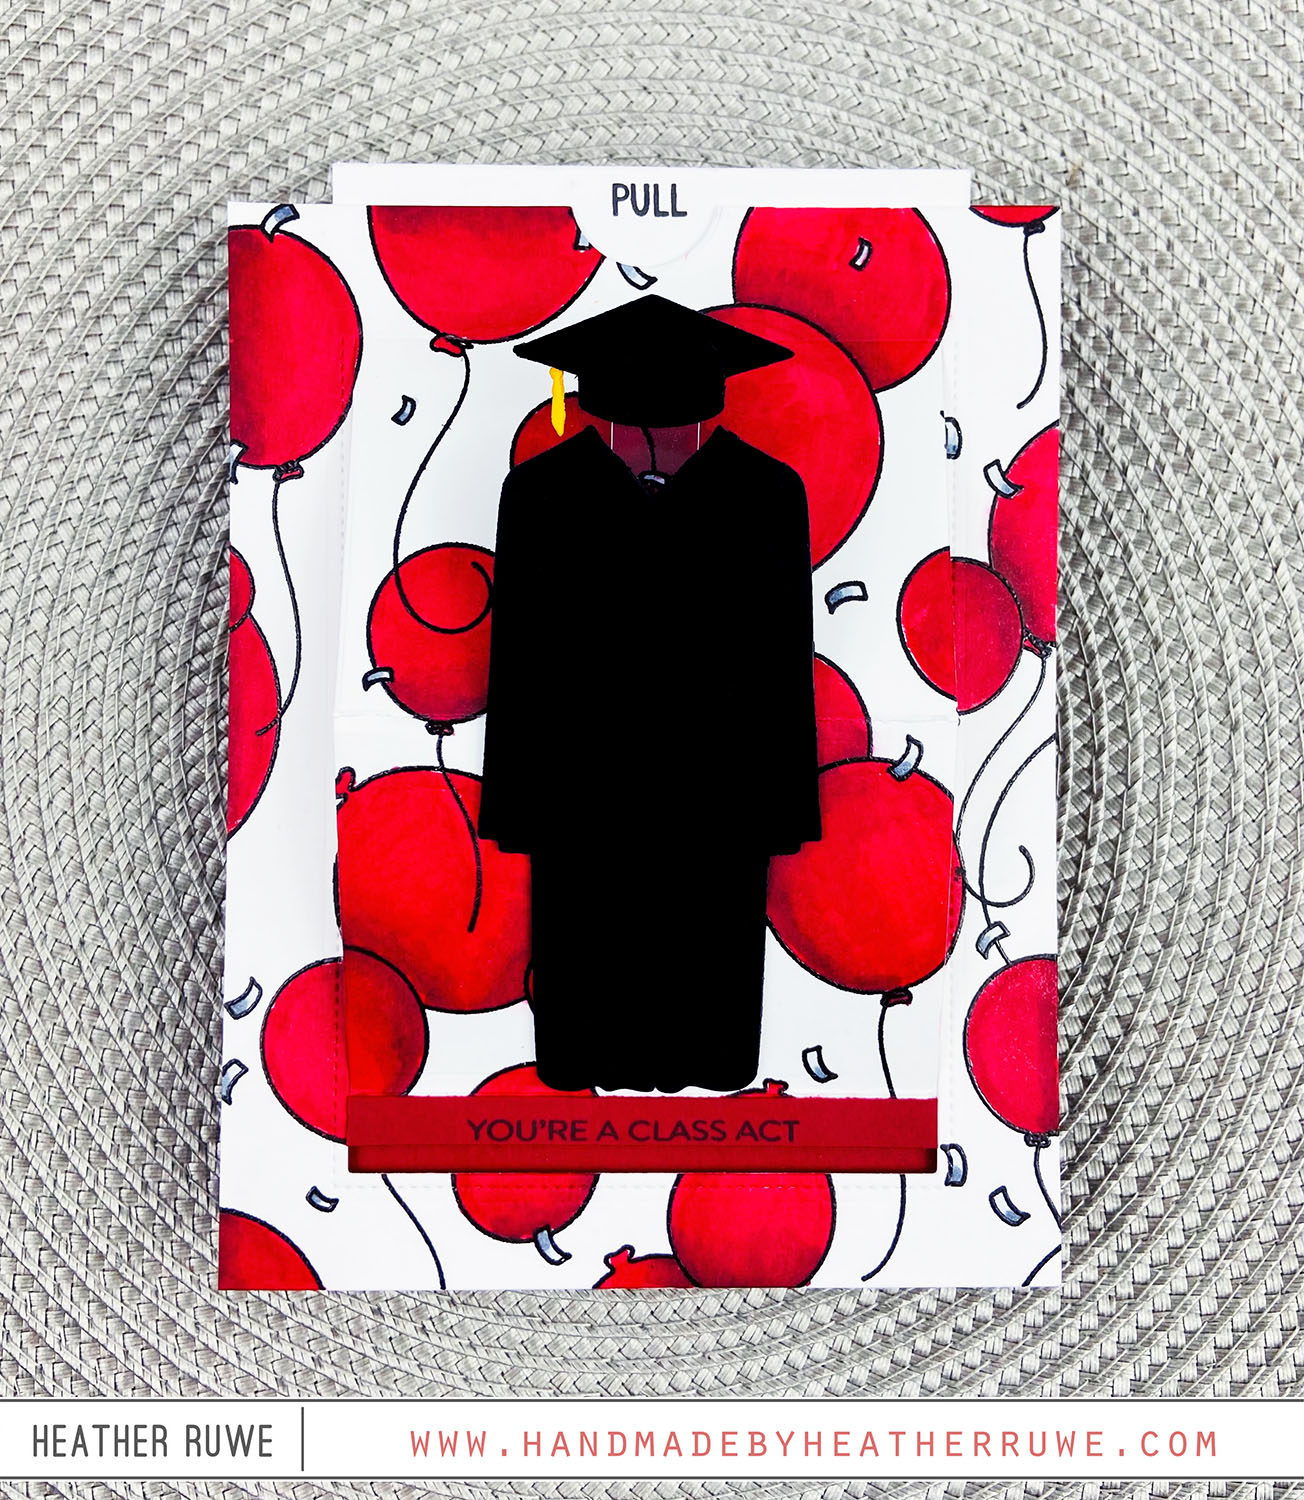
Hello, crafty friends. I’m continuing the STAMPtember party and sharing a card featuring the Halloween Gnomies stamp set and coordinating dies (linked at the bottom of this blog post)… To create this card, I die-cut the Box Card Die from black card stock. I adhered the pieces to a back panel that I ink blended on to create a night sky. I spritzed a bit of water on top for some added texture. The...

More Make Magic Release Inspiration

Hi there, crafty friends. I’m back with more inspiration from THIS new release from Simon Says Stamp… To create this card, I started by cutting a piece of white card stock to 2.75 x 5.25 to create the reveal panel. I stamped the Handwriting Paper background stamp using blue ink. Next, I stamped it with sentiments from the Teacher Thank Yous stamp set. I also added a few stars from the Magic Stars die....

Interactive Birthday Card

Hi, crafty friends. I’m sharing a card today featuring the new 3D Card Die Set… I started by cutting a piece of blue card stock to 2.75 x 5.25 to create the reveal panel. I applied the Blanco transfer gel through the Fading Circles stencil on the panel. I chose to use the Blanco transfer gel because I was applying it on top of colored card stock. After it was completely dry, I laid...

Rainbows Release

Howdy, crafty friends. Simon Says Stamp’s newest release is HERE. It’s called, “Rainbows” and it’s fabulous. Today’s card share features a gatefold design with a vellum belly band… I started by creating a gate fold card base. I used two side folding A2 card bases and scored the front panel down the center. I folded each side back in opposite directions and adhered the back of the card bases together. I stamped and colored...

Interactive Graduation Card

Hi, crafty friends. I’m back with more inspiration using THIS release by Simon Says Stamp… To create this card, I stamped the Party Balloons background on a white A2 panel and colored it in with Copic Markers. I die-cut it using the Sliding Window die and assembled the interactive parts. I die-cut the Cap and Gown dies from black card stock and adhered them to the bottom portion of the sliding window. I stamped...

New Ink Blot Shop Release

Howdy, crafty friends. I have two cards to share using THIS new release from the Ink Blot Shop… To create the first card… I started by stamping the image from the Happy Mail Heart stamp set on to a white card stock panel and coloring it with Copic Markers. I used basic rectangle dies to create a thin border frame. I sandwiched some acetate between the layers of the frame and added some small...

Welcome Home Shaker Card

Hello, crafty friends. I’m back with a fun shaker card featuring products from THIS release… I started by stamping THIS house image on a white card stock panel and coloring with with Copic Markers. I stamped it again on a piece of THIS patterned paper and fussy cut it out. I didn’t have the coordinating die at the time so I poked my scissors in the center of the image to create a hole...

Interactive Easter Card

Hello, crafty friends. I’m back today with more inspiration using THIS new release. I started by stamping two kraft panels using THIS text background with clear ink. I used THIS interactive die to die-cut all the interactive elements to the card. I highly recommend watching THIS video when assembling all the pieces. It makes it so easy. I die-cut several of THESE carrots and added a bit of ink to the green and orange...

Hello Beautiful Release Blog Hop-Day 1

Hello, crafty friends. I’m thrilled to be part of THIS blog hop celebrating THIS new release. I have three cards to share today featuring my favorite stamp set from the release… I wanted to share several ways to use one stamp set. When I get a new stamp set and I’m not sure what creative direction I’m going in, I like to start by stamping all the images and using the coordinating dies to...