Cozy Hugs Release Blog Hop

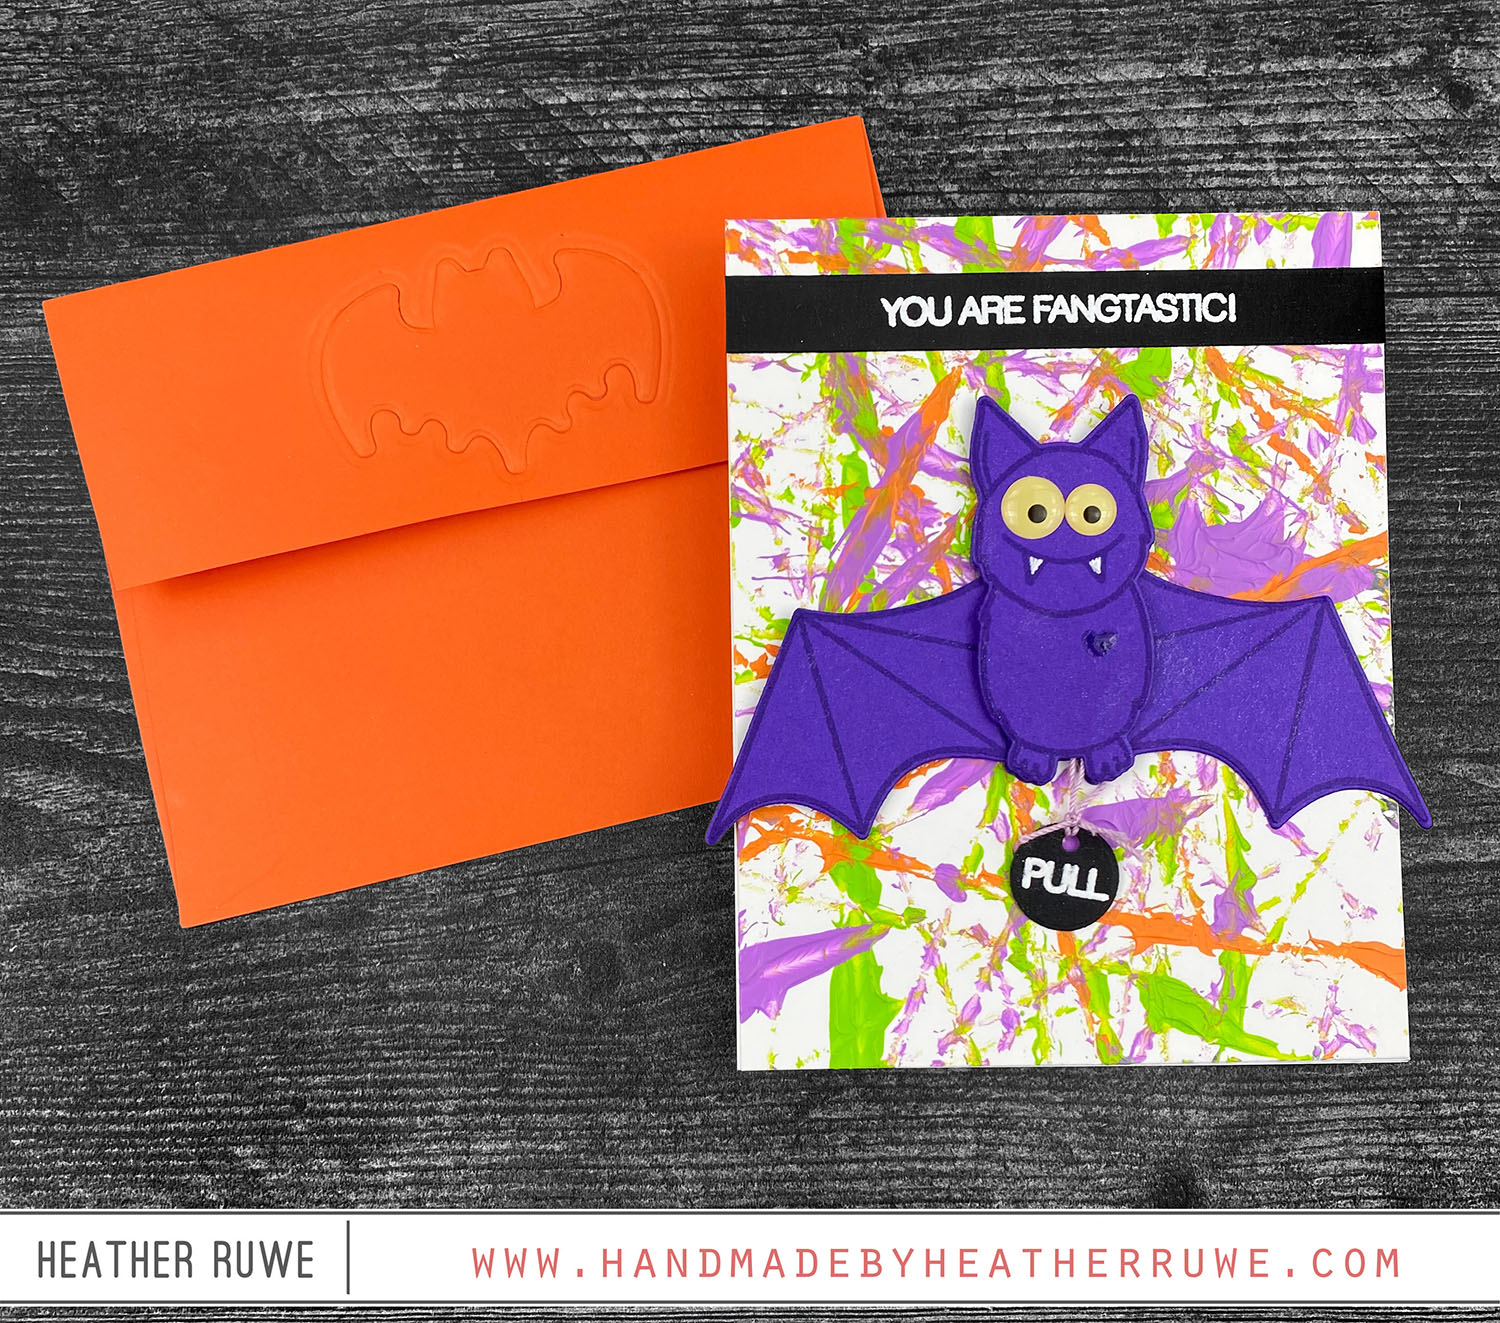
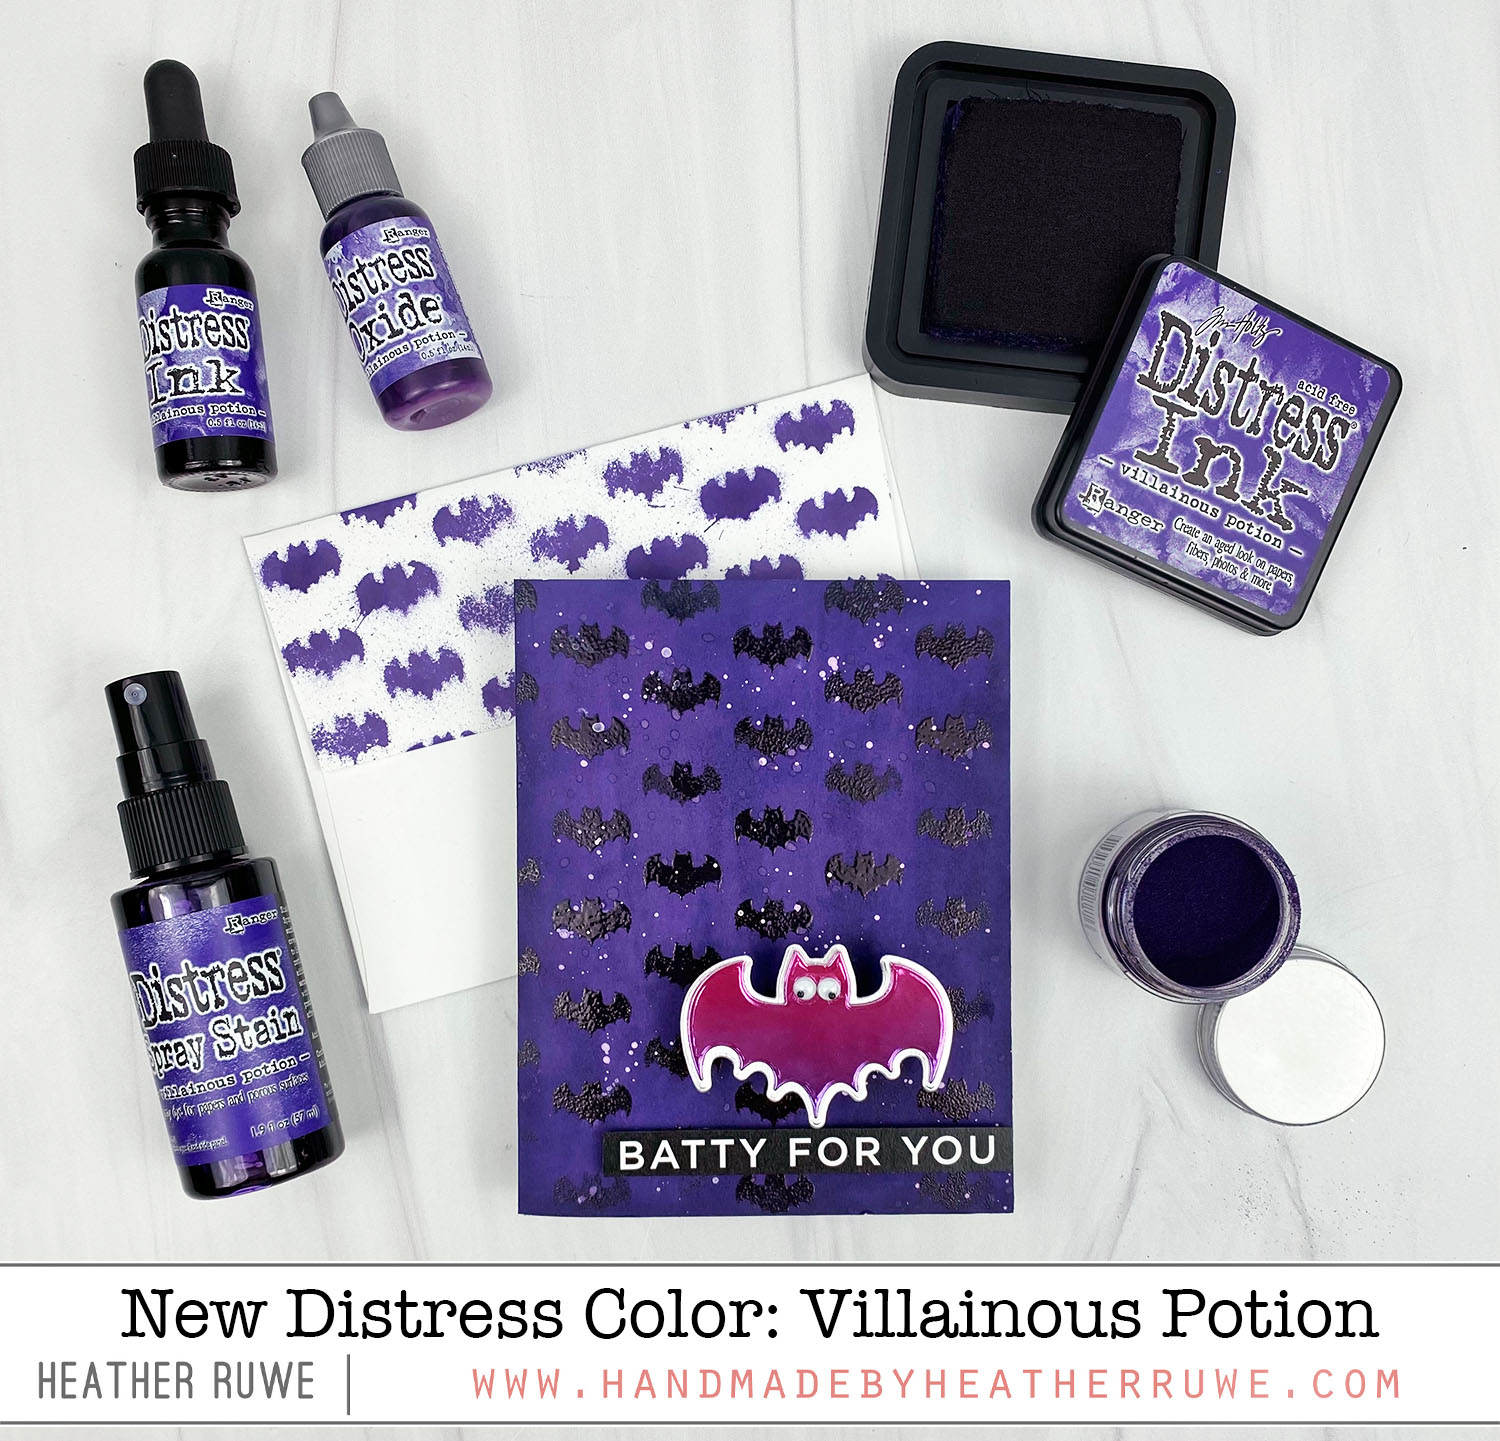
Hello there, crafty friends. I’m back with an interactive card featuring products from THIS new release… First, I created a quick background by doing some marble painting with paints. You can see a previous I did on this that explains the process HERE. As that was drying, I stamped THIS bat and used THESE dies to cut it out. I wanted him to be interactive so here are the instructions I followed to assemble...

Witch Silhouette Card

Hello there, crafty friends. I’m back with even more Halloween inspiration… To create the background, I started by applying Distress Oxide ink with THIS stencil to create some colorful clouds. I stamped the images and sentiment from THIS stamp set using THIS black pigment ink. I finished off the design by adding gold stars cut with THIS die, a favorite of mine for creating embellishments. I also decorated the flap of the envelope with...

BOO Halloween Wreath Card

Hello, crafty friends. I’m back with another Halloween card… First, I applied green ink through THESE stencils to create a background. I die-cut the background using THIS die to add some stitching details. I added a black mat behind it and adhered it to a green top folding note card. I die cut THIS die using THIS black glossy cardstock twice and adhered them down to the background. I did not line them up...

Frankenstein Halloween Card

Hello, crafty friends. I have a Halloween card to share today featuring THIS stamp set… I started by die-cutting THIS strip from white and black glossy paper. I adhered the strips to the front of a white side folding card base and stamped a sentiment from THIS stamp set on one of the white strips using black pigment ink. I added clear embossing on top and heat set. Next, I die-cut a stitched circle...

Reverse Confetti Halloween Treat Bags + Video

Hello, crafty friends. I have a few Halloween Treat Bags to share featuring THIS new release from Reverse Confetti… VIDEO You can watch the video on how I created these cards HERE or click on the video below… First, I stamped the images from THIS adorable new stamp set called Hello Bootiful. After stamping, I used the coordinating dies to cut them out. I colored them with Copic Markers. I applied THIS black glaze...

Halloween Treat Bags + STAMPtember Blog Party!

  Hello, crafty friends. Today’s projects are part of THIS fun blog party celebrating STAMPtember! I used some of the new products from THIS STAMPtember release to create these Halloween Treat Bags… VIDEO You can watch the video on how I created these cards HERE or click on the video below… I started by die-cutting the pumpkins from colored card stock using THIS die. After I adhered all the pieces to the solid die,...

Scrappy Tails Harvest Blessings Hop

Hello Scrappy Tail Crafters! Welcome to our Harvest Blessings inspiration hop! Hop along for some beautiful autumn and spooktacular Halloween paper crafting inspo featuring new products from our latest August release! I have a fun, interactive 3D Haunted House card to share today… I started by cutting the main house portion using THIS die set from gray card stock and stenciling on a brick pattern. I cut the roof from purple carsick and ink blended on...

New Distress Color: Villainous Potion

Hello, crafty friends. Tim Holtz just released a new Distress Color….Villainous Potion. It’s such a nice addition to the Distress line. I immediately thought of Halloween when I saw it… I started by covering a piece of white cardstock with the Distress Ink. Once dry, I applied VersaMark ink through the Just Batty stencil and applied the Villainous Potion Embossing Glaze on top and heat set it. I flicked on white gesso as well...

More Peace on Earth Release Inspiration

Howdy, crafty friends. I’m back with more inspiration from THIS new release. Today’s card was inspired by Jennifer McGuire’s Stamped Edge Technique video HERE. I started by covering a side folding note card with kraft card stock. I stamped the pumpkin border image from the Let the Gourd Times Roll stamp set and used the coordinating die to partially cut it out. To do a partial die-cut, you need to half the image hanging...

Too Cute To Spook Halloween Card

Howdy, crafty friends. I’m still on a Halloween card making kick… To create this card, I started by applying ink through a dot stencil using white pigment ink on kraft card stock. I die-cut a grass border to put along the bottom and ground the scene. I stamped, cut, and colored the images from the Too Cute To Spook stamp set and adhered them down to the background. I used a action wobbler on...