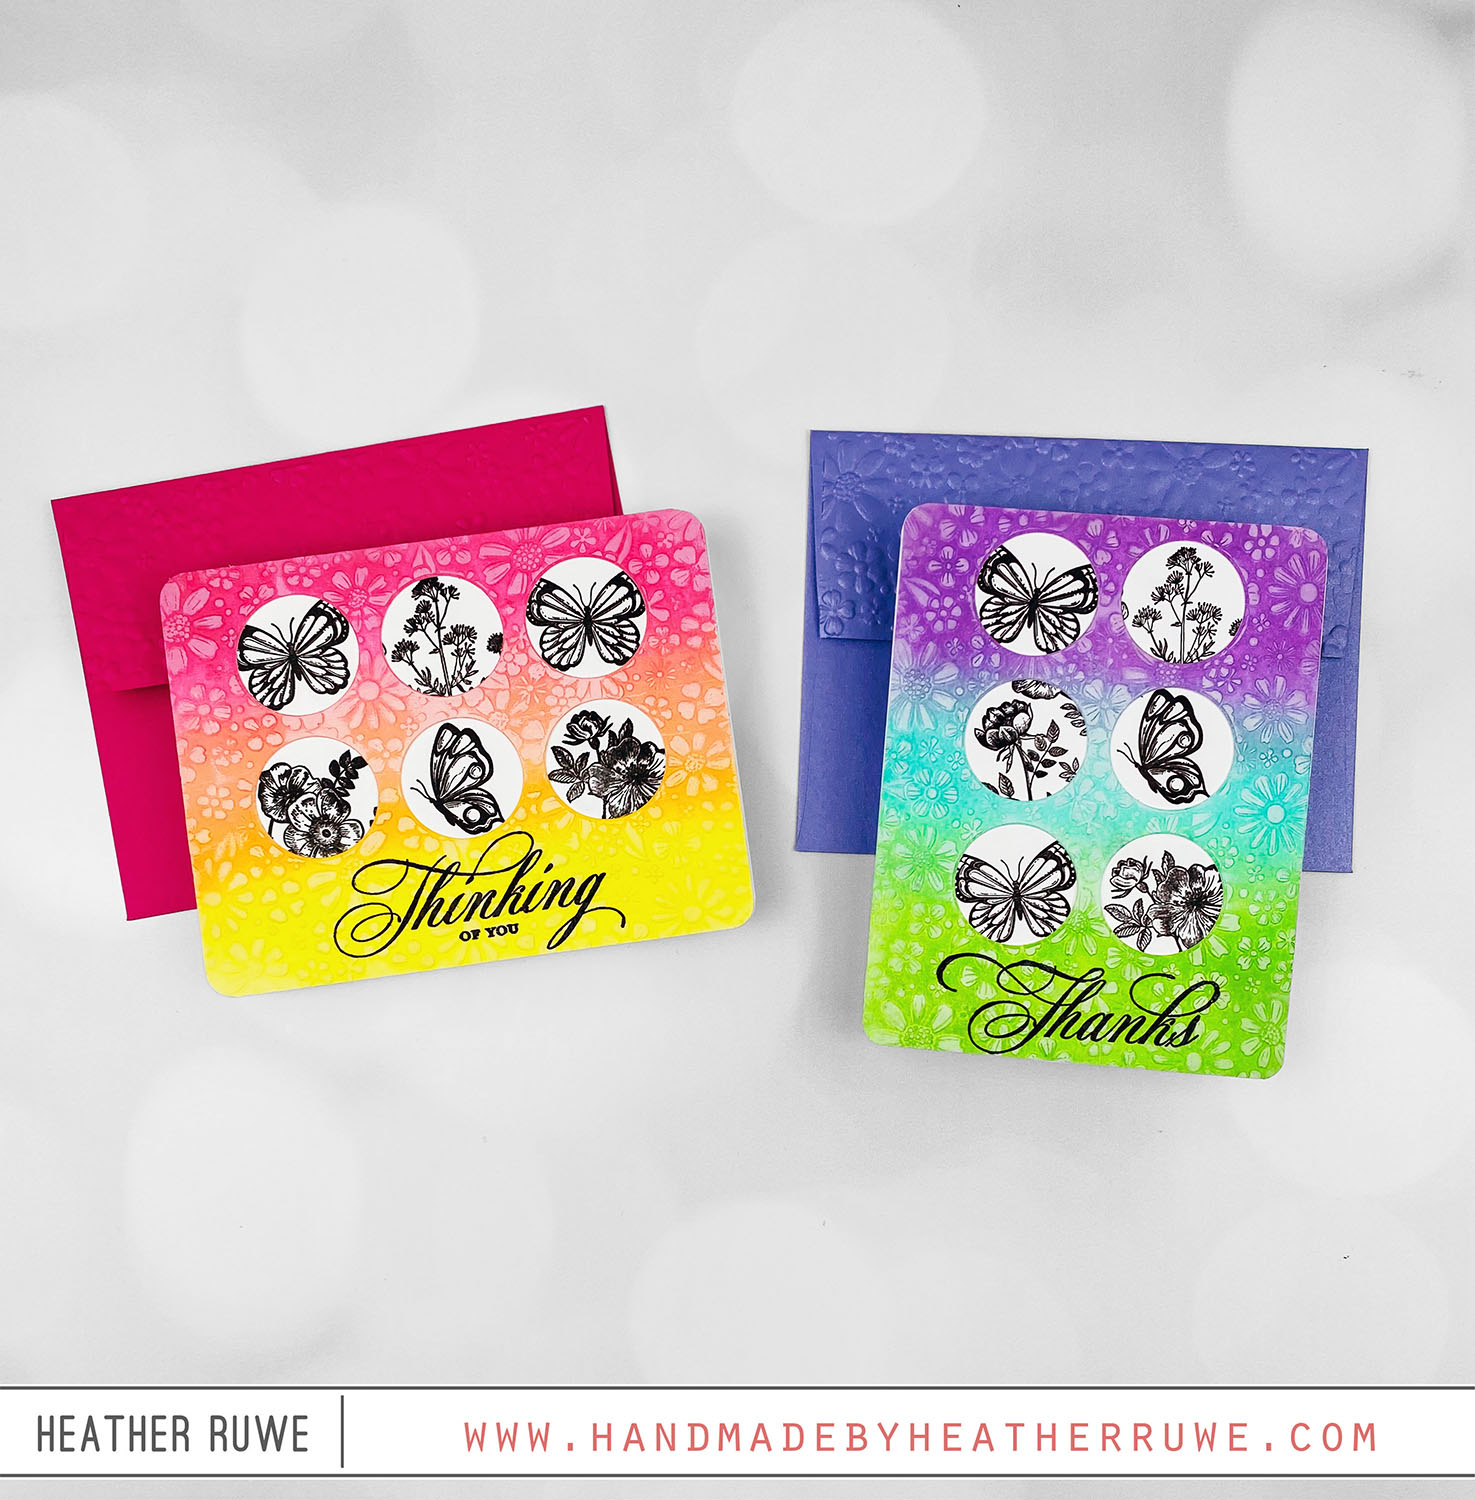
Hello again, crafty friends. Today’s cards feature THIS new card kit from Simon Says Stamp… I started by creating the backgrounds. I used the kit’s embossing folder and embossed the pattern on white cardstock. I ink blended on top and used THIS die to cut the circle openings. I applied a light coat of white pigment ink on top of the pattern using my brayer to really make the embossing stand out. This is...
Positive and Negative Hot Foiling
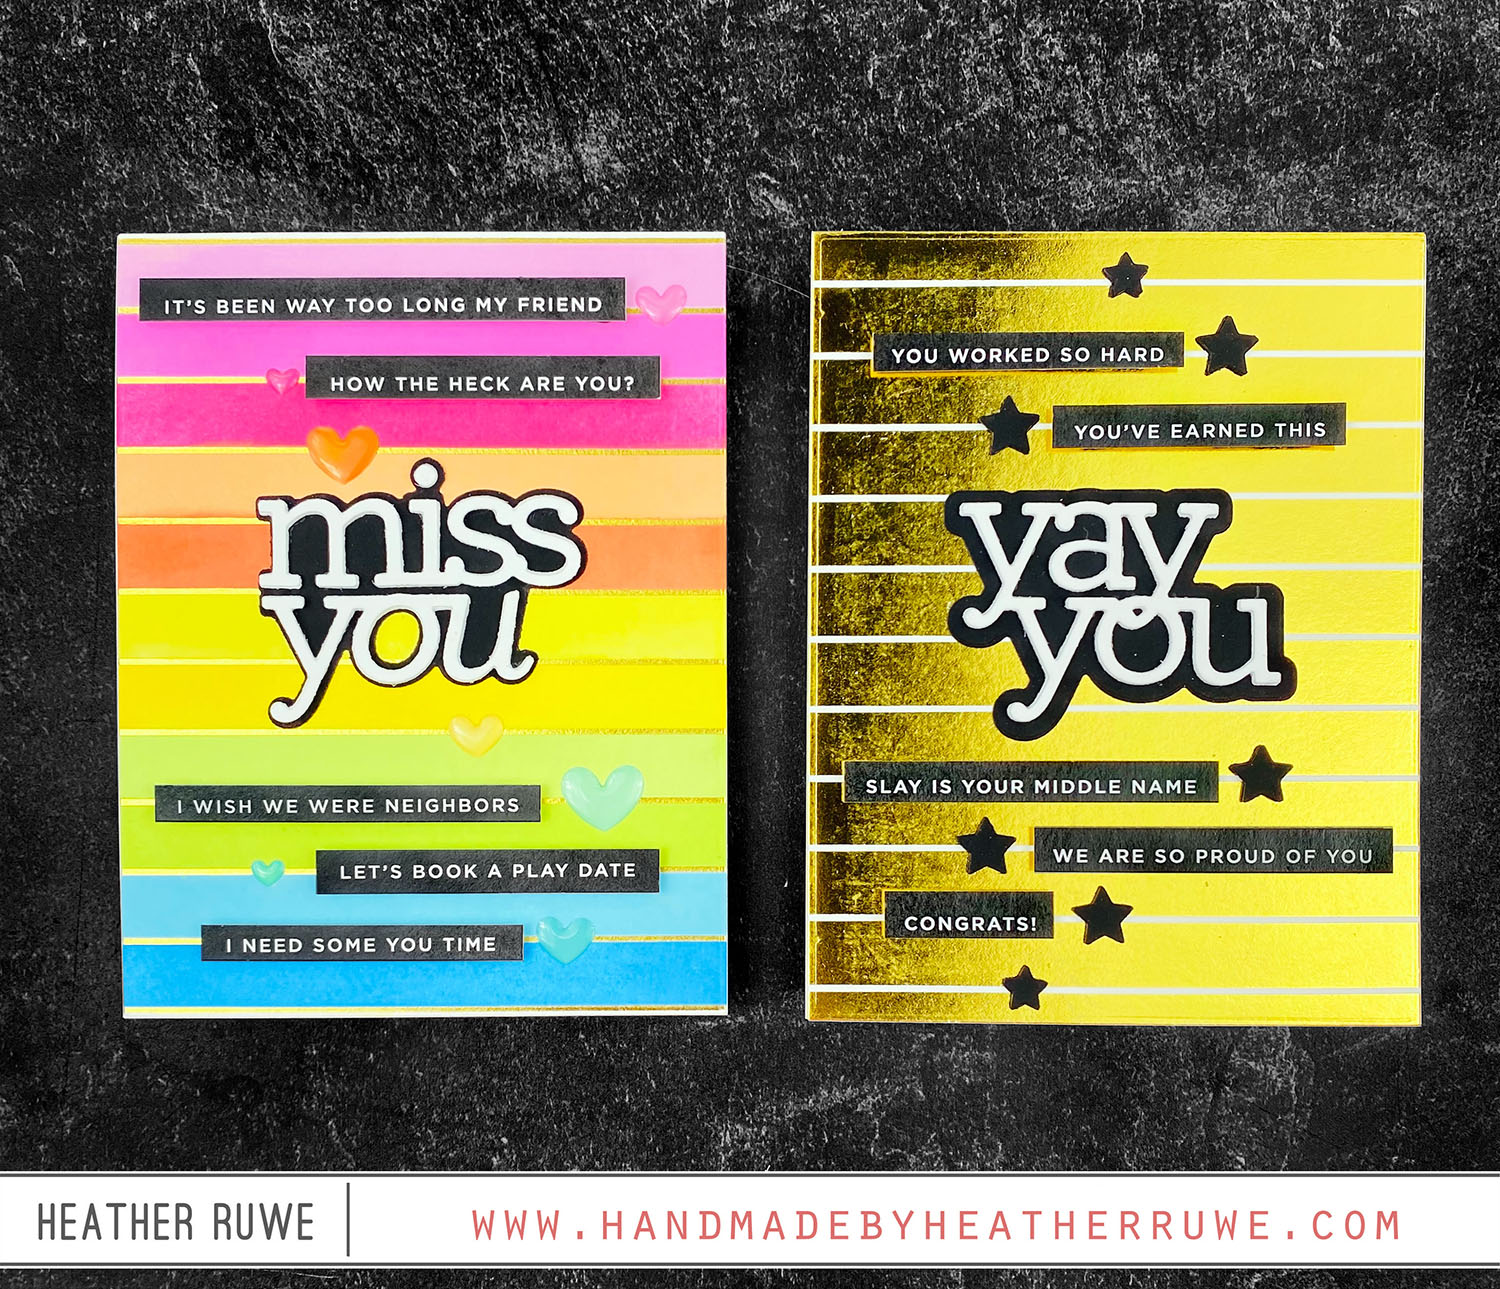
Hello, crafty friends. Today’s cards feature positive and negative hot foiling… I have a video HERE that explains all about hot foiling and how to create positive and negative pieces. For this first card, I foiled THIS plate using gold glimmer foil. I masked off each stripe and ink blended with a different color of ink. I added THIS miss you die cut as well as printed sentiments from THIS sentiment pack. I finished...
Hot Foiling on White Glossy Cardstock
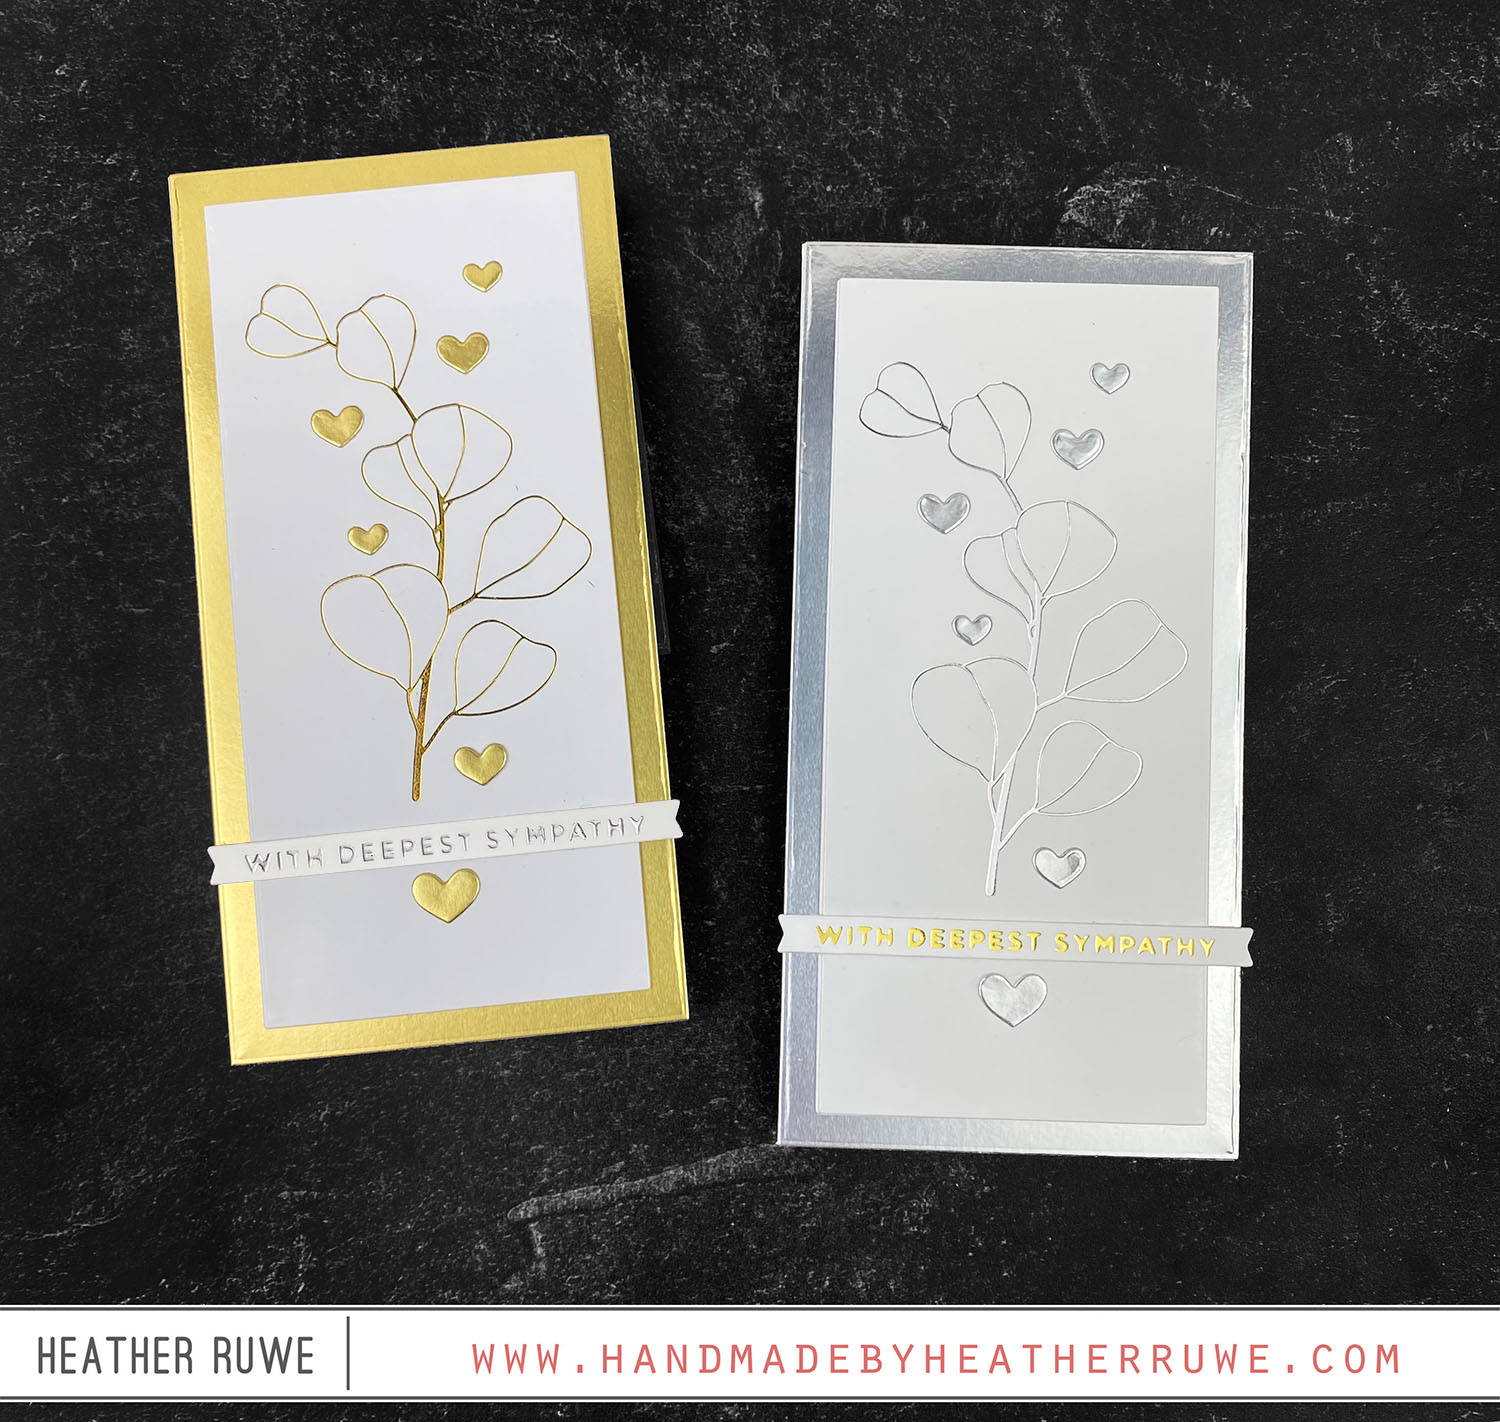
Hello, crafty friends. Recently, I shared a card set where I did hot foiling on black glossy cardstock. You can see those cards HERE. I love how they turned out so I decided to try it on white glossy cardstock… To create these cards, I hot foiled the Eucalyptus Hot Foil Plate with silver and gold glimmer foil on white glossy cardstock pieces. I cut the panel larger than what I needed and used...
Distress Spray Backgrounds
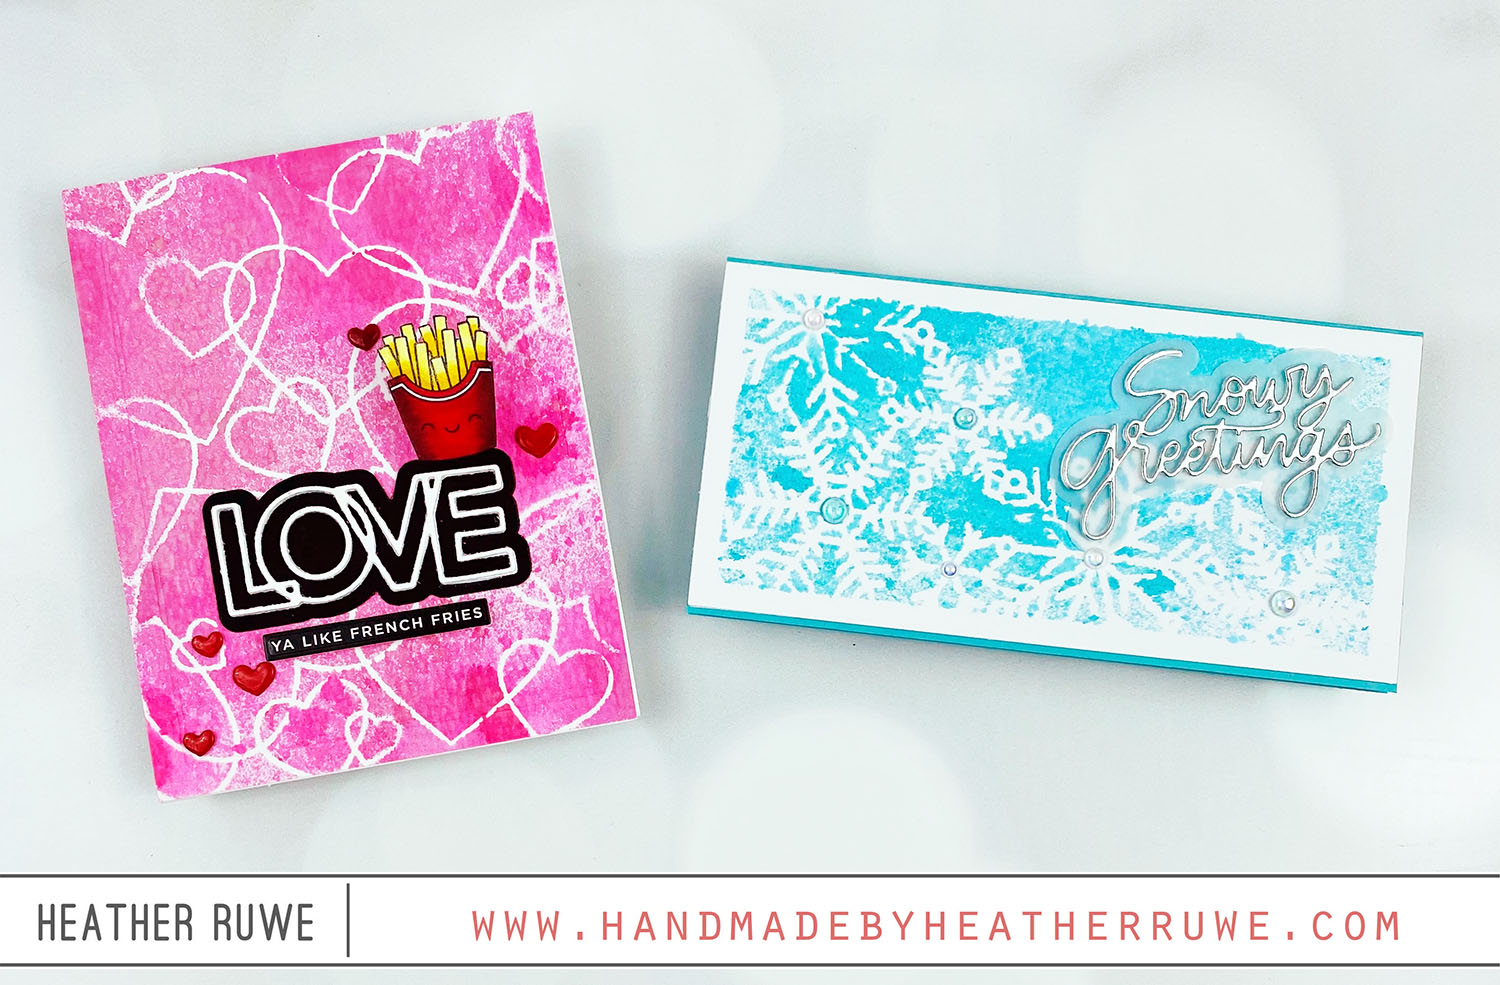
Hello, crafty friends. I have two cards today featuring products from THIS new release. I used Distress sprays with stencils to create quick and easy backgrounds… To create these backgrounds, I sprayed Distress Spray Stains through the stencils. Since these stencils have intricate designs, I sprayed Pixie Spray on the back so they would temporarily adhered down to the cardstock and cause less seeping underneath. For the first card, I sprayed a few pink...
Born to Sparkle Release Blog Hop
Hi, crafty friends. I’m excited to be part of THIS blog hop celebrating THIS new release from Simon Says Stamp. So, I’m a big fan of when one technique turns into two cards. Today’s cards are a great example of that… To create these cards, I inked up my Gel Press with three colors of Distress Oxide ink. I die-cut the coordinating die from the Spring Bouquets stamp set and laid the white die-cut...
Love You Release Inspiration
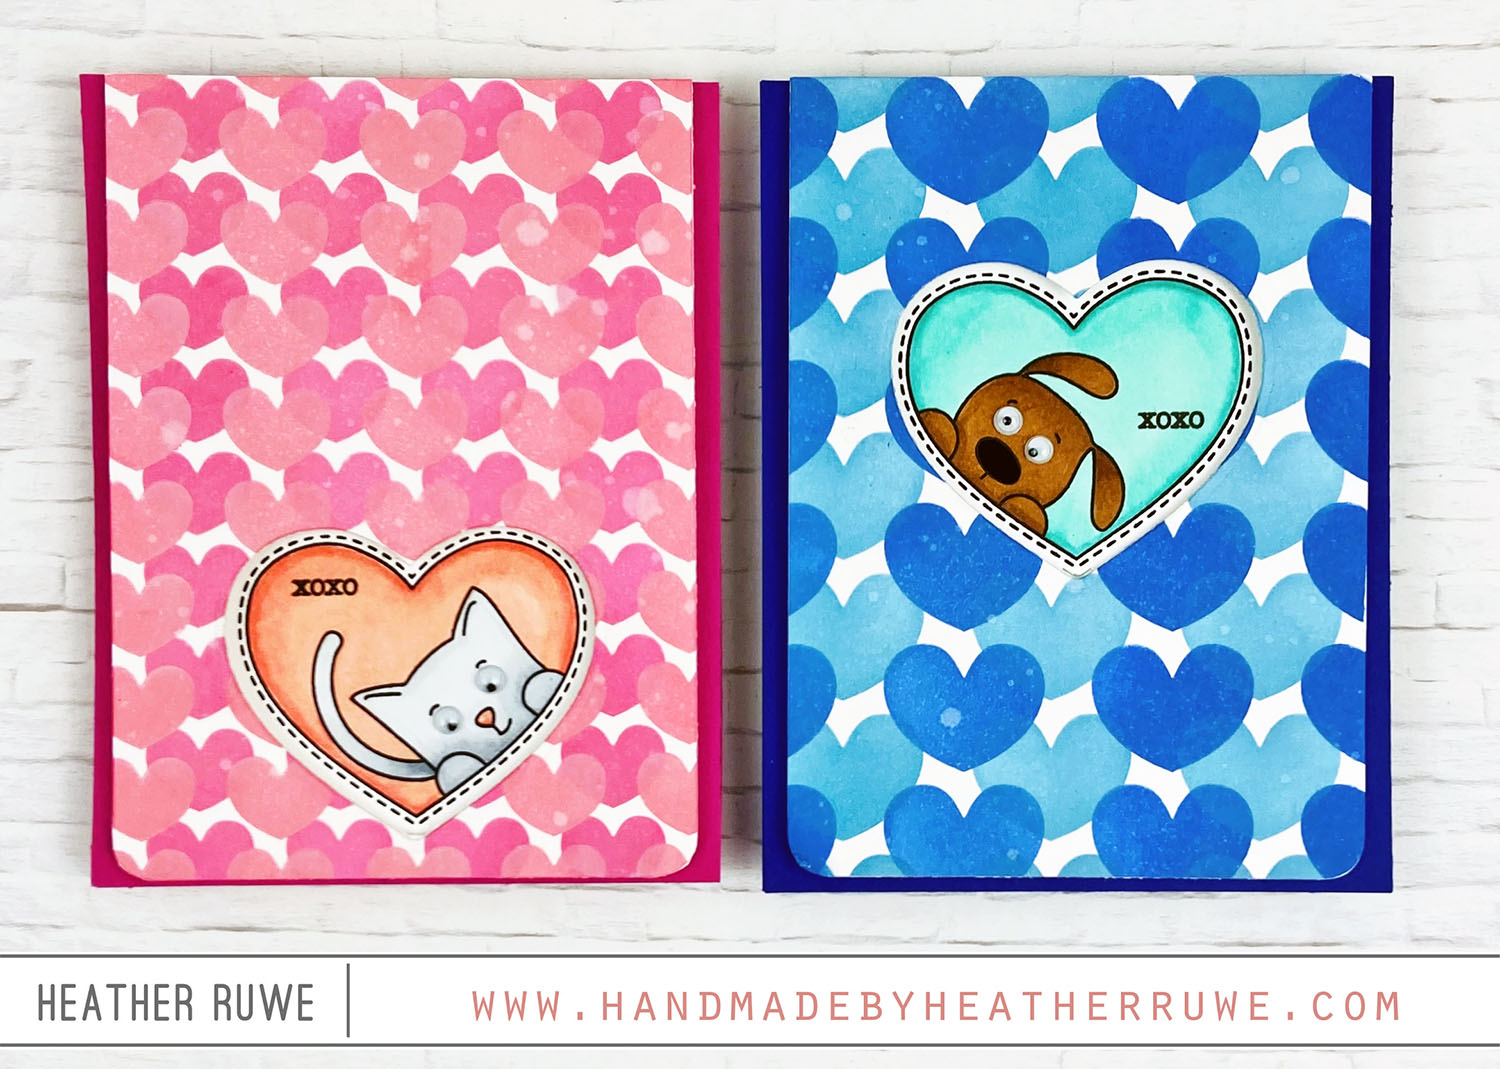
Hi there, crafty friends. I have some inspiration to share using THIS new release… I started by applying Distress Oxide inks through THESE heart layering stencils on the front of both card panels. I trimmed down the cards and rounded the bottom corners. I die-cut THIS coordinating heart die on the front panel of each card and stamped the animal heart image from THIS stamp set on the inside of the card. I colored...
More Holly Jolly Release Inspiration
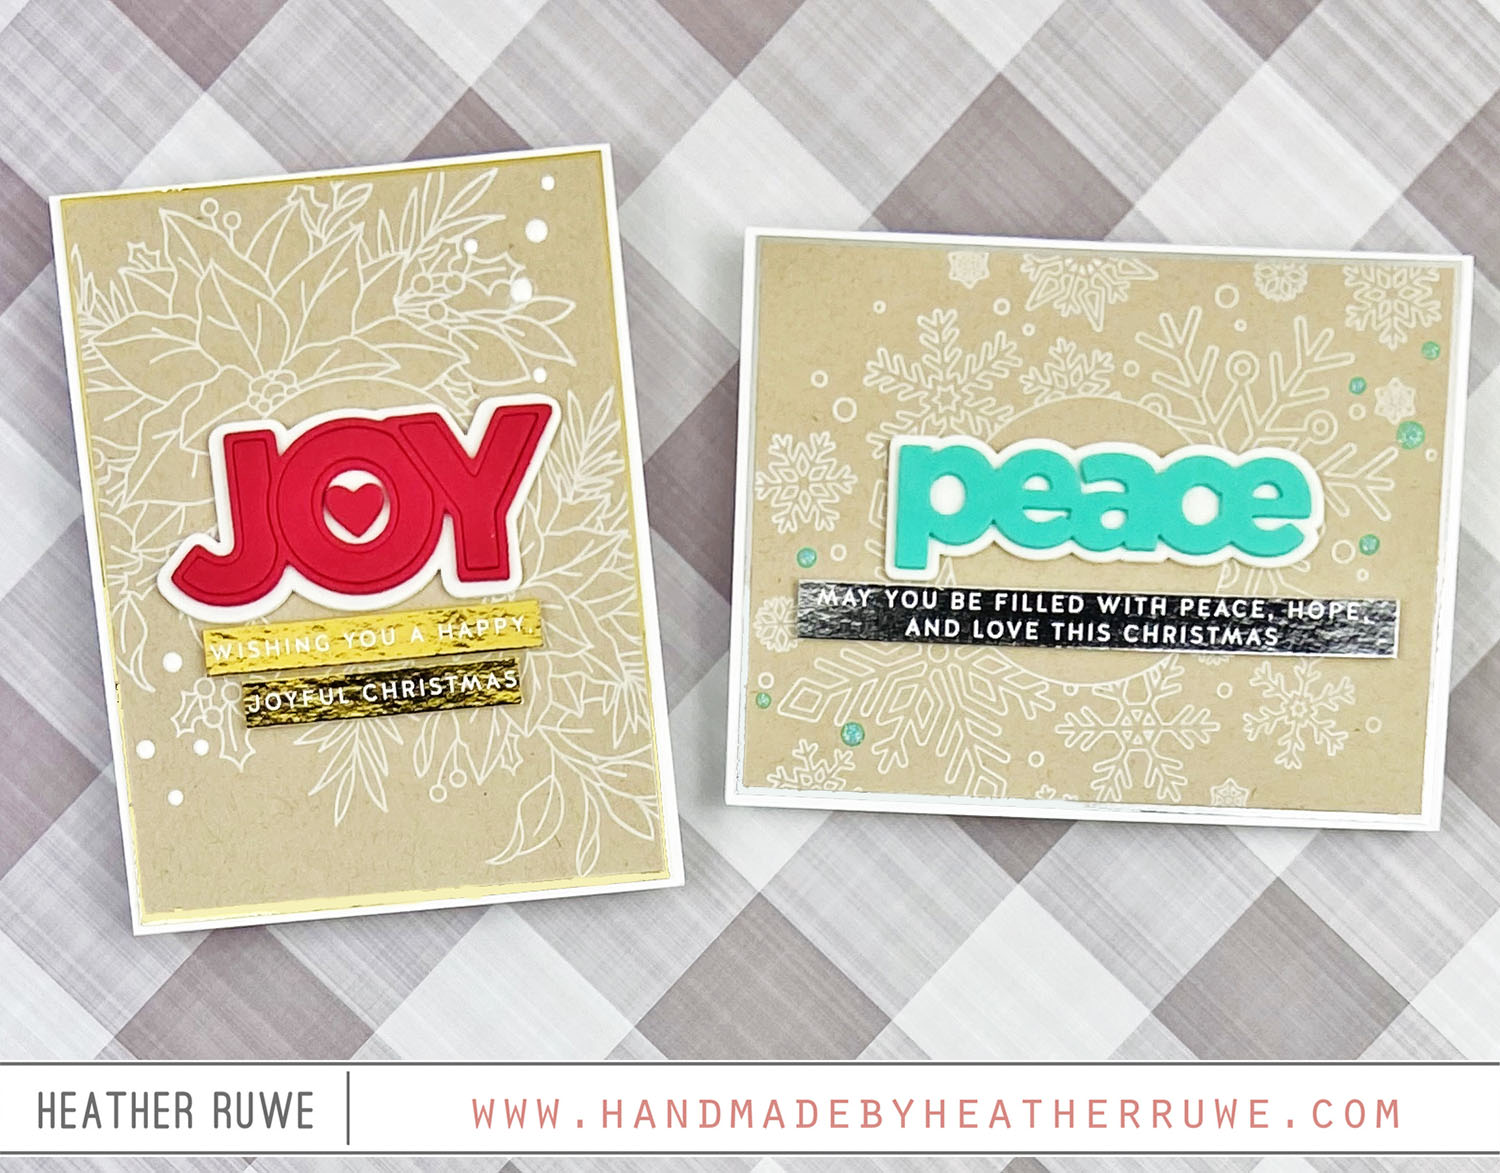
Hello there, crafty friends. I’m back with even more inspiration using THIS new release… For the peace card… I stamped THIS background using THIS white ink on kraft card stock. I added a mat using THIS silver specialty paper and adhered the panel to one of THESE note cards. I die-cut THIS word die from white and colored fun foam and adhered it to the panel. I added THIS foil to one of THESE...
Big Thanks Autumn Card Kit
Hello there, crafty friends. I’m sharing two shaker cards today featuring THIS card kit from Simon Says Stamp. For the first card… I stamped one of the patterned papers with THIS background stamp using THIS ink. I adhered the piece to a top folding note card and then foiled one of the acetate sheets with one of the kit’s foils. The kit comes with a pack of multiple color foils. To foil the printed...
A Handmade Hello
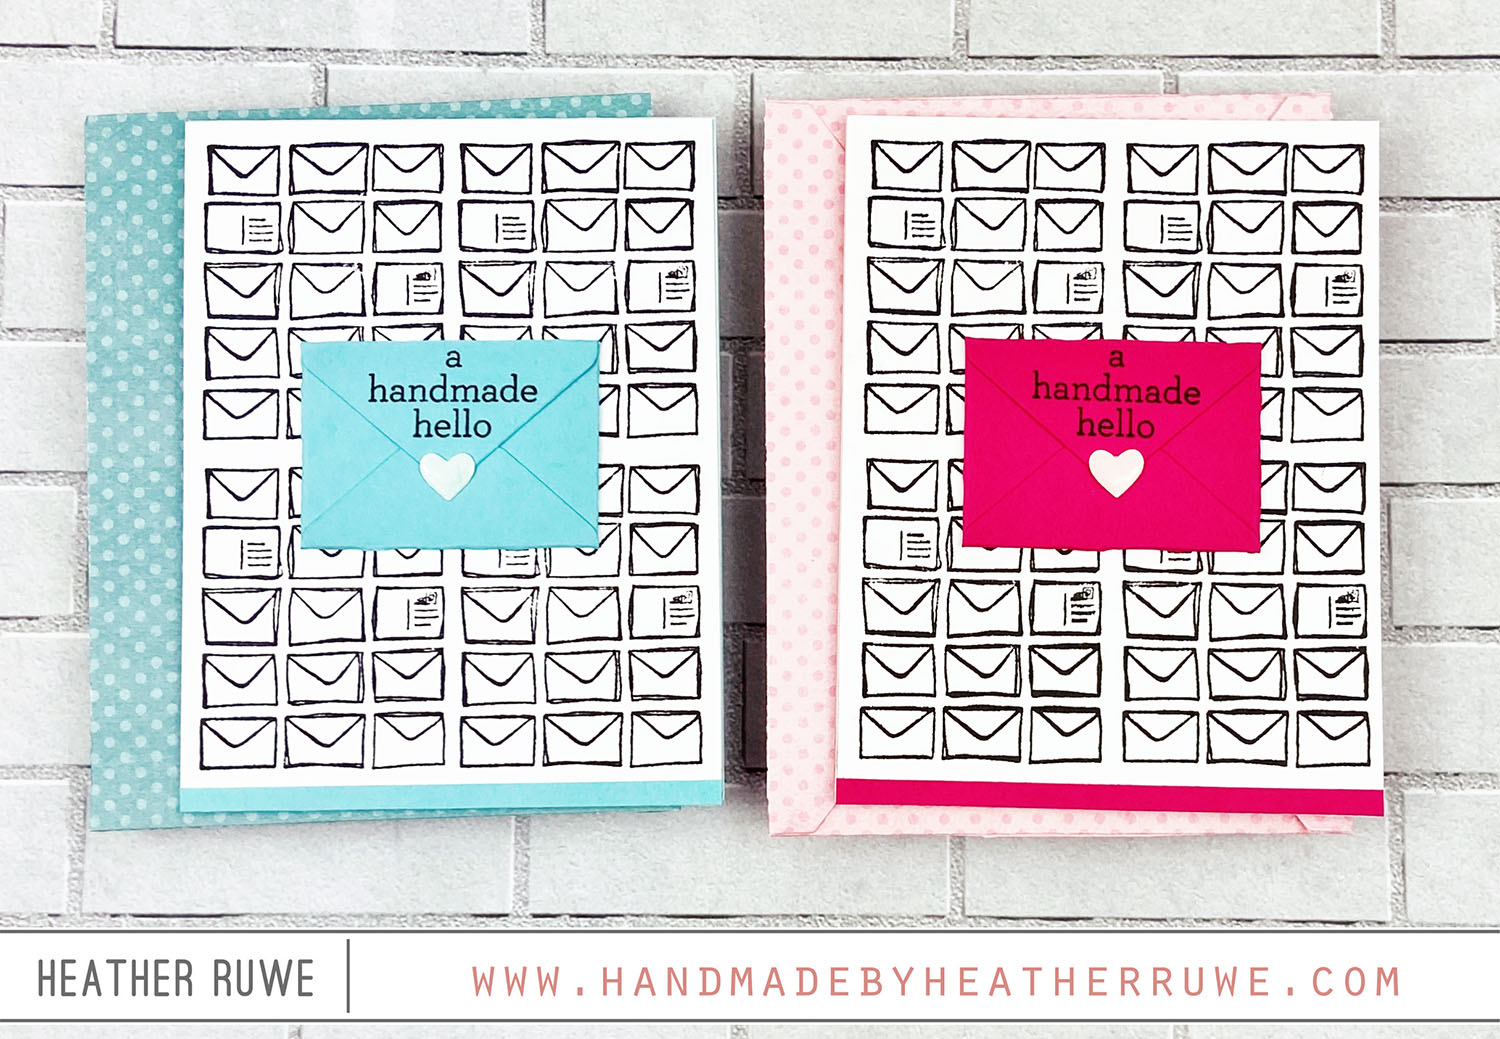
Howdy, crafty friends. I have a couple of cards to share today… On each card, I stamped THIS envelope stamp four times creating a background. I die-cut an envelope die from pink and blue card stock. (I used an older die from Hero Arts.) I die-cut THIS die and used one of the hearts to decorate the envelope. I added THIS and THIS to the heart for some shine. I finished off the card...
Full Stamp Set Backgrounds
Howdy, crafty friends. I’m back today with two cards… One of my favorite ways to create a background is by stamping an entire stamp set at once. I leave all the images in place on the plastic and temporarily tape it to my MISTI door. I stamped all the images from THIS stamp set at once using THIS ink and added THIS gold and THIS silver embossing powder on top. I adhered the panels...

