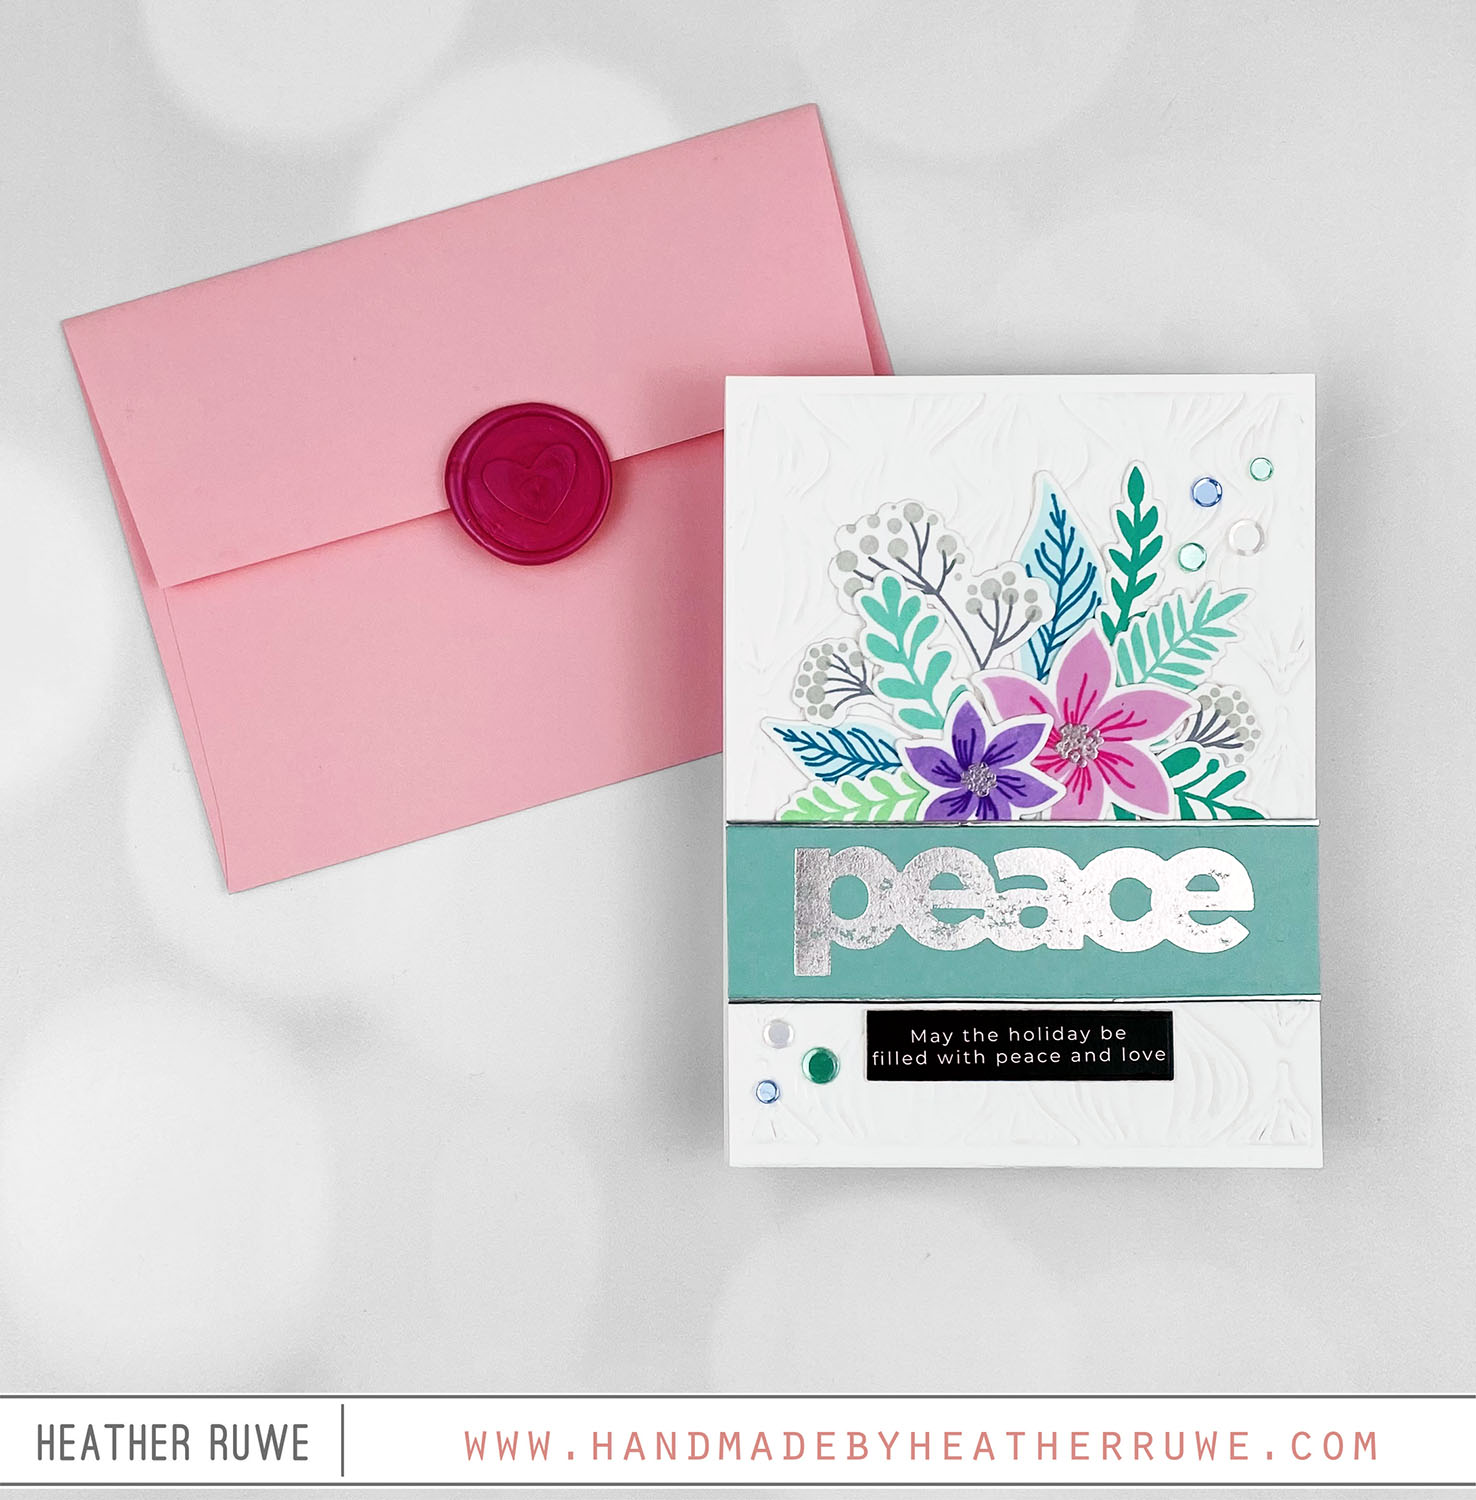
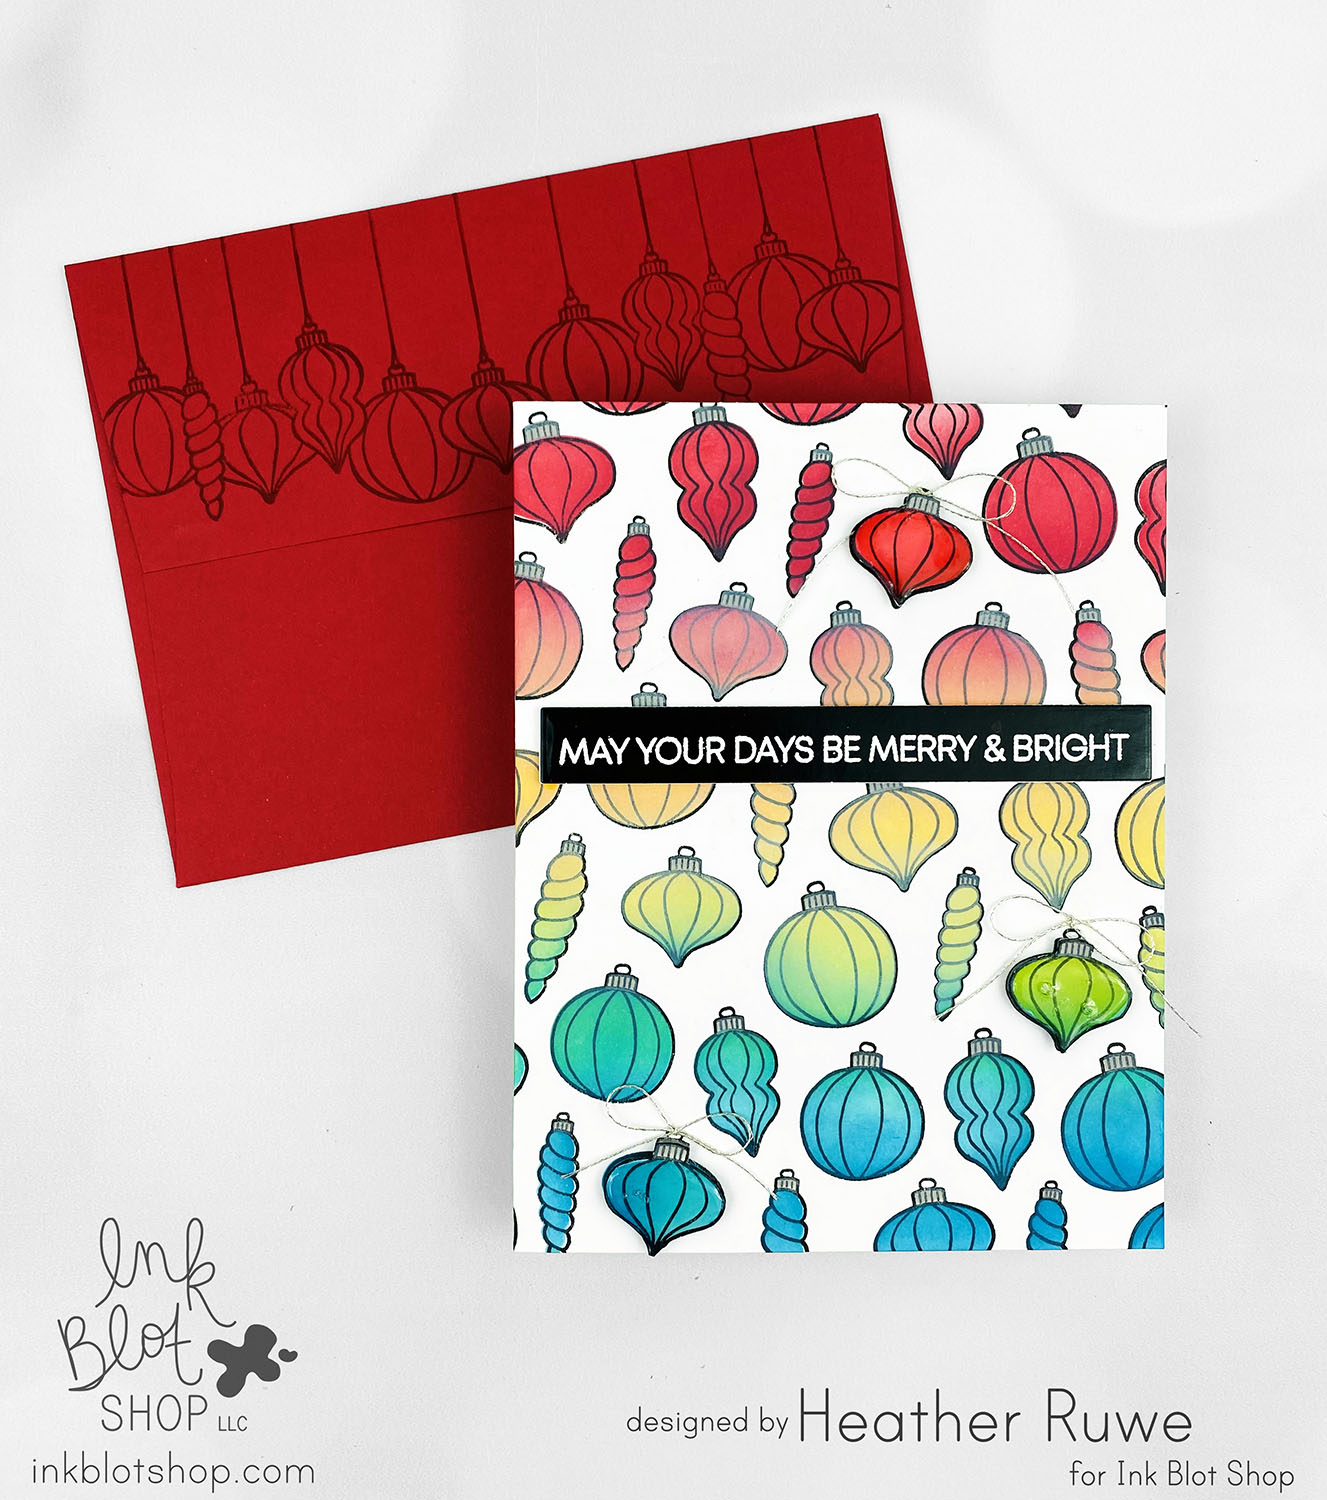
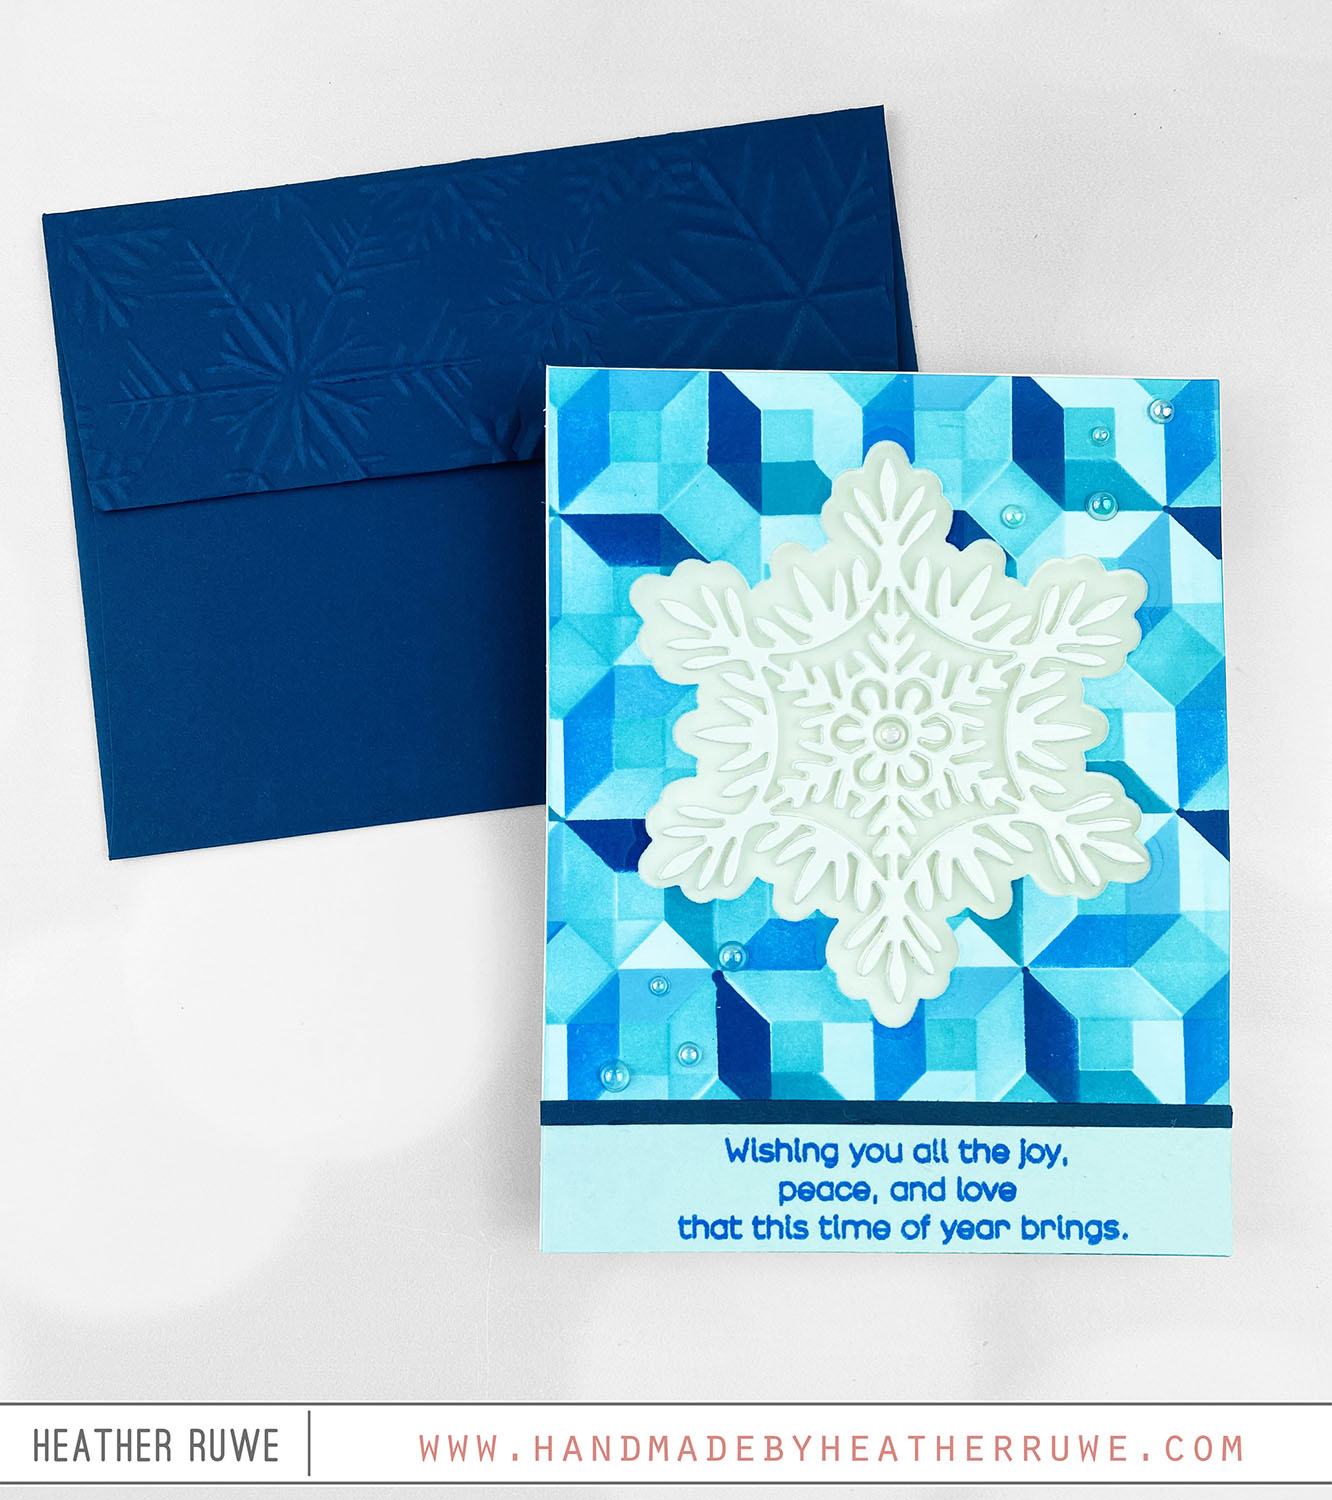
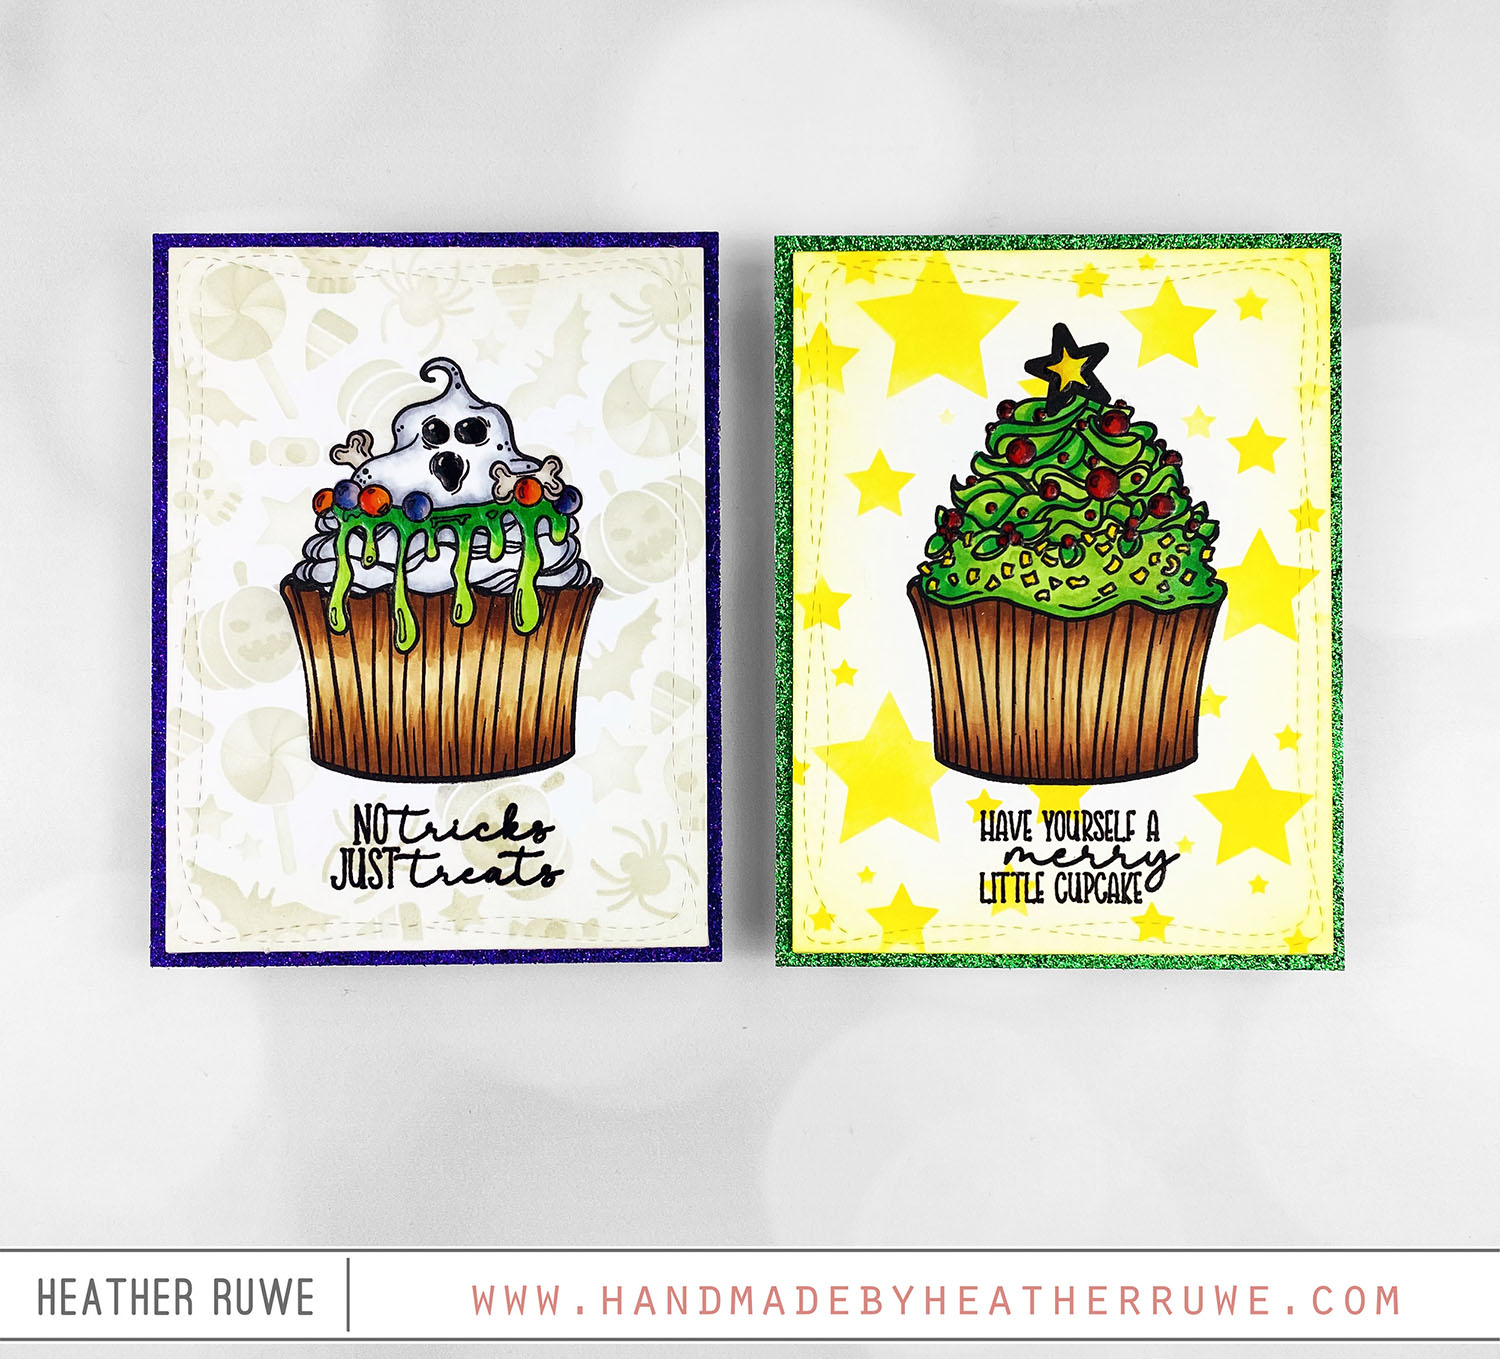
Hi, crafty friends. I have a Holiday card to share… To create this card, I stamped the images from THIS stamp set and used THESE coordinating dies to cut them out. I adhered them to a background that I embossed with THIS background die and THIS embossing mat in my die cut machine. I love the texture it adds to a plain white background… I added a strip of cardstock under the images that...
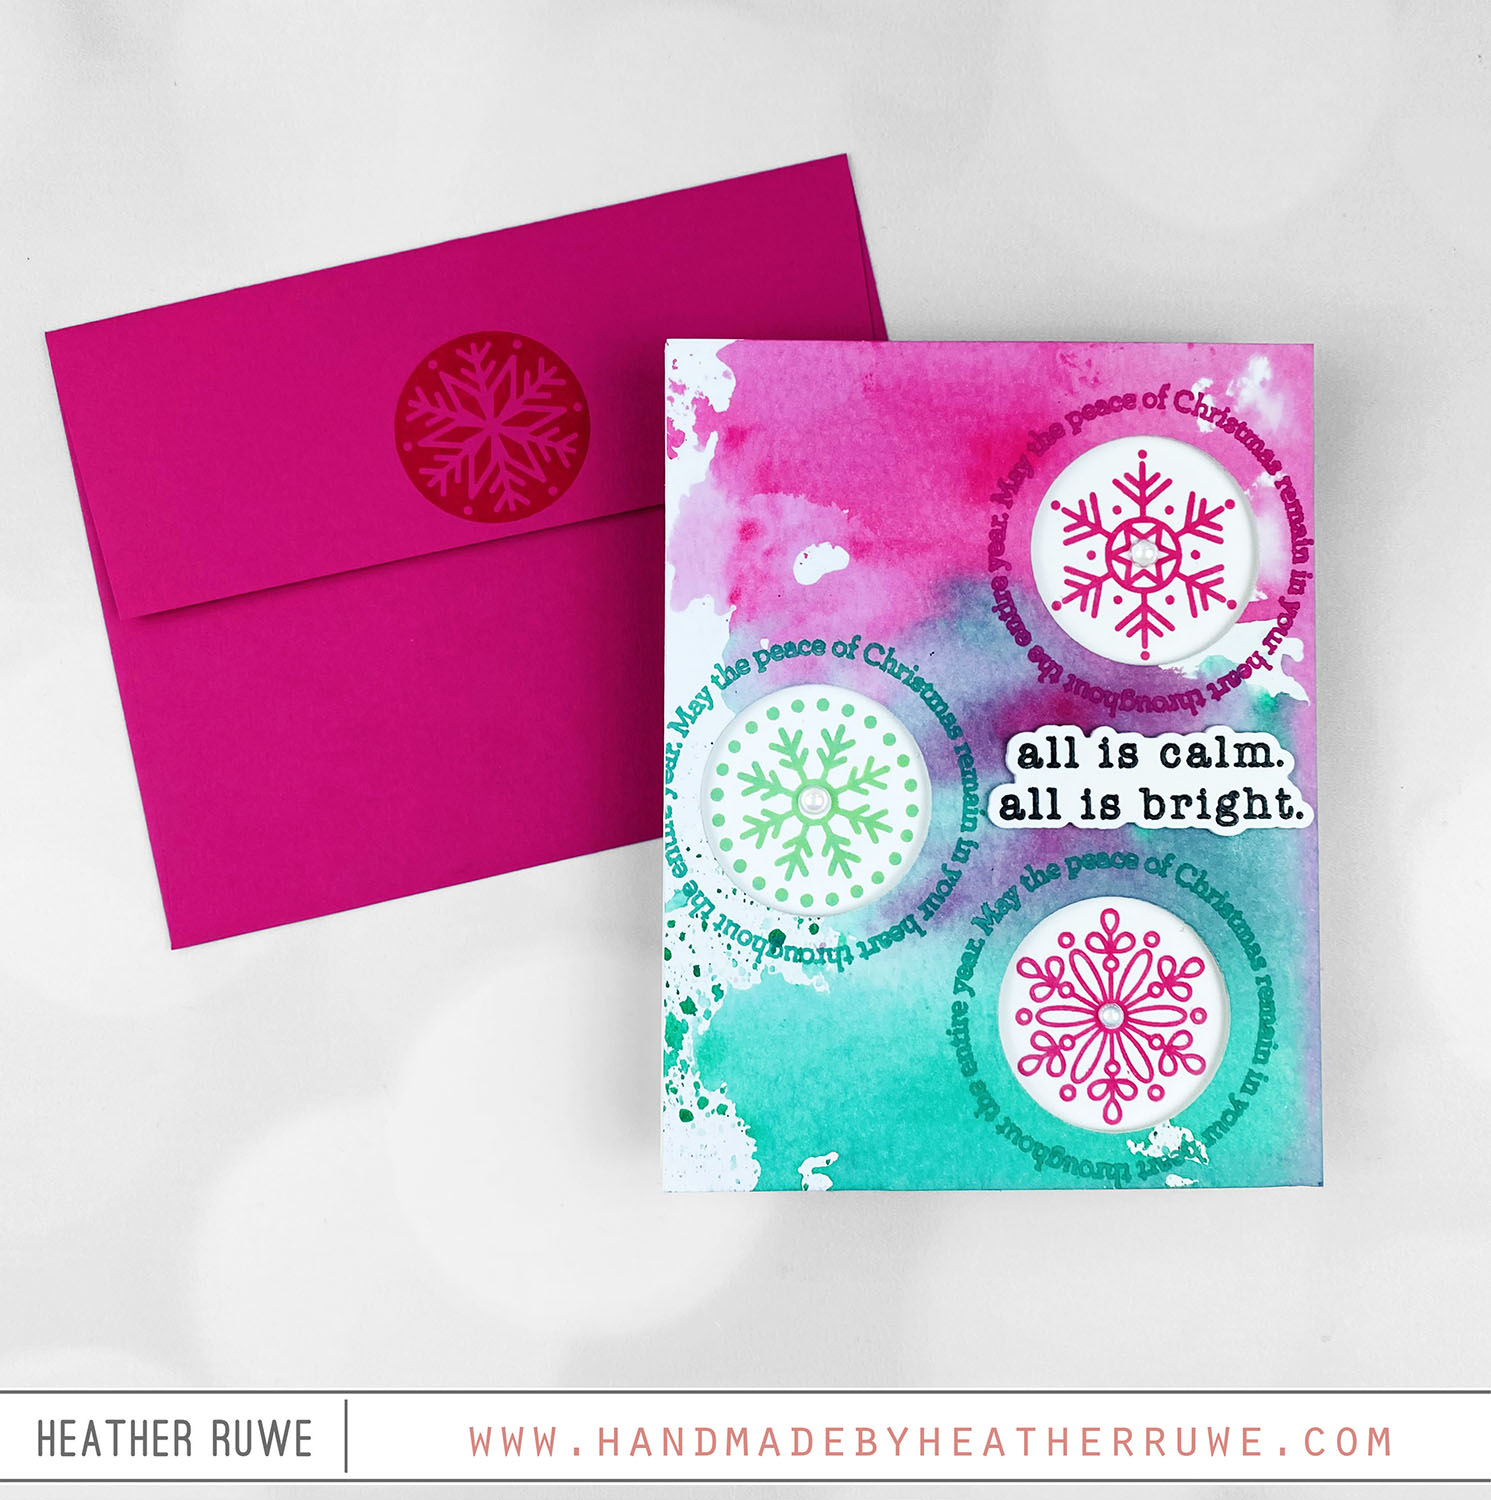
Peace Card