Hoppy Days Ahead Card Kit

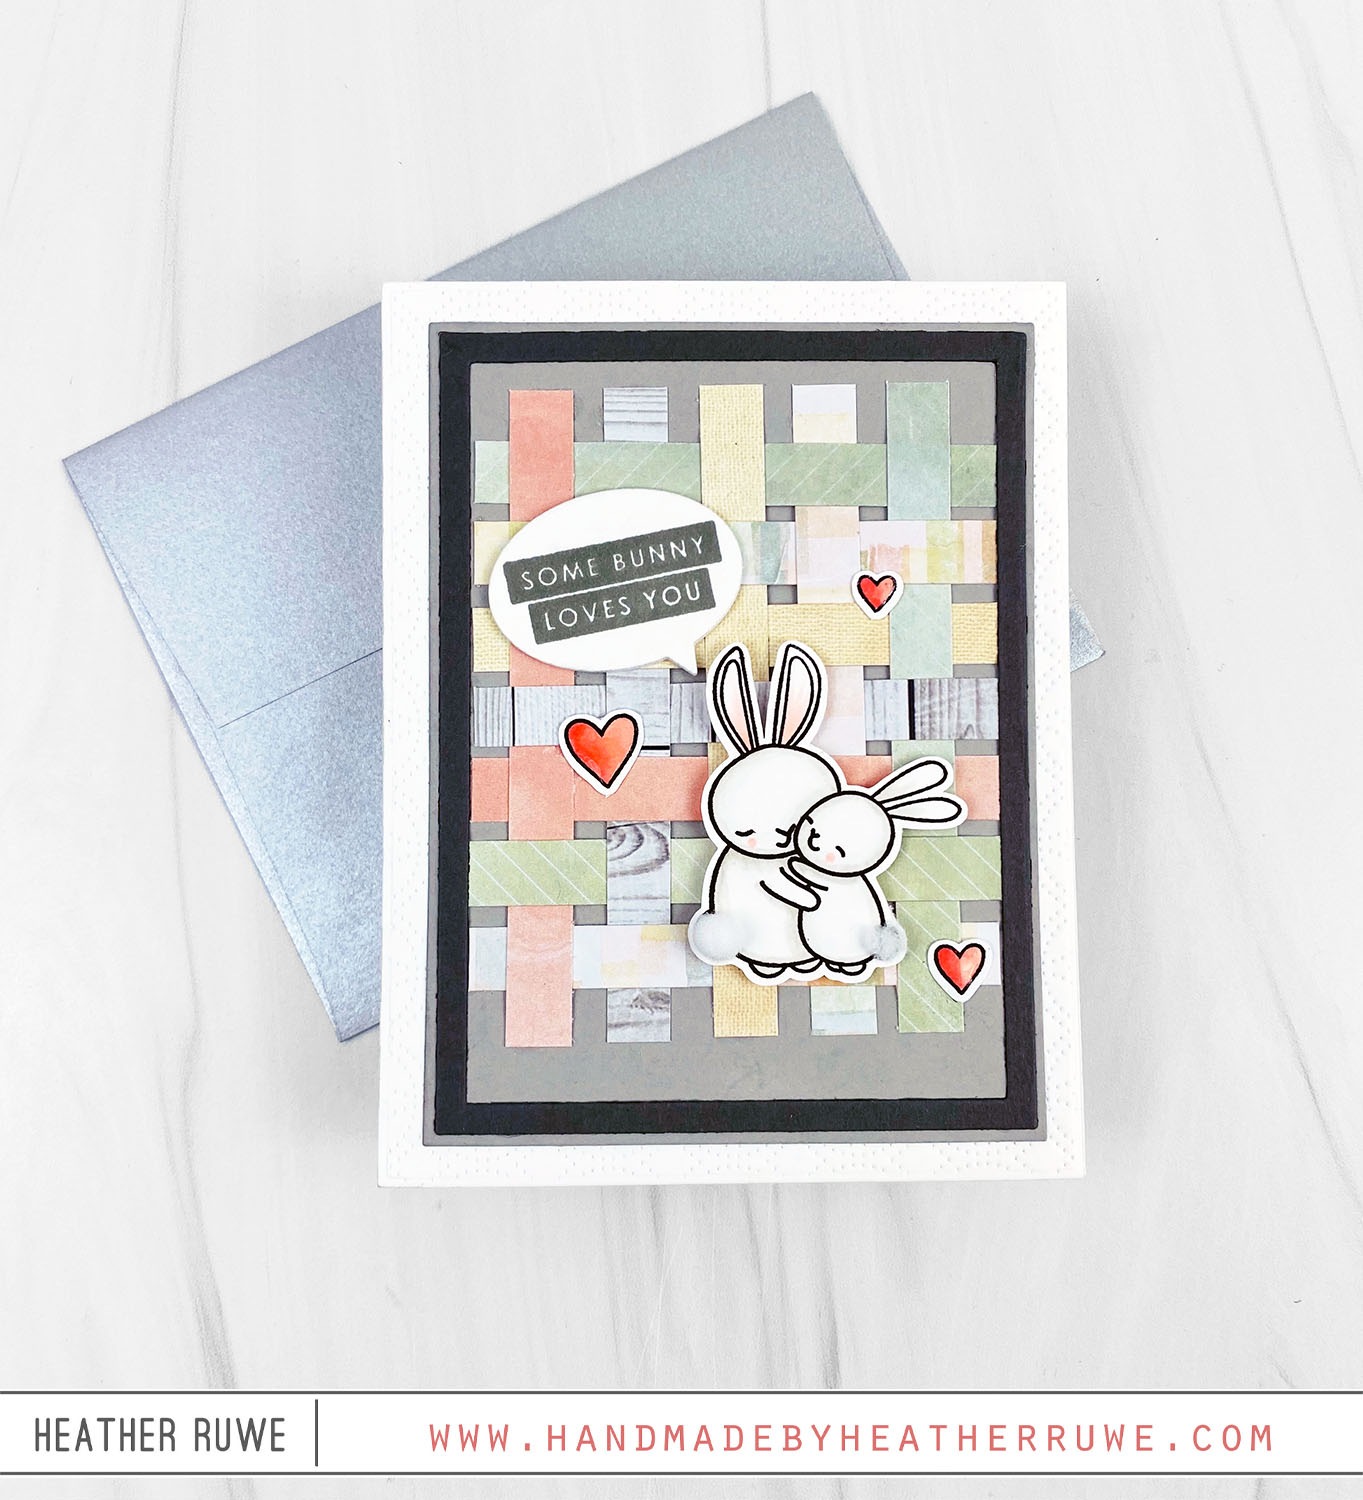
Hello again, crafty friends. Today’s card features THIS new card kit from Simon Says Stamp… I started by cutting the patterned paper into small strips. I laid out all of the strips vertical first. It was a row of five and adhered only the very top of each strip to the gray panel. I started weaving in the remaining strips horizontally. Once I was happy with the placement, I added dots of liquid glue...
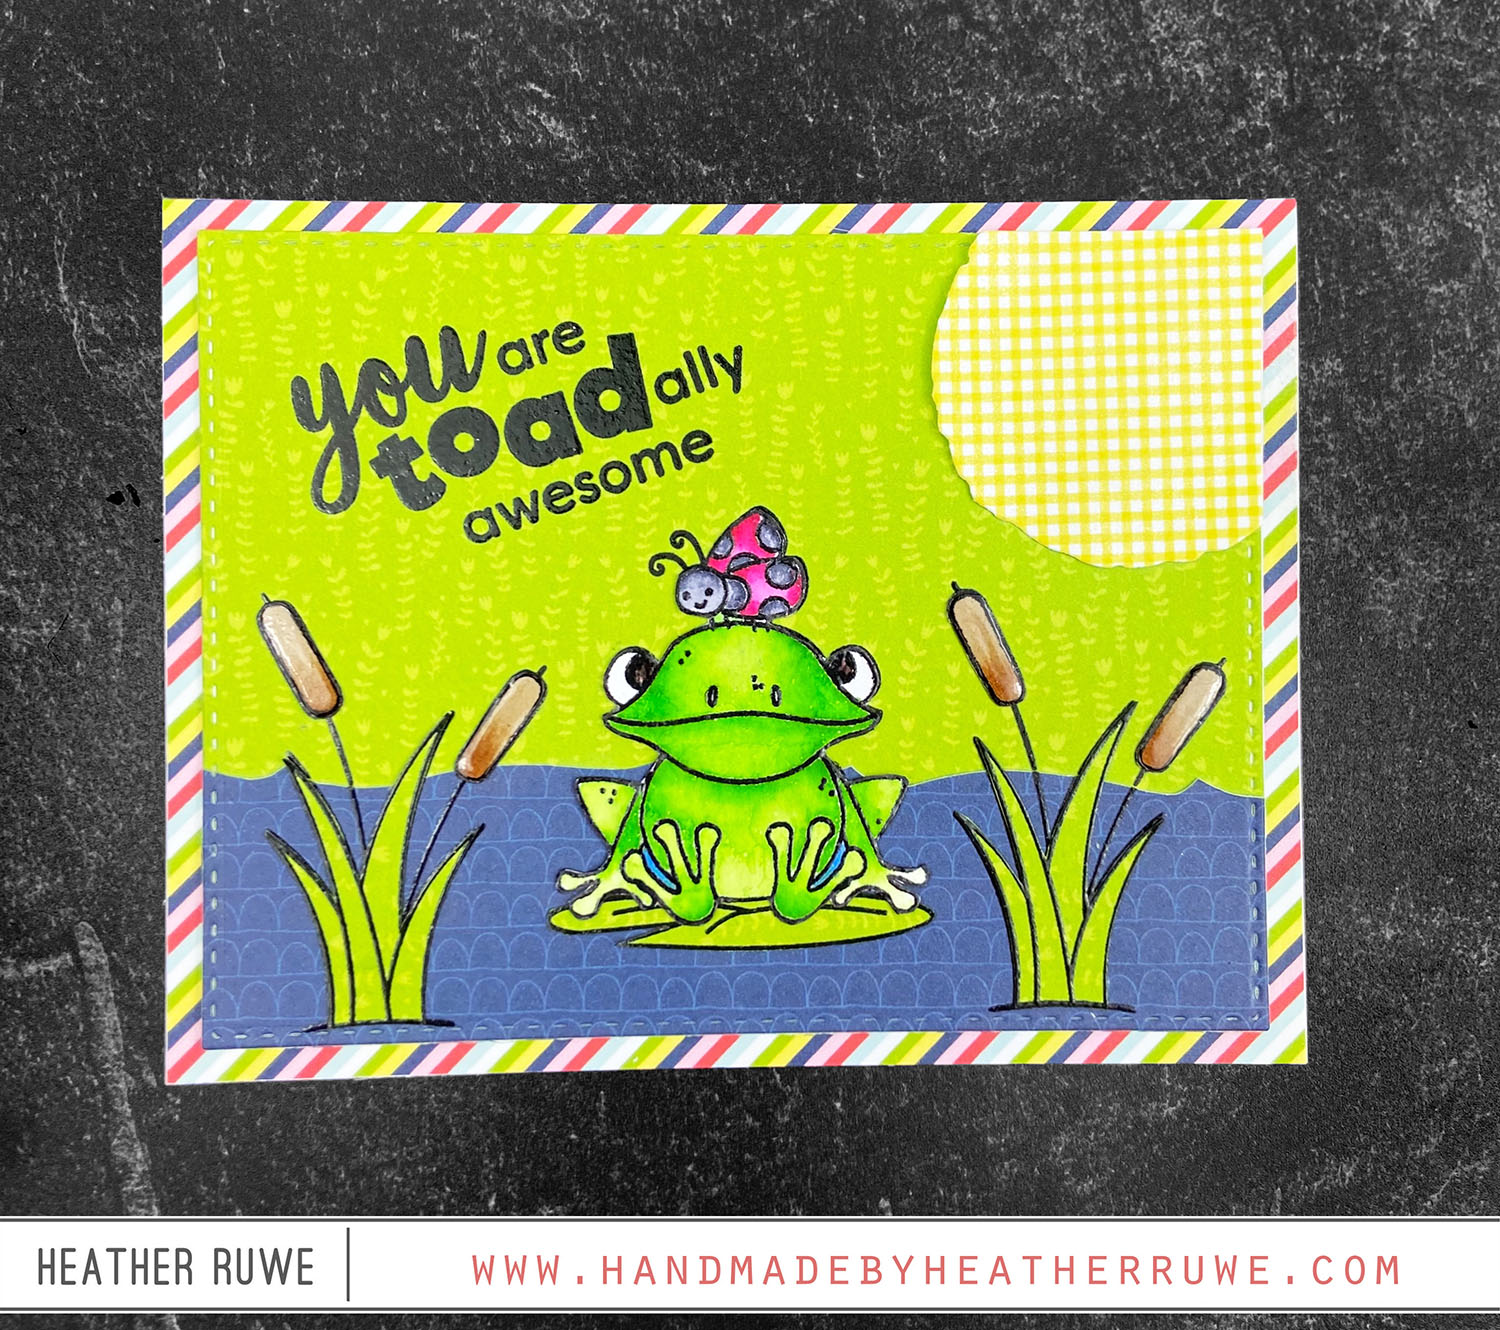
Season of Sentiments Card Kit

Hi, crafty friends. I have a card set to share today that features the February Card Kit from Simon Says Stamp… I started by stamping the large floral image from the Orchid Rose Bouquet Stamp set on six pieces of Concord & 9th cardstock panels. I used the coordinating ink color and stamped it repeatedly to get a darker image. I adhered the pieces to a top folding, white notecard and rounded the two...

Even More Warmest Wishes Card Kit Inspiration

Hello, crafty friends. I have even more inspiration to share today using the Warmest Wishes Card Kit… To create this card, I cut down one of the kit’s patterned paper to A2 size. I used the kit’s embossing folder to emboss the panel and adhered it to a white note card. I stamped, colored, and cut out the images from the kit’s stamp set and adhered them on a snow bank. I finished it...

Warmest Wishes Card Kit

Hello, crafty friends. Today’s card features the January 2022 Card Kit from Simon Says Stamp… To create this card, I started by applying ink through the — stencil included in the kit. I used a rainbow of Simon’s saturated inks (which blend beautifully). I trimmed down the panel into four panels and adhered them to a gray A2 panel. I stamped and Copic colored one of the snowman images from the kit’s stamp set...

Santa’s Helpers Card Kit

Hello, crafty friends. Today’s card features the new card kit from Simon Says Stamp… To create this card, I started by stamping a trio of elf images from the Santa’s Helpers stamp set (included in the kit) on a slimline panel and colored them in with Copic Markers. I also stamped the images on masking paper and fussy cut them out. After placing them on top of the stamped images, I applied a strip...

Cozy Wishes Card Kit

Hi, crafty friends. Today’s card share features the November Card Kit from Simon Says Stamp… I started by creating the background. I stamped the dot cluster image from the Cozy Wishes Stamp Set on a piece of navy cardstock using white pigment ink. After it was dry, I used the Slimline Scallop Frame to cut it out. I adhered the pieces to a slimline card base made from the silver cardstock in the kit....

So Talkative Card Kit

Hello, crafty friends. The October 2021 Card Kit from Simon Says Stamp is now available! I used it to create these three cards… I started by creating the background. The kit comes with a 6×8 stamp set (called So Talkative) that includes a ton of fabulous sentiments. I picked out several and arranged them on an A2 sized white panel, leaving room for the main sentiment in the middle. I picked them all up...

Sunshine Flowers Card Kit

Hi there, crafty friends. I’m sharing a card set today created from the September Card Kit from Simon Says Stamp… I started by stamping the large floral image from one of the kit’s stamp set on to three card bases created from colored card stock in the kit. I stamped it at the bottom and flipped the card around to stamp it at the top. I also stamped it on the flap of the...

Toadally Unfrogettable Card Kit Part Two

Hello, crafty friends. I’m back with more inspiration from the August Card Kit from Simon Says Stamp… I decided to create another scene card but I used the patterned papers in the kit to do some paper piecing. I started by covering the front of the note card with the stripe patterned paper. I used the kit’s stencil to create the water by tracing it on a blue patterned paper and cutting it out....

Toadally Unfrogettable Card Kit

Hi, crafty friends. Today’s card share features the August Card Kit from Simon Says Stamp… How cute are those images!? I started by embossing a piece of watercolor card stock with the embossing folder included in the kit. I laid down a A2 rectangle mask in the center of the panel and then laid the Build a Frog Pond stencil (included in the kit) on top and inked up the bottom portion to create...