Let’s Celebrate Card Kit

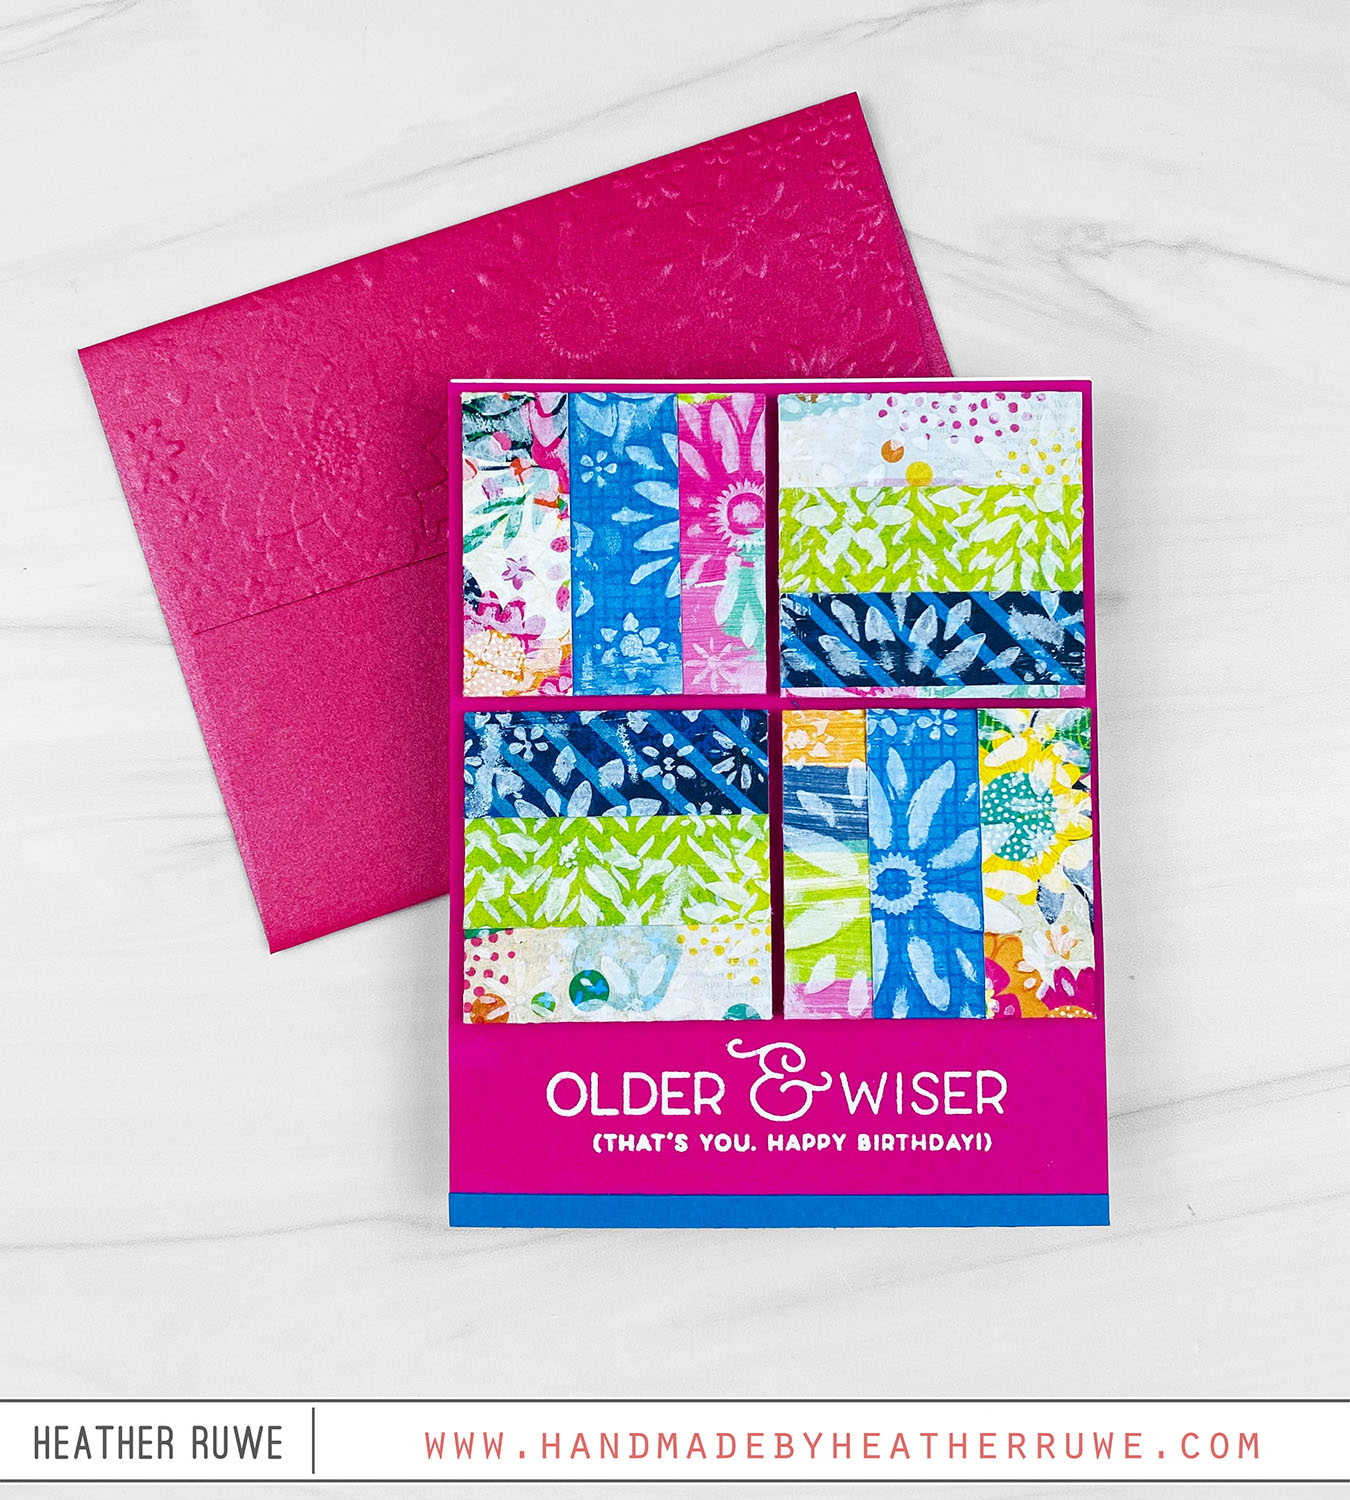
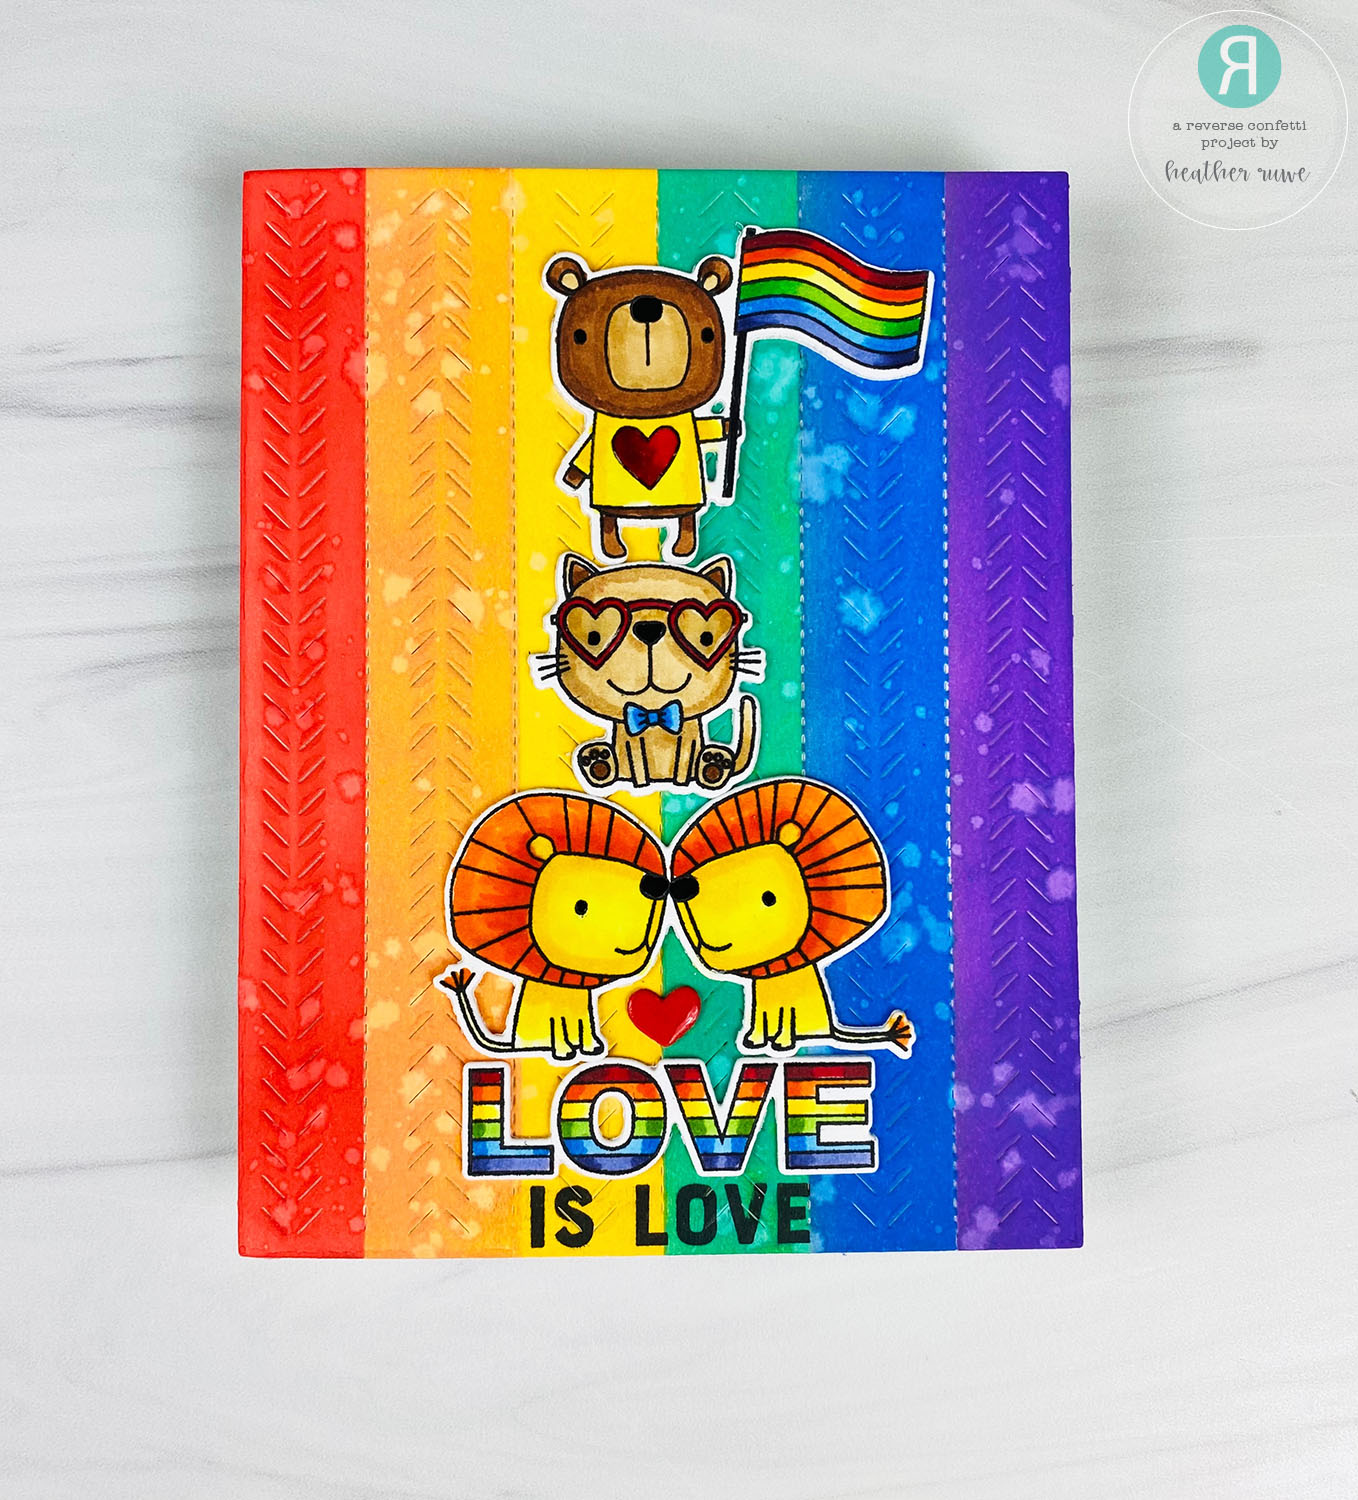
Hello there, crafty friends. Today’s card features THIS new card kit from Simon Says Stamp… The kit has some vibrant and fun patterned papers so I chose a few to cut into 1 inch strips and adhered them to a white panel to create a striped pattern. I used the kit’s embossing folder to create a pattern on top of the pattern paper. I used a brayer and applied white pigment ink on top...

Faux Watercolor Embossed Background

Hello there, crafty friends. I have a birthday card to share today featuring a faux watercolor embossed background… To create this card, I started with the background. I started by applying a variety of Distress Oxide inks on a piece of acetate. I spritzed it with water and laid a piece of watercolor card stock into the ink. I spritzed more water on the panel itself to get a softer color and get the...

More Dream Big Release Inspiration

Hello again, crafty friends. I have a “magical” scene card to share today featuring products from THIS new release… To create this card, I started with the background. I applied alcohol ink along with rubbing alcohol on to a slimline piece of Yupo paper to create a sky. I adhered the piece to a white slimline card base. I stamped and Copic colored the adorable unicorns and images from THIS stamp set. I used...

Birthday Bears Card

Hello again, crafty friends. I’m back with a fun birthday card to share… I started by stamping the Gift Boxes Background using gray ink on gray cardstock for a tone-on-tone look. I used a gray Copic Marker to add a little shading for added interest. I stamped and Copic colored the images from the Birthday Bears stamp set. I used the coordinating dies to cut them out and adhered them to the background. I...

More Let’s Chill Release Inspiration

Hello, crafty friends. I have a slimline card to share today featuring THIS new stamp set… I started by creating the background. I cut a slimline panel from yupo paper and applied a variety of blue alcohol inks to it along with rubbing alcohol to resemble a sky. I stamped and Copic colored the images from the Soaring Birthday stamp set and used the coordinating dies to cut them out. I adhered the images...

Reverse Confetti Birthday Card

Hi, crafty friends. I have a fun birthday card to share today… To create this card, I die-cut the Folklore Cover Panel from white cardstock. I stamped the sentiment from the Birthday Buddies Banter stamp set along the bottom using black pigment ink. I die-cut several pieces of colored cardstock from the Large Rainbow Circle die and stamped the flower image on top from the Wildflowers stamp set using clear ink. I stamped the...

Reverse Confetti June 2022 Creative Hop

Hello again, crafty friends. I’m excited to be a part of THIS Blog Hop. My card features products from THIS release… VIDEO I also have a video on how I created this card along with tips for conquering creative block! You can watch the video on how I created this card HERE or click on the video below… To create this card,  I started by die-cutting the Folklore Cover Panel from white cardstock. I love...

Happiest Wishes Card Kit

Hello, crafty friends. Today’s card showcases THIS new card kit from Simon Says Stamp. To create this card, I started by die-cutting the 3-D card die twice from Sea Glass Cardstock. I stenciled on clouds using white pigment ink with the Clouds for Days stencil and stamped a sentiment from the kit’s stamp set. I stamped the adorable critters from the same stamp set on a 2 3/4 x 5 1/2 white panel and...

Reverse Confetti Gift Card Holders + Video

Happy Friday, crafty friends. Reverse Confetti has a new release HERE and today’s cards feature some of the new products… I give a lot of gift cards for birthdays and the holidays and I’m always looking for a way to dress them up to make them feel a bit more personal. Today’s card examples also have a hidden sentiment that is revealed when the recipient removes the gift card for something fun and unexpected....

Happy & Joyful Release

Hi there, crafty friends. Today’s card features THIS new stamp set from THIS new release… I started by applying Glitz Glitter Gel though the Slimline Confetti stencil on a 5×7 white card front. Next, I die-cut and assembled the Big Picture Book Panda and Big Picture Book Big Body die from black and white cardstock. I stamped a party hat and cupcake image from the Time to Party stamp set and used the coordinating...