Season of Sentiments Card Kit

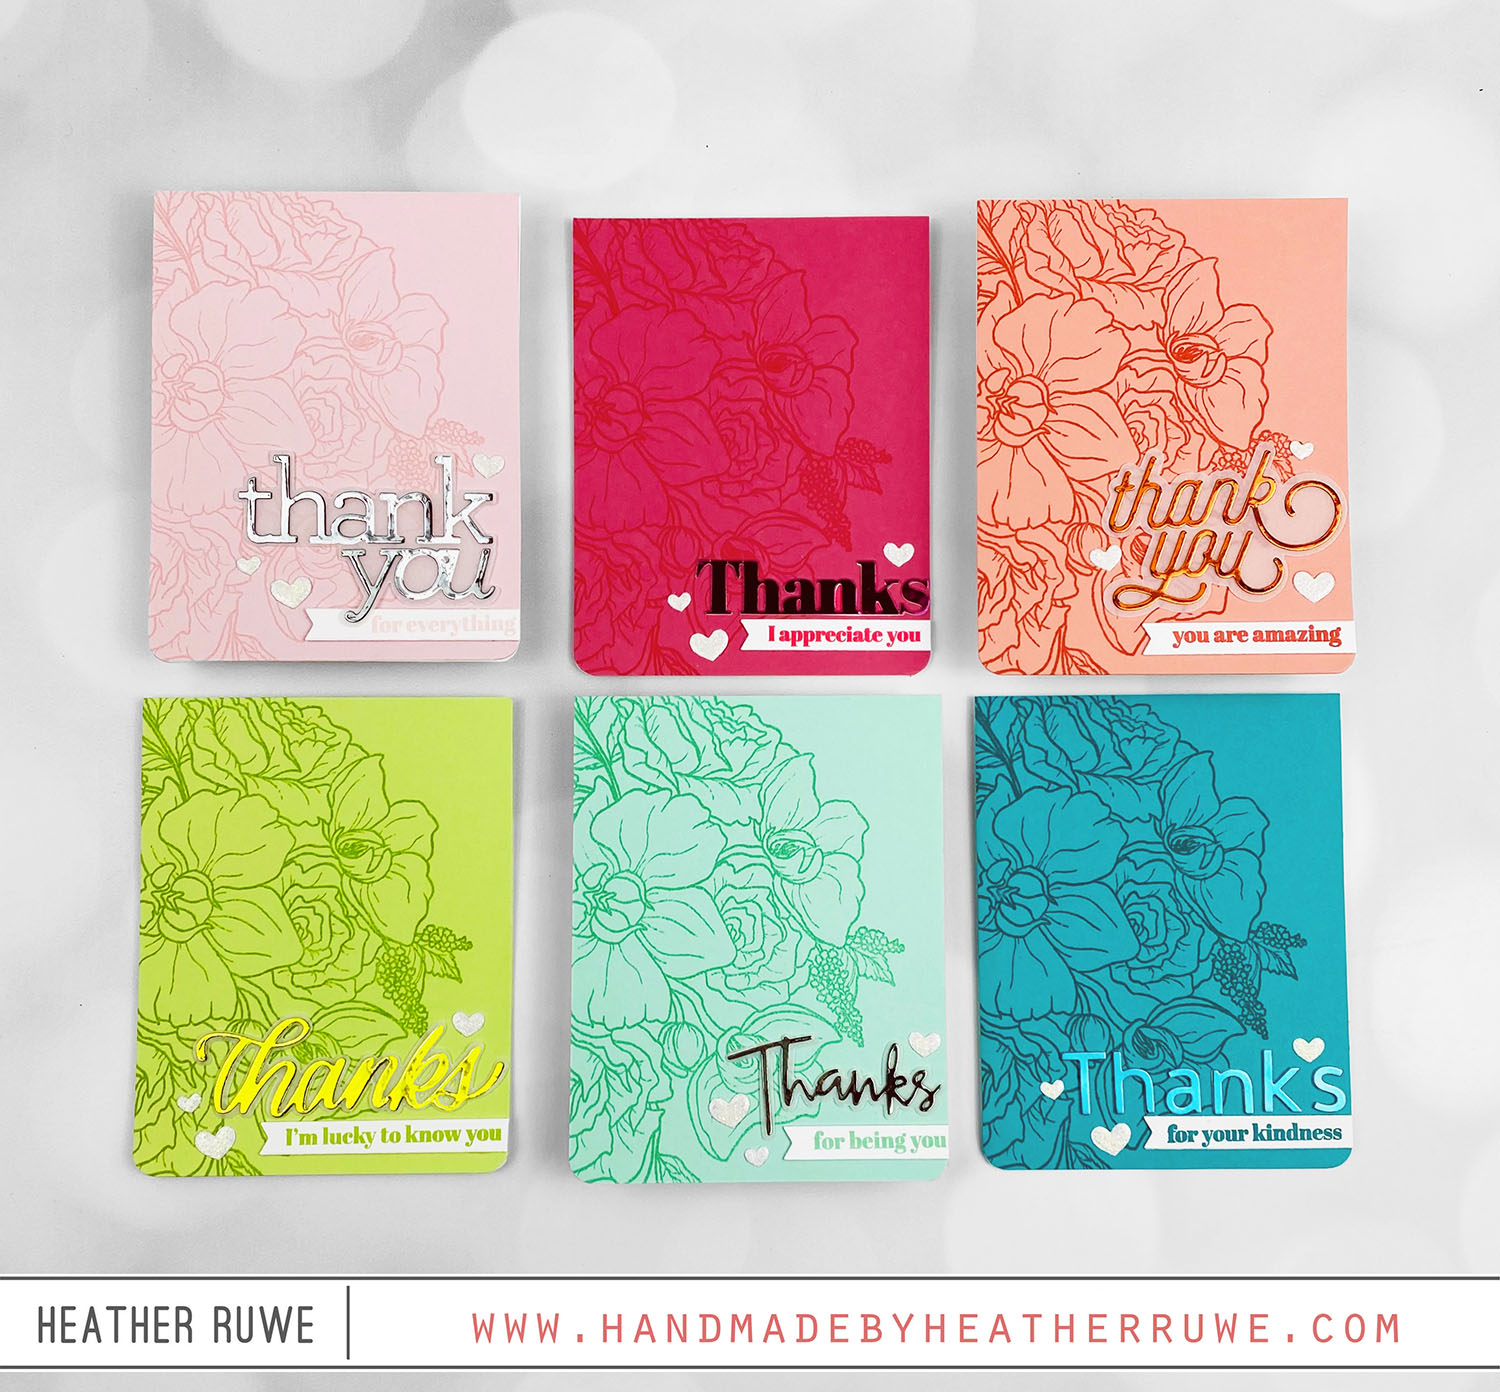
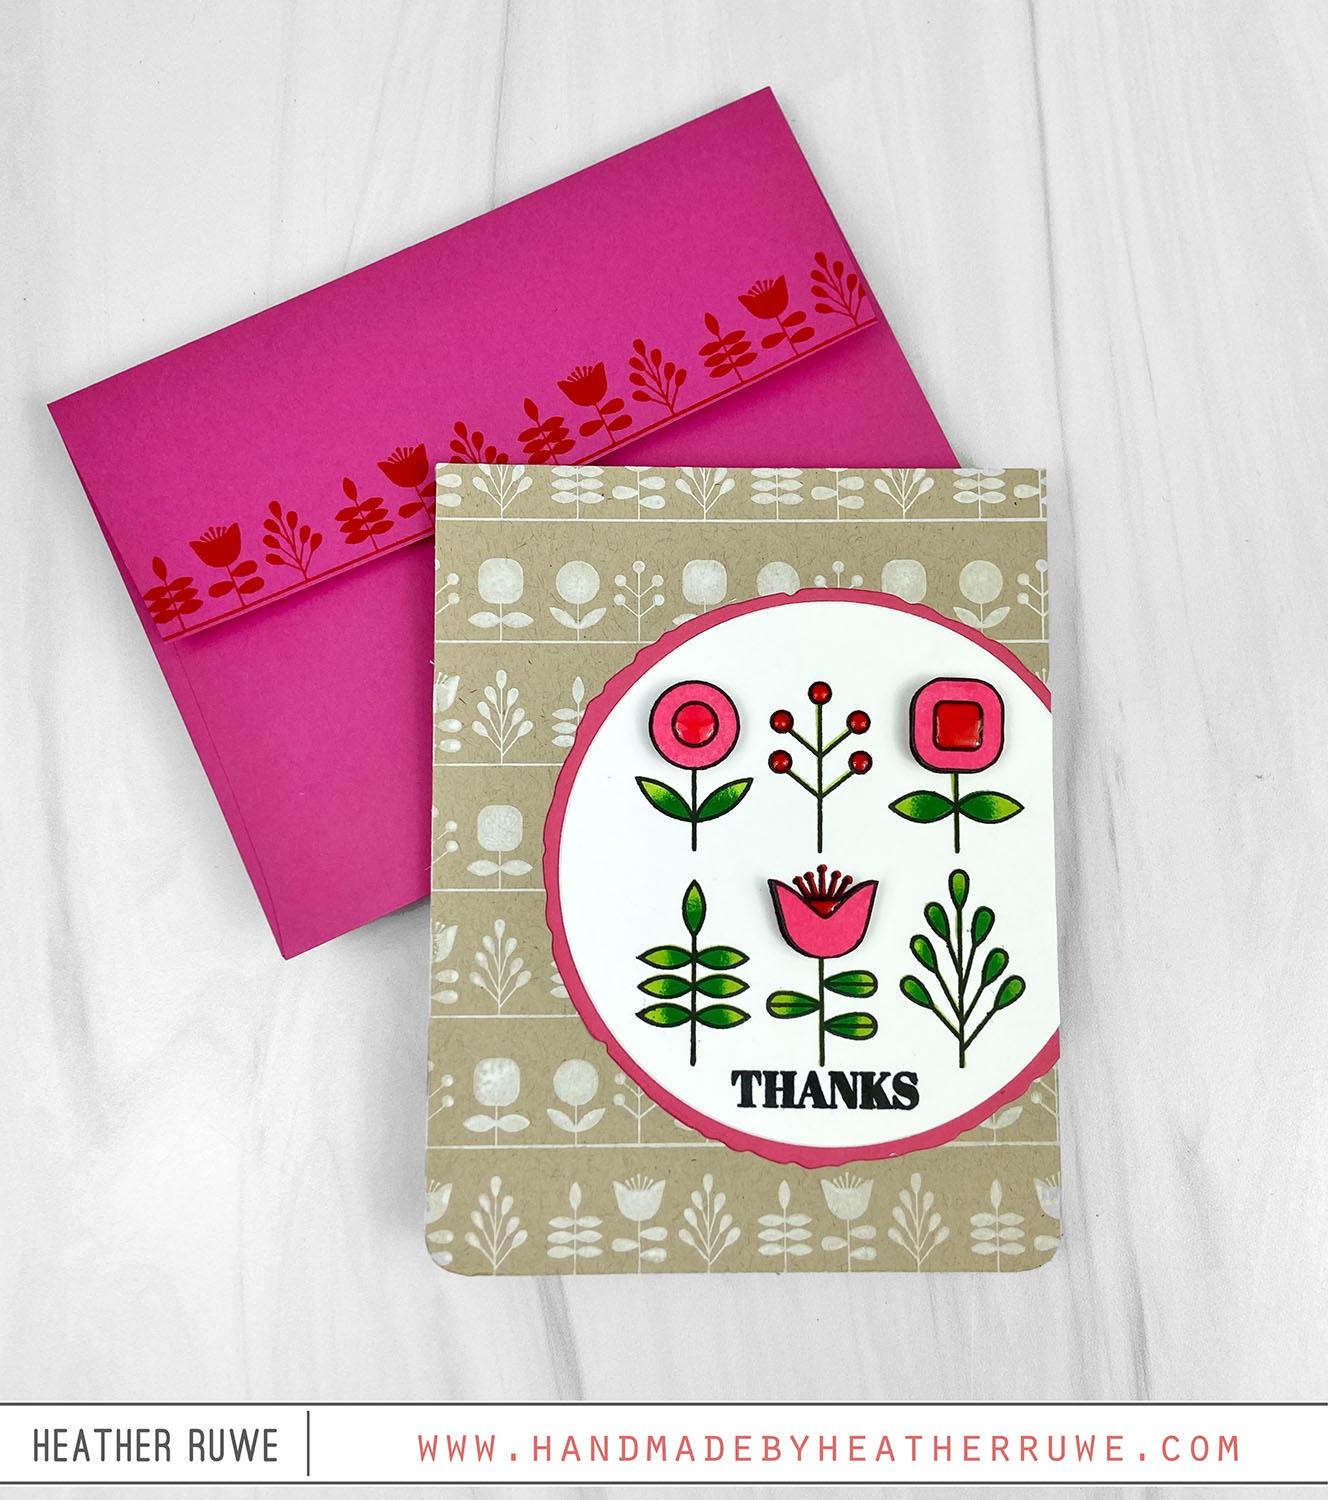
Hi, crafty friends. I have a card set to share today that features the February Card Kit from Simon Says Stamp… I started by stamping the large floral image from the Orchid Rose Bouquet Stamp set on six pieces of Concord & 9th cardstock panels. I used the coordinating ink color and stamped it repeatedly to get a darker image. I adhered the pieces to a top folding, white notecard and rounded the two...
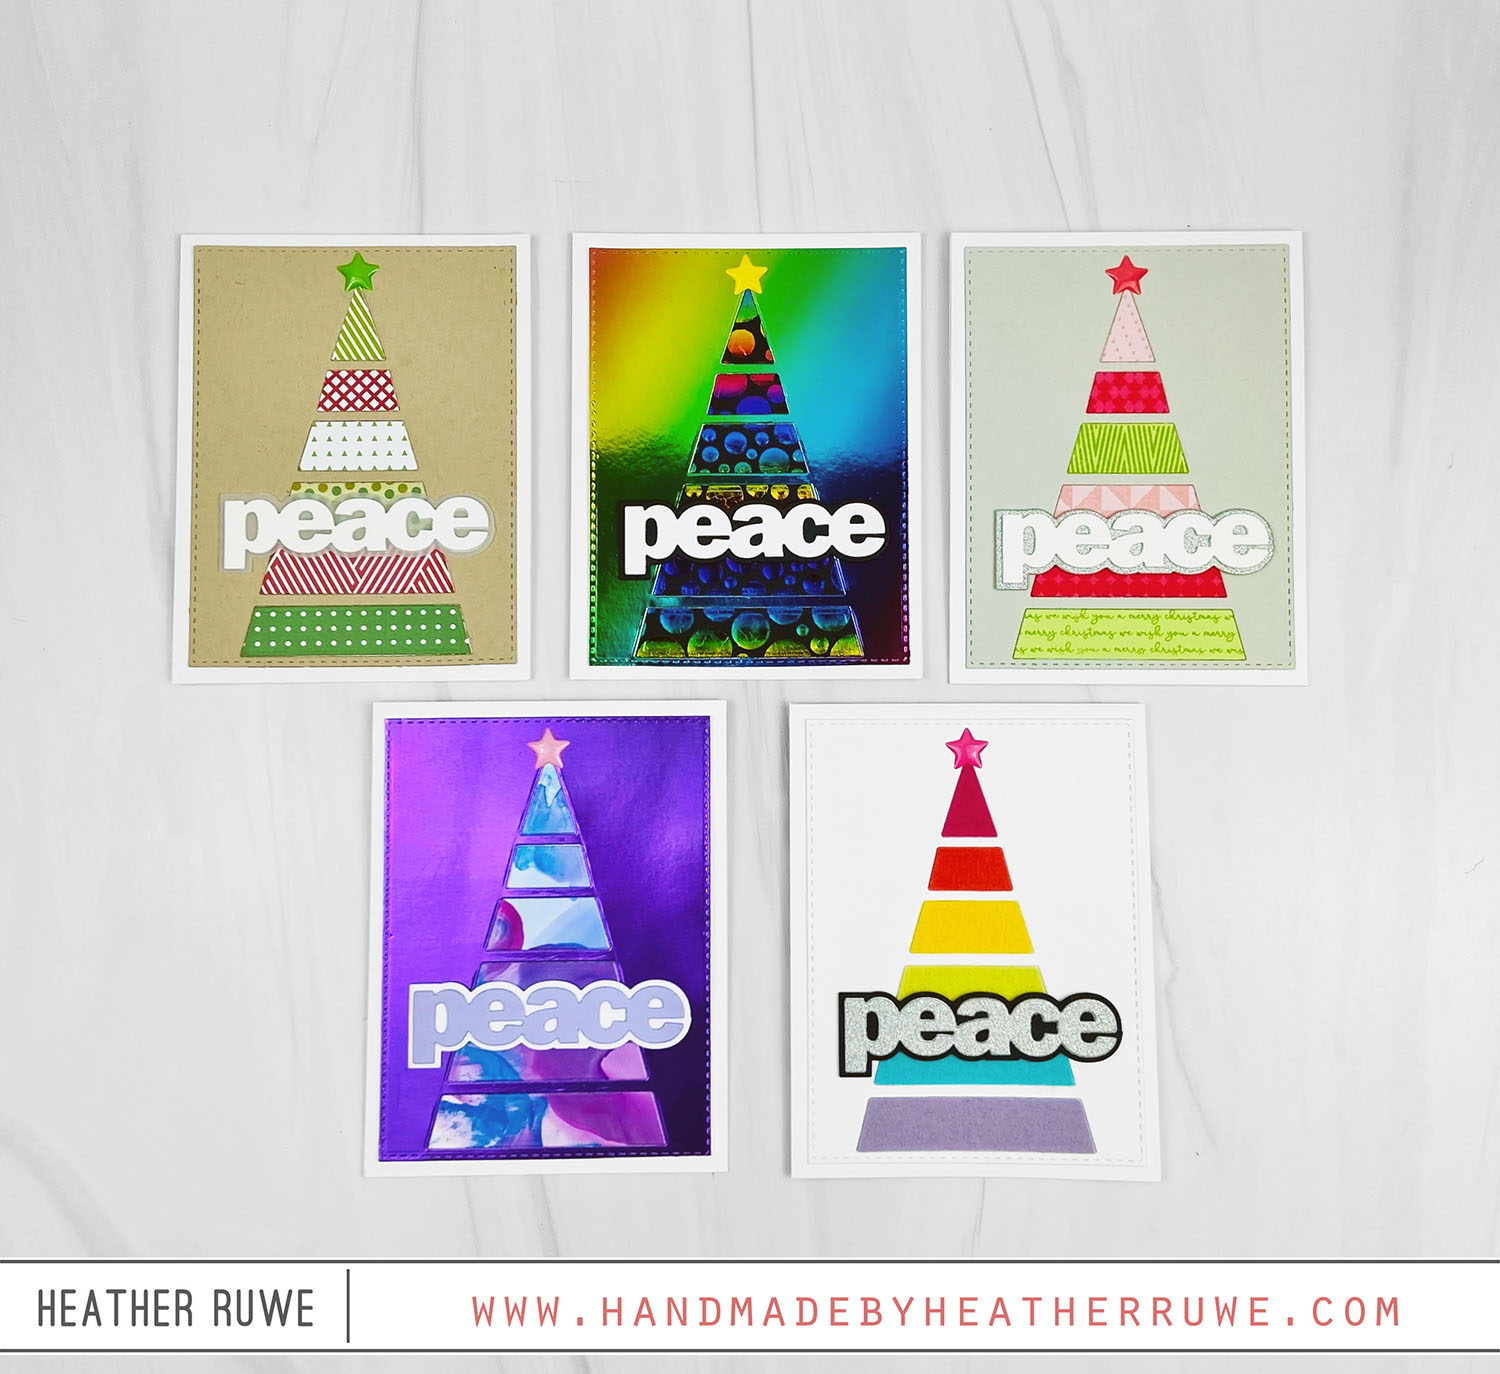
More To The Moon Release Inspiration

Howdy, crafty friends. I’m back with more inspiration using THIS new release by Simon Says Stamp… To create this card, I applied navy ink through the Berries and Leaves stencil on a light blue panel. I embossed the Detailed Pincushion Plate Die on top of the stenciled pattern using an embossing mat in my embossing machine. I just love all the texture it adds. Next, I die-cut the Wreath of Love die from white...

Warmest Wishes Card Kit

Hello, crafty friends. Today’s card features the January 2022 Card Kit from Simon Says Stamp… To create this card, I started by applying ink through the — stencil included in the kit. I used a rainbow of Simon’s saturated inks (which blend beautifully). I trimmed down the panel into four panels and adhered them to a gray A2 panel. I stamped and Copic colored one of the snowman images from the kit’s stamp set...

Embossing Folder Faux Watercolor Background

Hi, crafty friends. THIS recent release from Simon Says Stamp has some fantastic embossing folders in it. I used the Delicate Pine Branches folder on today’s card… To create the background, I applied a few green Distress Oxide inks to one side of the embossing folder (not the raised side, the one with the grooves) and spritzed it with shimmer spritz. I laid the cardstock inside and ran it through my die-cut machine creating...

So Talkative Card Kit

Hello, crafty friends. The October 2021 Card Kit from Simon Says Stamp is now available! I used it to create these three cards… I started by creating the background. The kit comes with a 6×8 stamp set (called So Talkative) that includes a ton of fabulous sentiments. I picked out several and arranged them on an A2 sized white panel, leaving room for the main sentiment in the middle. I picked them all up...

Reverse Confetti Holiday Release Blog Hop

Hi there, crafty friends.  I’m excited to be part of THIS blog hop celebrating THIS new Reverse Confetti release. For all of the cards, I die-cut a panel using the Stitched Rectangles die and then die-cut the Tree die from the center and inlaid different cardstocks and specialty papers/materials. I added the Layered Peace die on top and finished the design with a star on top. These cards are so fun to mass produce...

New Distress Christmas Collection

Hi there, crafty friends. Tim Holtz just released some new seasonal products with Ranger and they are amazing. I used a few to create this card… I wanted to create a non Holiday card to show you that these products will elevate any style of card. To create this card, I started by creating the background. I sprayed a mix of Distress Spray Stains and Distress Oxide Sprays along with water on a panel...

STAMPtember 2021-Printmaking Florals

Hi there, crafty friends. My next STAMPtember inspiration project features the Printmaking Florals stamp set and Printmaking Floral Background Stamp (linked at the bottom of this post)… To create this card, I stamped the Printmaking Florals Background using white pigment ink on kraft card stock. I die-cut two circles using the Deckle Edge Circle Dies from colored cardstock and two regular circles from white cardstock. I stamped the outline image from the Printmaking Florals...

STAMPtember 2021

It’s finally here! Happy STAMPtember, crafty friends! If you’re unfamiliar with STAMPtember, it’s a month long stamping celebration hosted by Simon Says Stamp. There is so much in store for this month, but let’s kick off the party with today’s card featuring goodies from release (all linked at the bottom of this post)… I covered an A2 card front with kraft woodgrain cardstock for texture. I stamped the leaves from the Painted Leaves Stamp...

Happy Mail Card

Hello, crafty friends. Who doesn’t love to receive a little happy mail!?… To create this card, I started by stamping the Raining Envelopes multiple times using white pigment ink on a kraft panel. I stamped the Mail’s Here image and colored it with Copic markers.  I used the coordinating die to cut it out. I stamped the Happy Mail sentiment and white heat embossed a sub sentiment on a black card stock strip underneath...