Hello there, crafty friends. Today’s post is bittersweet. It’s part of a farewell post to Reverse Confetti. I have had so much fun being on the design team for Reverse Confetti this year and sad to see them close their doors, but excited for the next chapter for Jen.
I have a card and video to share today…
![]()
VIDEO
You can watch the video on how I created this card HERE or click on the video below…
To create the background, I removed the back plastic from the stamp set, left all the sentiments in place and temporarily taped it inside the door of my MISTI with the sentiments facing up. I used a sticky mat in the MISTI, laid the piece of cardstock on top of the stamp set and flipped it over to get the panel in perfect position for stamping. I inked up all the sentients with a blue ink and stamped it on a piece of blue cardstock because I was going for a subtle tone on tone look. Once the panel was stamped, I trimmed it down to 4 x 5.5 inches.
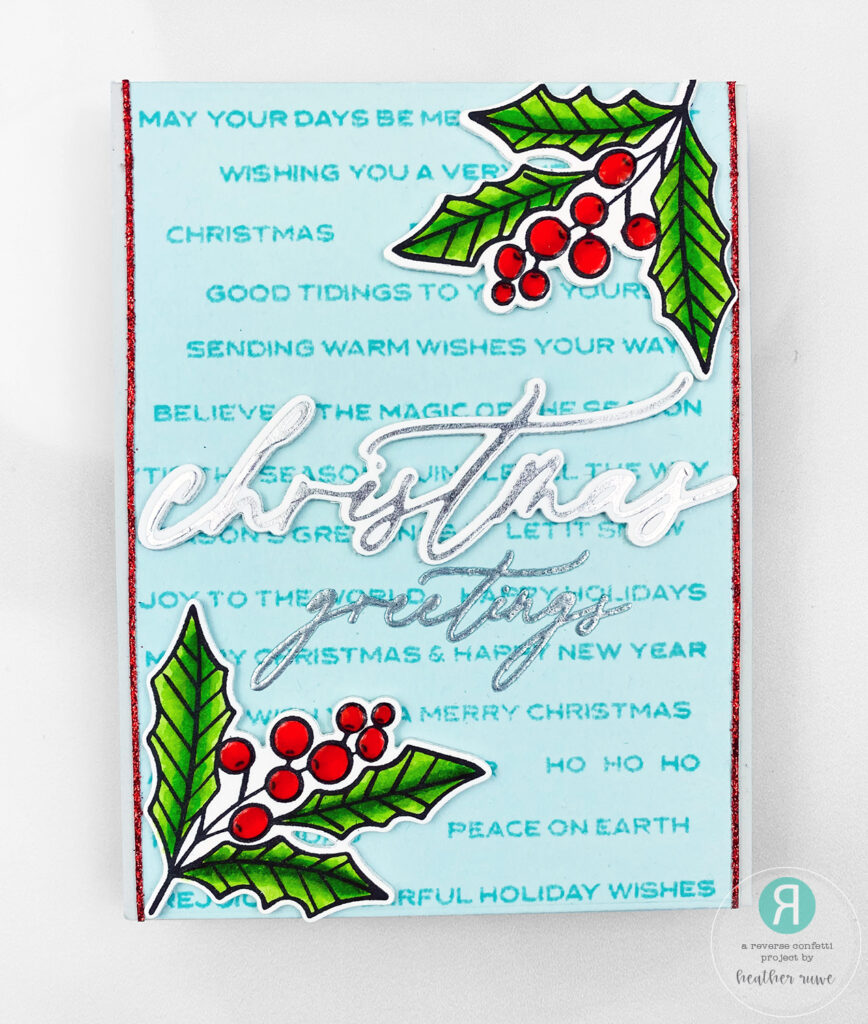
Next, I stamped an image from the Poinsettia stamp set twice. I used the coordinating dies to cut them out. I colored in the images with Copic Markers.
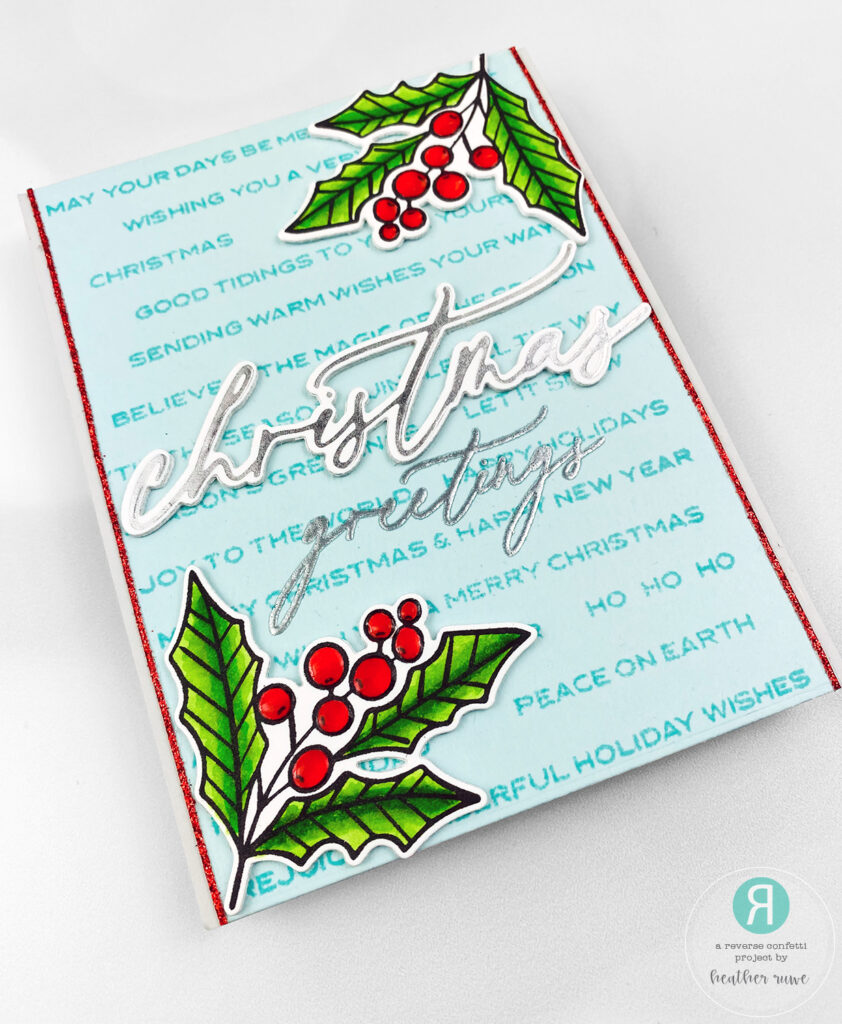
Now it’s time to hot foil the sentiment. I used the Christmas word and coordinating die. I turned on my hot foil machine and let it warm up. Once the green light comes on, I place my die down face up, then a piece of silver foil on top with the pretty side down. Then I put down a piece of white cardstock, the plates on top, and ran it through my die cut machine.
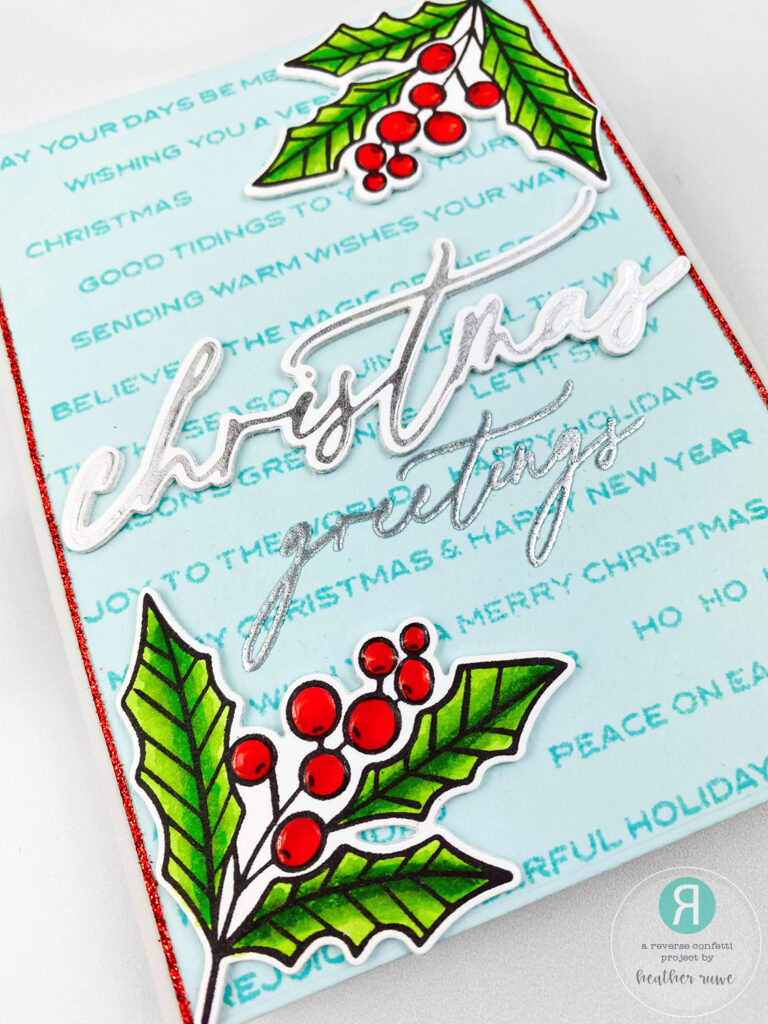
I used the coordinating die to cut out the sentiment. For the remaining part of the sentiment, I cut apart one of these greetings from the Aututmn Sentiments stamp set so I could just have the word greetings. I thought the style of font was similar to the Christmas greeting and would go nicely together. I inked up the stamp with clear ink and heat embossed it with silver embossing powder to resemble the same shine and color of the Christmas foiled word.

(Affiliate links used at no extra cost to you. Thank you for your support.)