Hi there, crafty friends. I have more inspiration to share using THIS new release. I’ve been working on creating Thank You card sets to give to my son’s teachers during Teacher Appreciation week and have a set to share today…
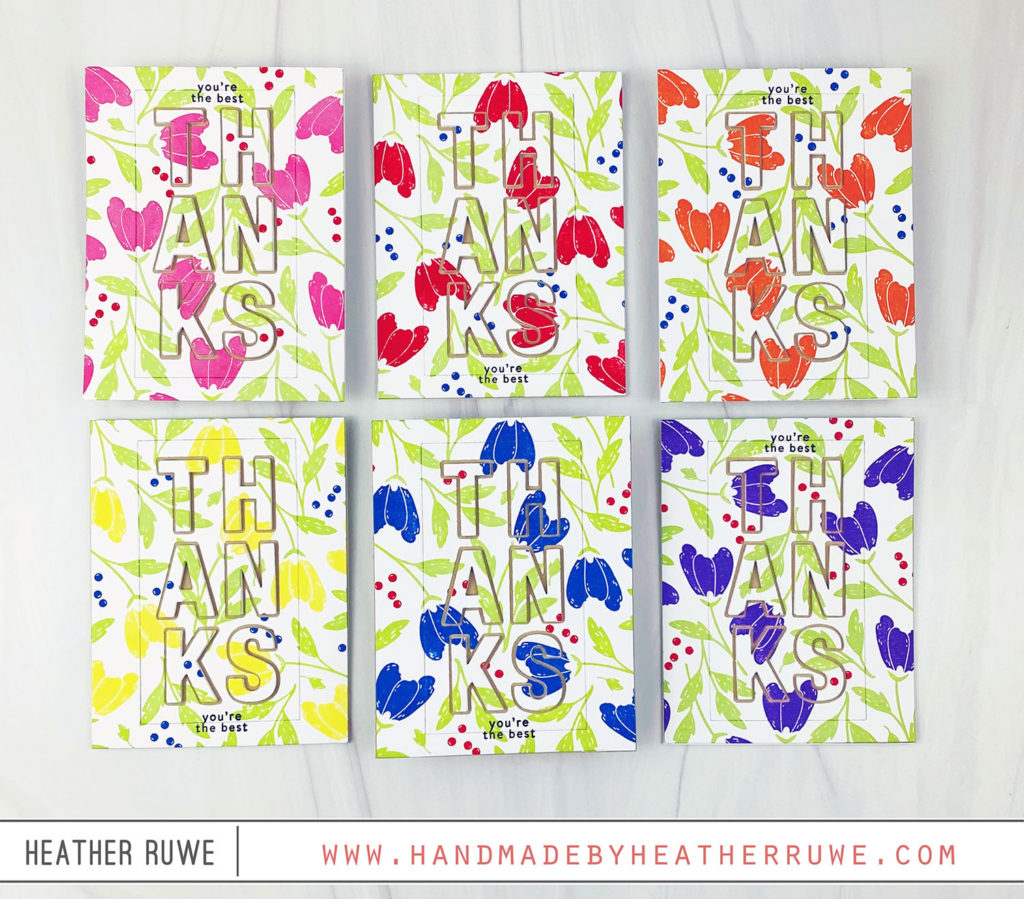 Let’s start with the backgrounds. I started by popping out the pieces that are cut from the Folk Art Flowers Background Stamp. I set them aside in the order that they came off so it would be easy to pop into place for each layer. When you pop all the pieces out, you are left with the background leaves. I inked those up with green and stamped that six times on 6×6 pieces of paper. I like to start with large pieces of paper for my backgrounds so I can choose which section I want to use.
 Next, I popped the flower pieces back into the background piece. Once those were in place, I peeled the background leaves portion away, leaving only the flowers. I inked those up in several colors of Distress Oxide inks and stamped all the panels. I placed the background leaves stamp back on top of the flower pieces and then removed the flower pieces, leaving only the background leaves stamp in the MISTI. I popped in the berries this time and pulled the leaves background off after that, leaving only the berries. The large leaves background acts as a place holder so you can line up the smaller images for each layer.
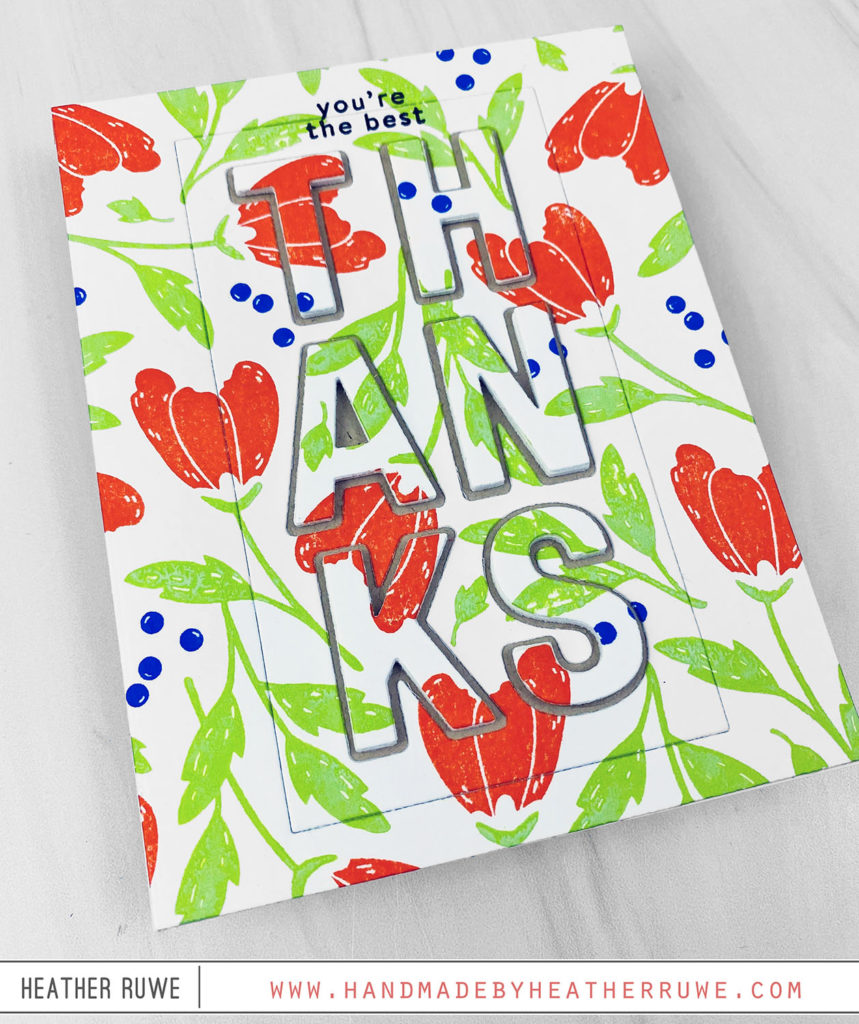
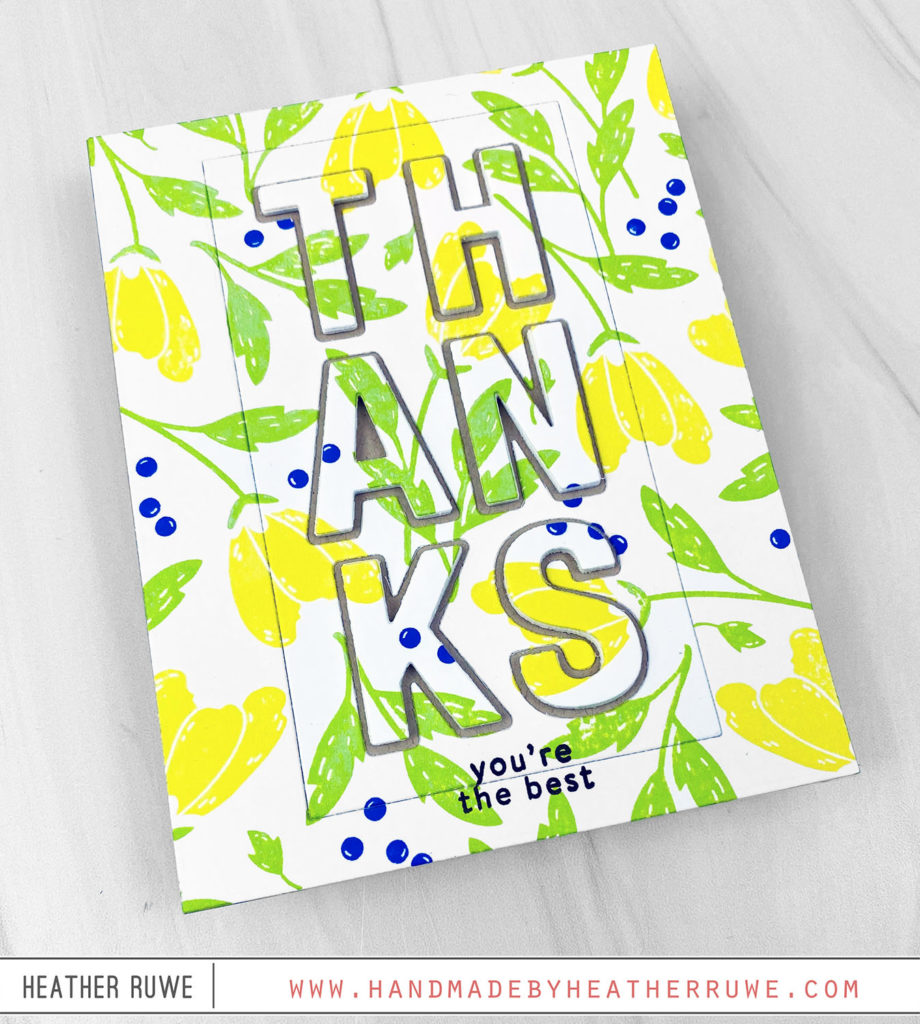
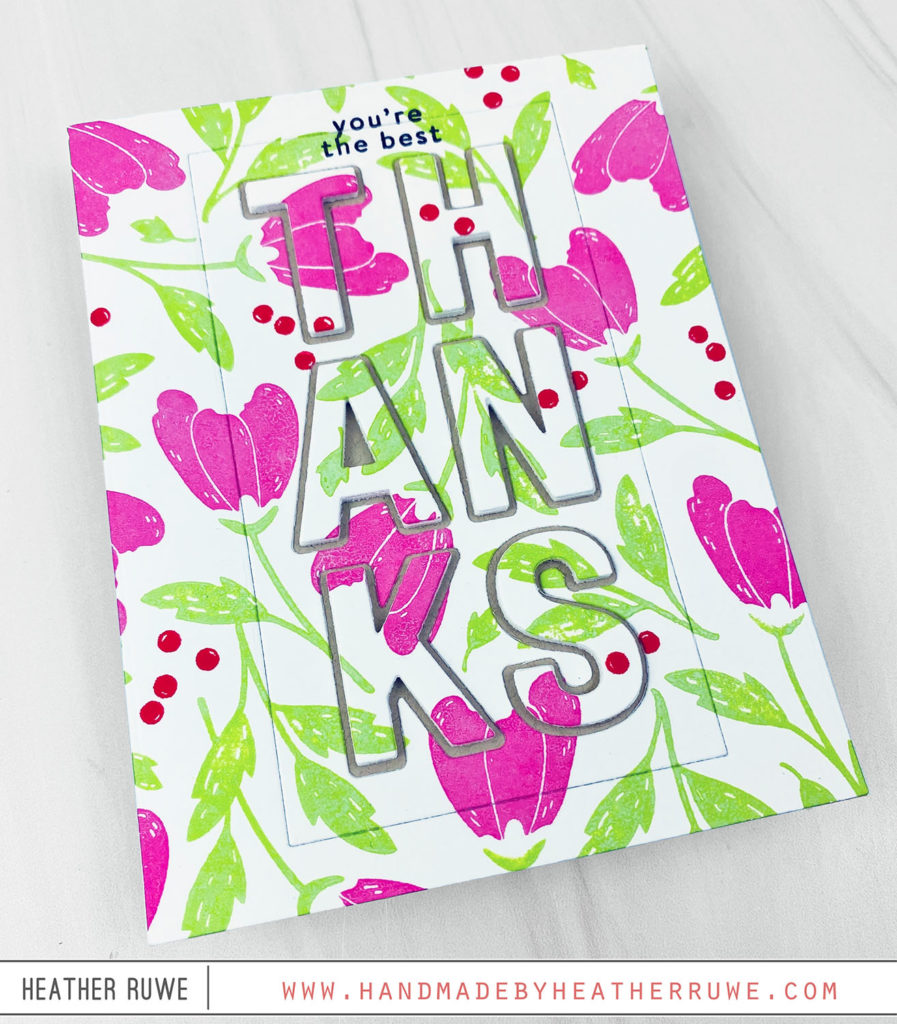
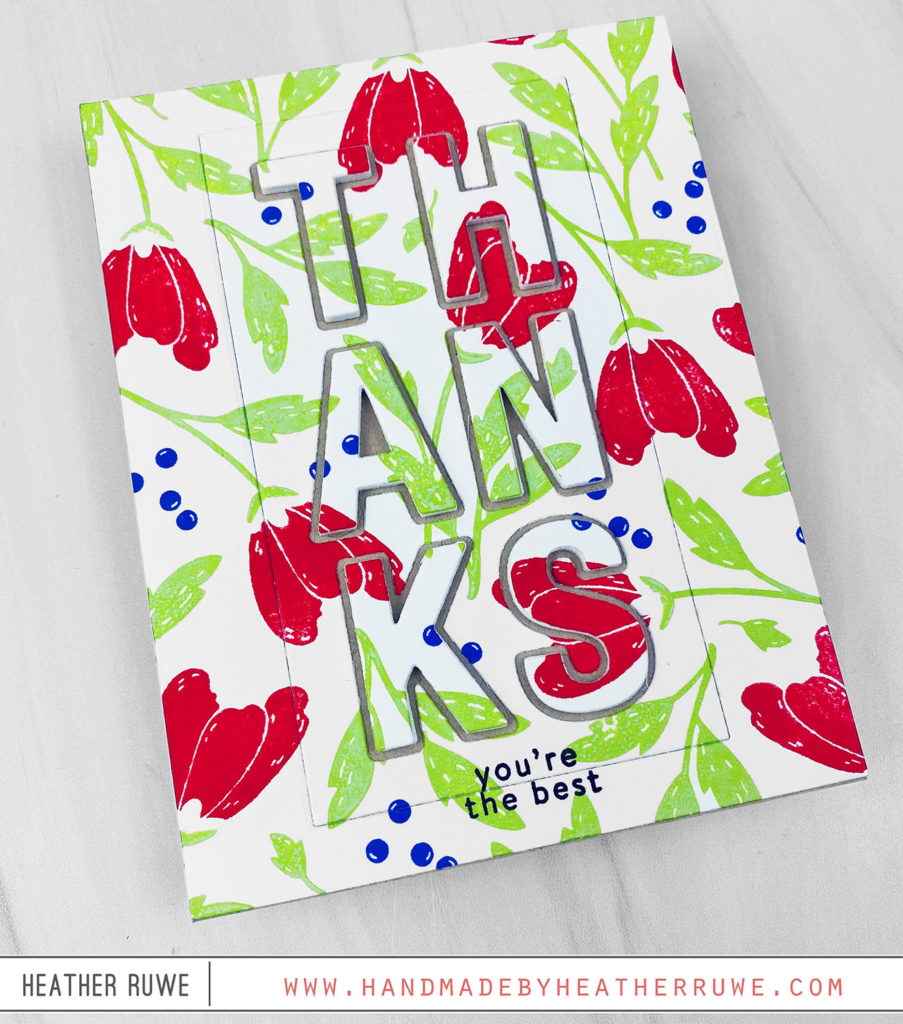
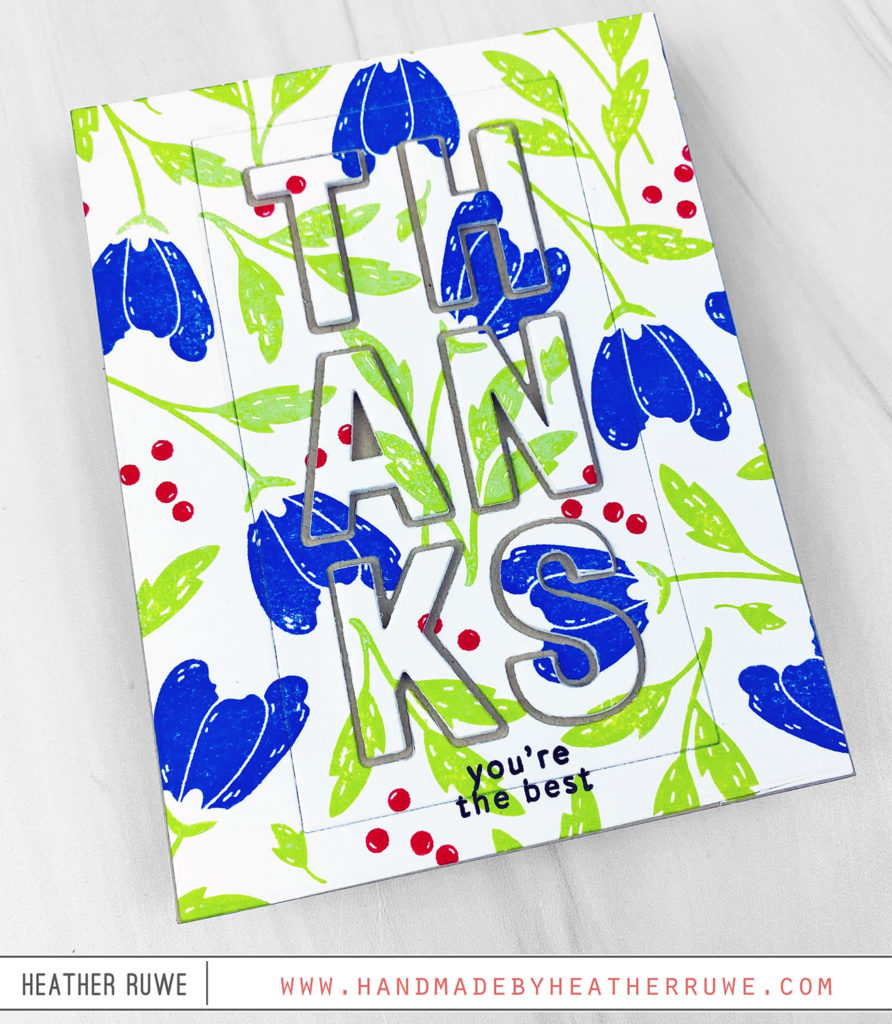
Once all the layers were complete, I used a rectangle die to cut out the portion that I wanted for the A2 sized card. I die-cut the Large Outline Thanks die from the center, removed the outer pieces of the letters, and adhered everything down to a Kraft card base so the Kraft color would show through around the letters. I stamped a smaller sentiment from the Delicate Floral Frames stamp set. I also die-cut the letters from white fun foam to add behind each letter for dimension. I didn’t add any embellishments to these cards because I felt there was a lot going on with the pattern and die-cutting.
I love using background stamps that have pieces cut that you can remove so you can have multiple colors on one background. However, you can always keep the pieces in place and use as a whole like I did for the matching envelopes…
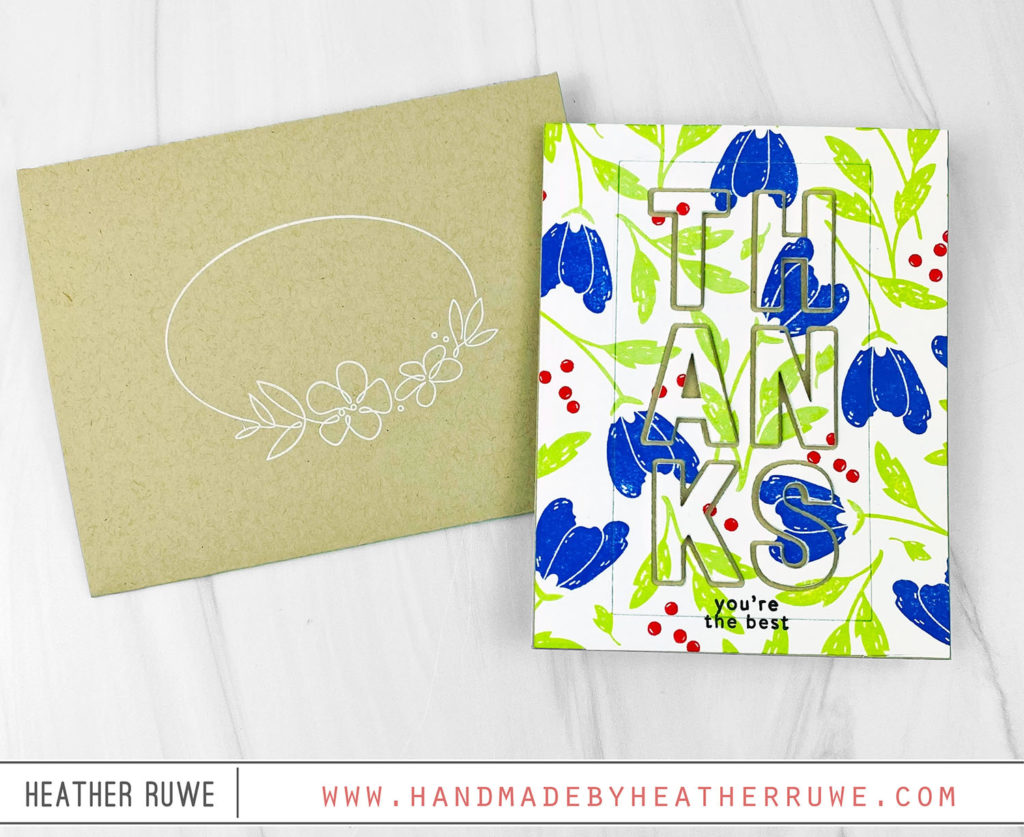 I did not have any Kraft envelopes on hand so I made my own using the A2 V-Flap die. you can find more information about this die on my blog post HERE.
I hope this has inspired you to create a card set. Thank you so much for joining me today.
LINKS TO SUPPLIES USED:
(Affiliate links used at no extra cost to you. Thank you for your support.)