Hi, crafty friends. I’m sharing a card today featuring the new 3D Card Die Set…
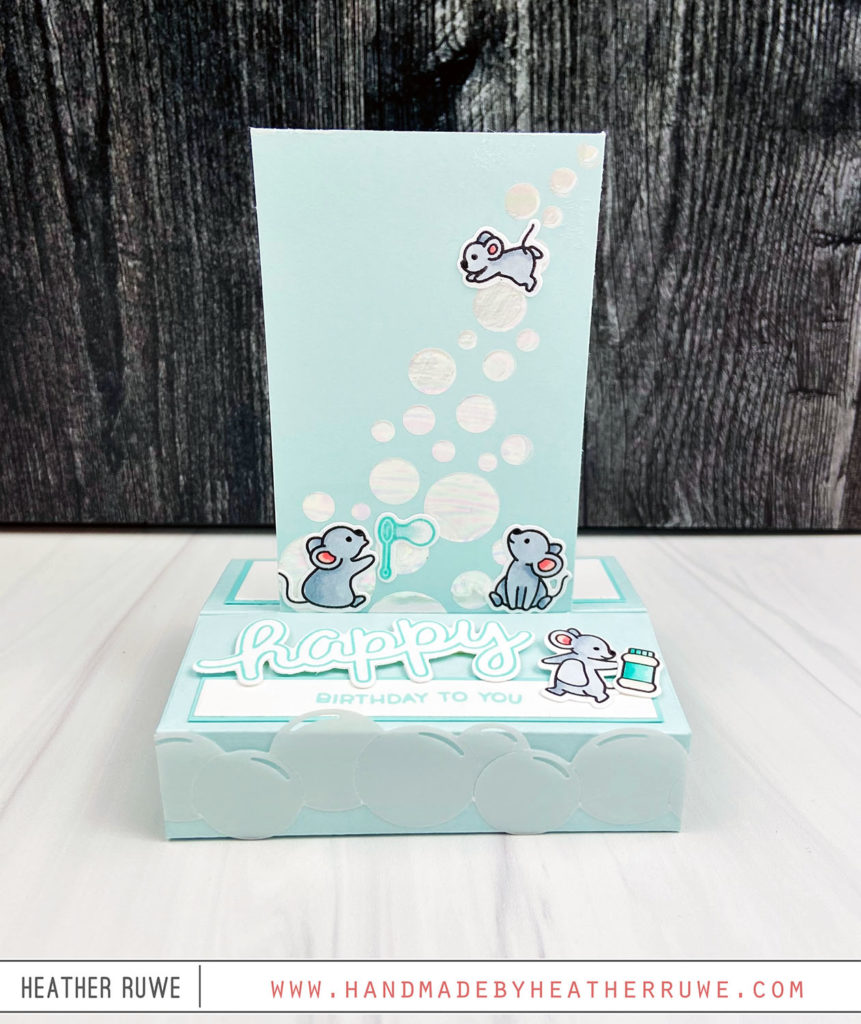
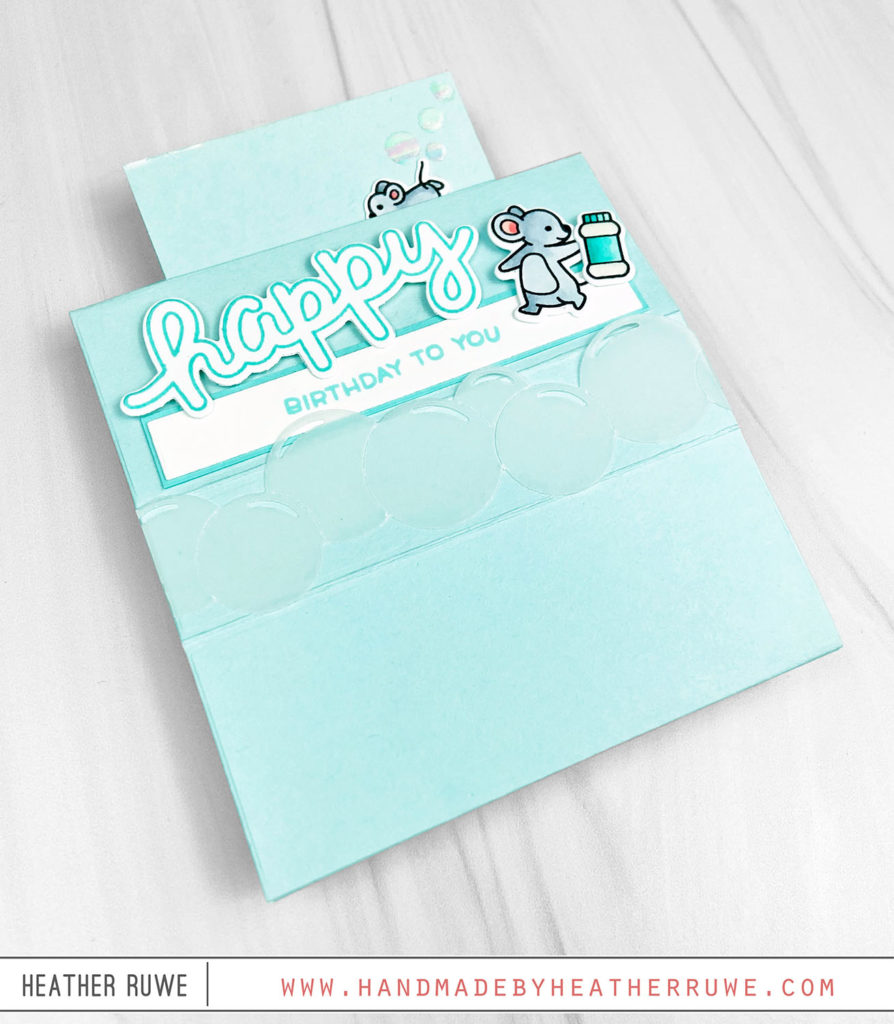
I started by cutting a piece of blue card stock to 2.75 x 5.25 to create the reveal panel. I applied the Blanco transfer gel through the Fading Circles stencil on the panel. I chose to use the Blanco transfer gel because I was applying it on top of colored card stock. After it was completely dry, I laid a piece of Opal transfer foil on top and ran it through my laminator. That opal foil makes for perfect bubbles!
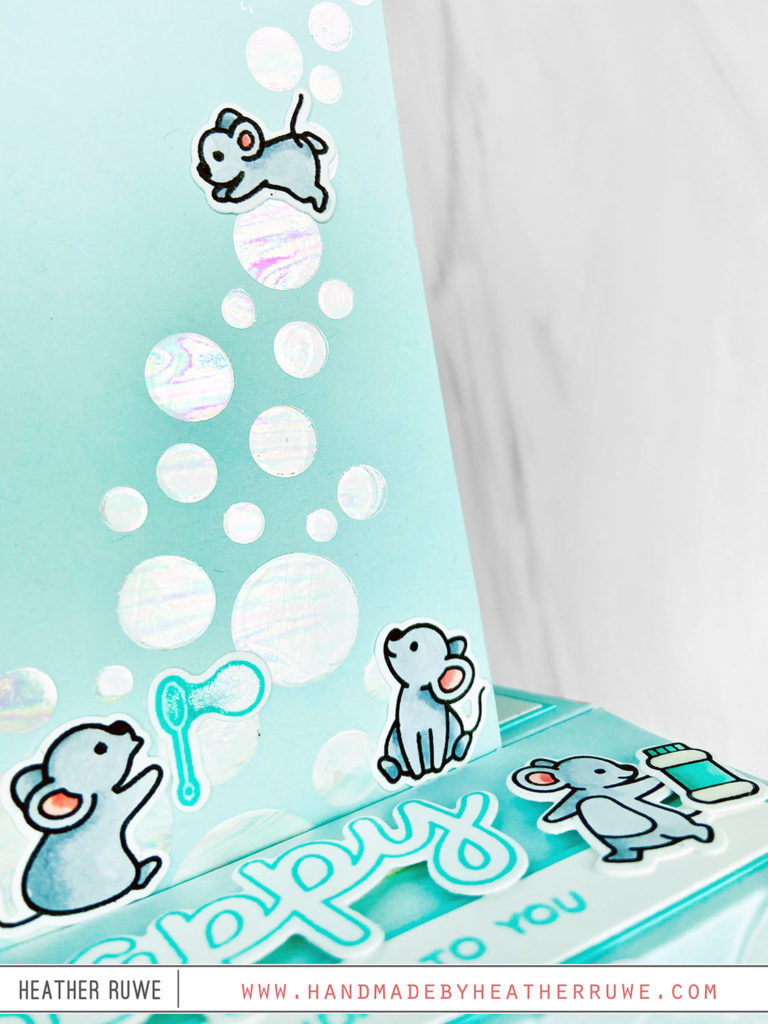
I die-cut two panels from the largest die of the 3D card die and adhered the reveal panel piece in the center of one of the panels and then adhered both panels together on the bottom piece and the two flap pieces on the top. I’m a big fan of this die because it’s so easy to put together. I stamped and colored the mice and accessories from the Bubbles of Joy stamp set and used the coordinating dies to cut them out. Next, I stamped the “happy” word from the Scripty Bubbles Sentiments stamp set and used the coordinating die to cut it out. I also die-cut the Bubble Border die from vellum.
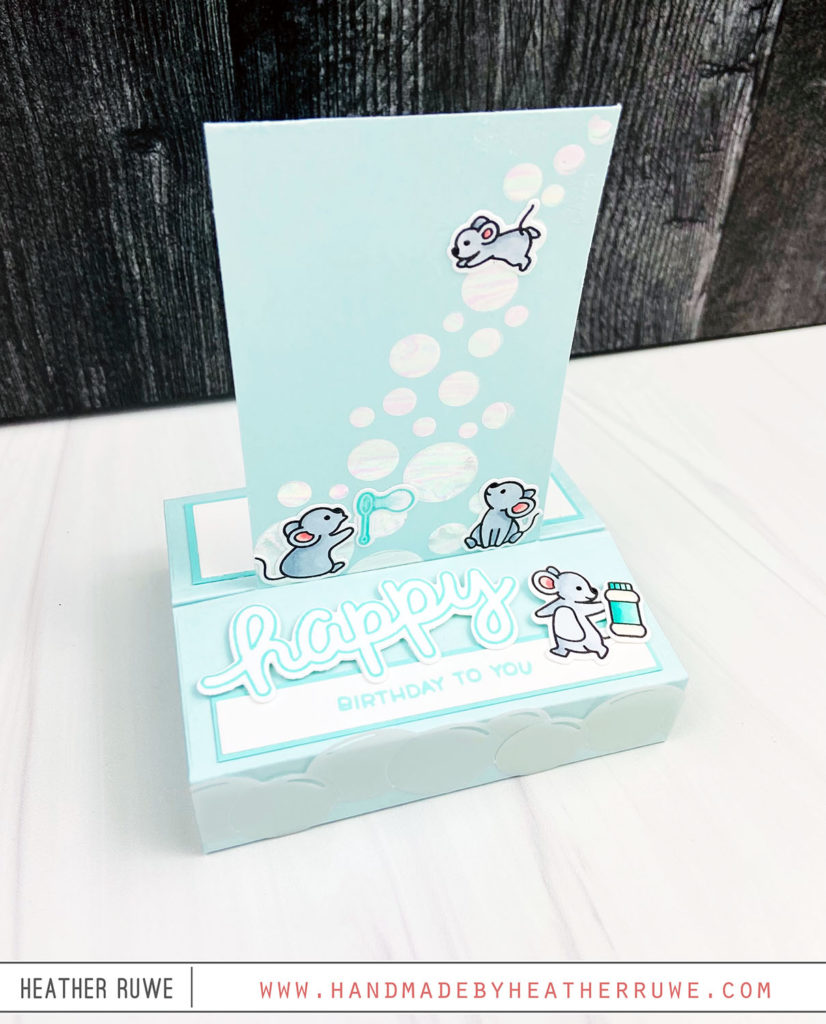
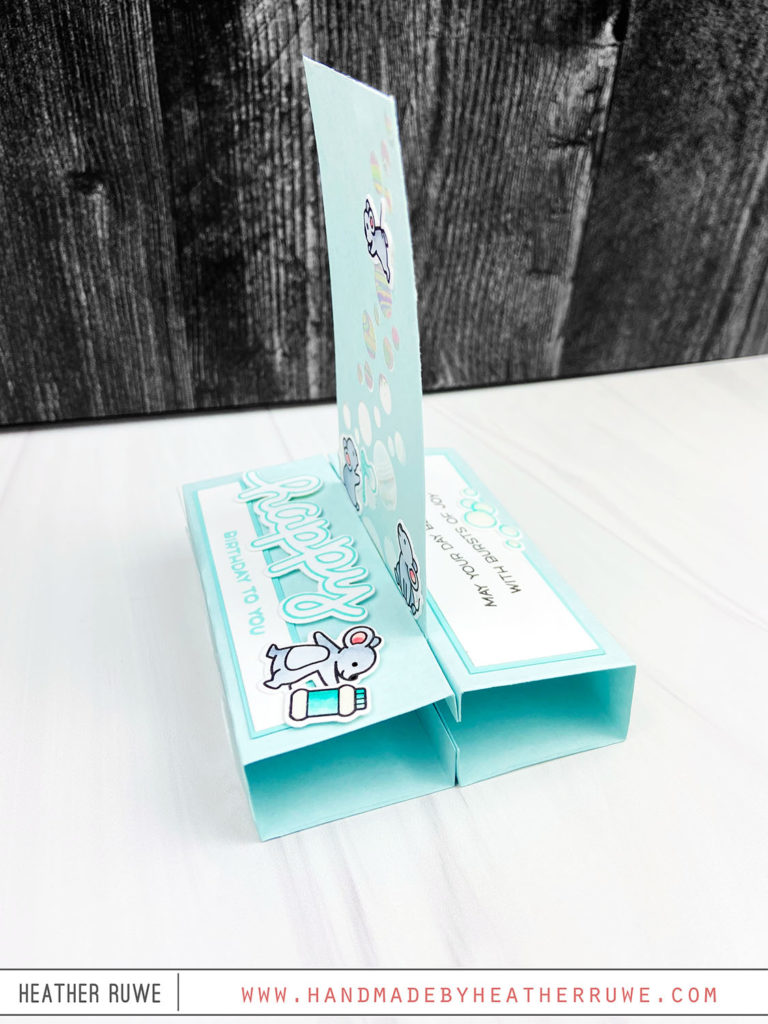
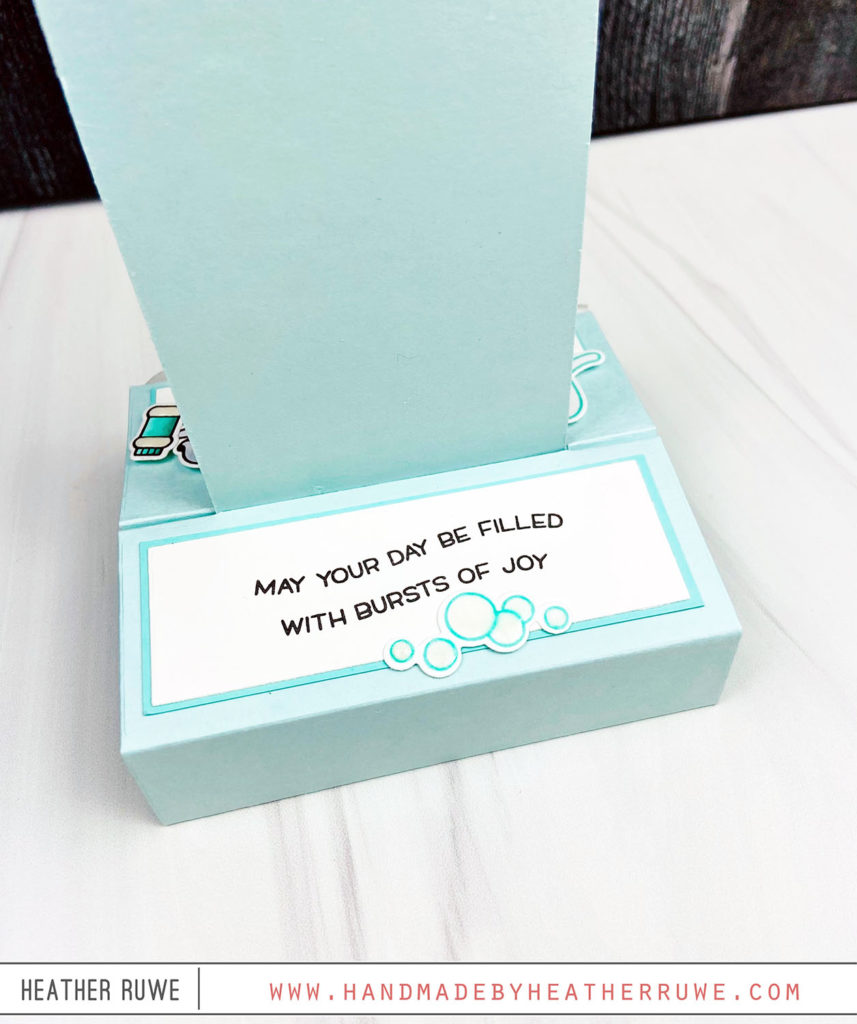
I used the smaller die-cuts in the 3D card die to create panels for the sentiments. I even included one on the back to tie everything together…
The best part of this die is that the finished card folds flat and fits inside a regular A2 sized envelope…
Thank you so much for stopping by today. Happy crafting!
LINKS TO SUPPLIES USED:
(Affiliate links used at no extra cost to you. Thank you for your support.)


