
Hello, crafty friends. I have several cards to share featuring the new embossing folders from THIS release…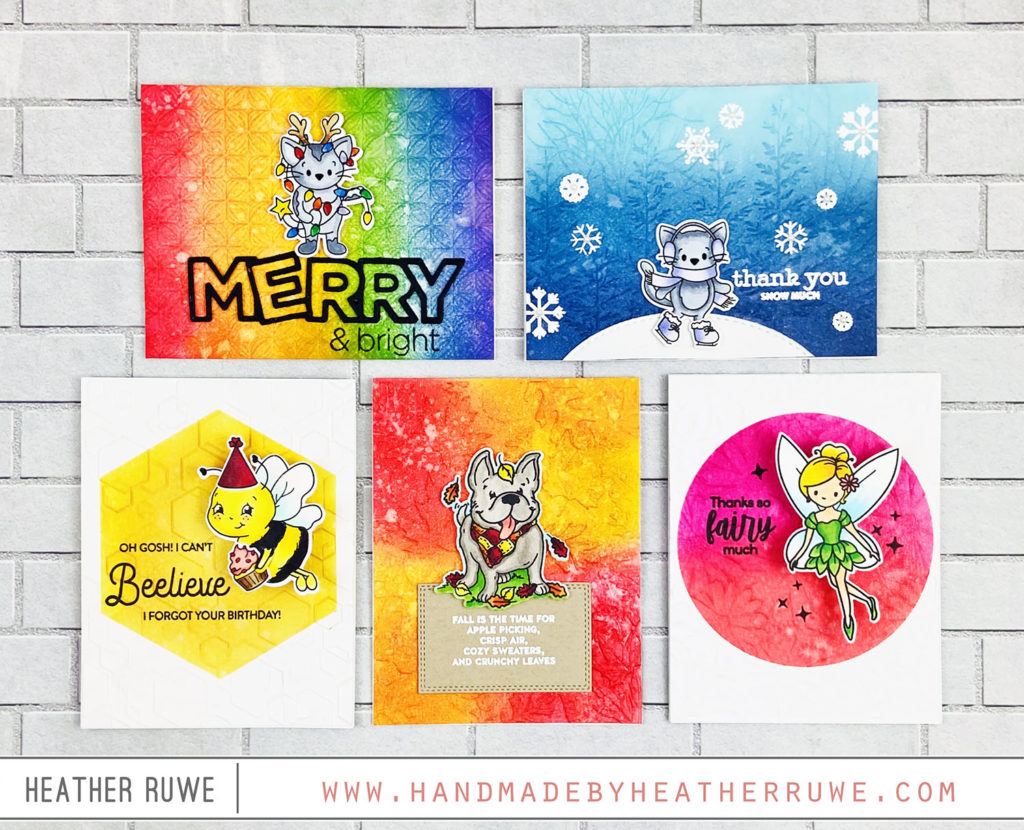
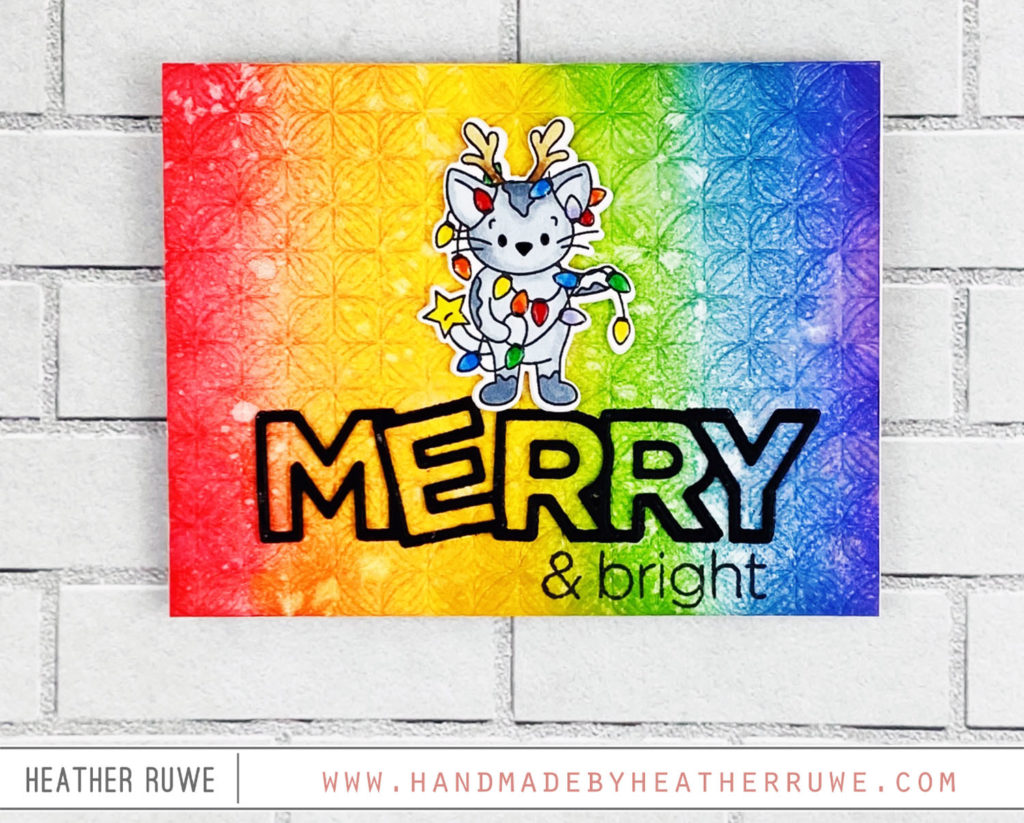
I used THIS embossing folder with THIS card stock. I applied a rainbow of Distress Inks using THESE blender brushes. I sprayed the background heavily with THIS shimmer spray and let it air dry. I adhered the panel to one of THESE note cards and added THIS die-cut word and used THIS stamp set to complete the sentiment. I stamped, colored, and cut out THIS adorable cat image and used THESE coordinating dies to cut it out. I added some of THIS on top of the lights for some shine.
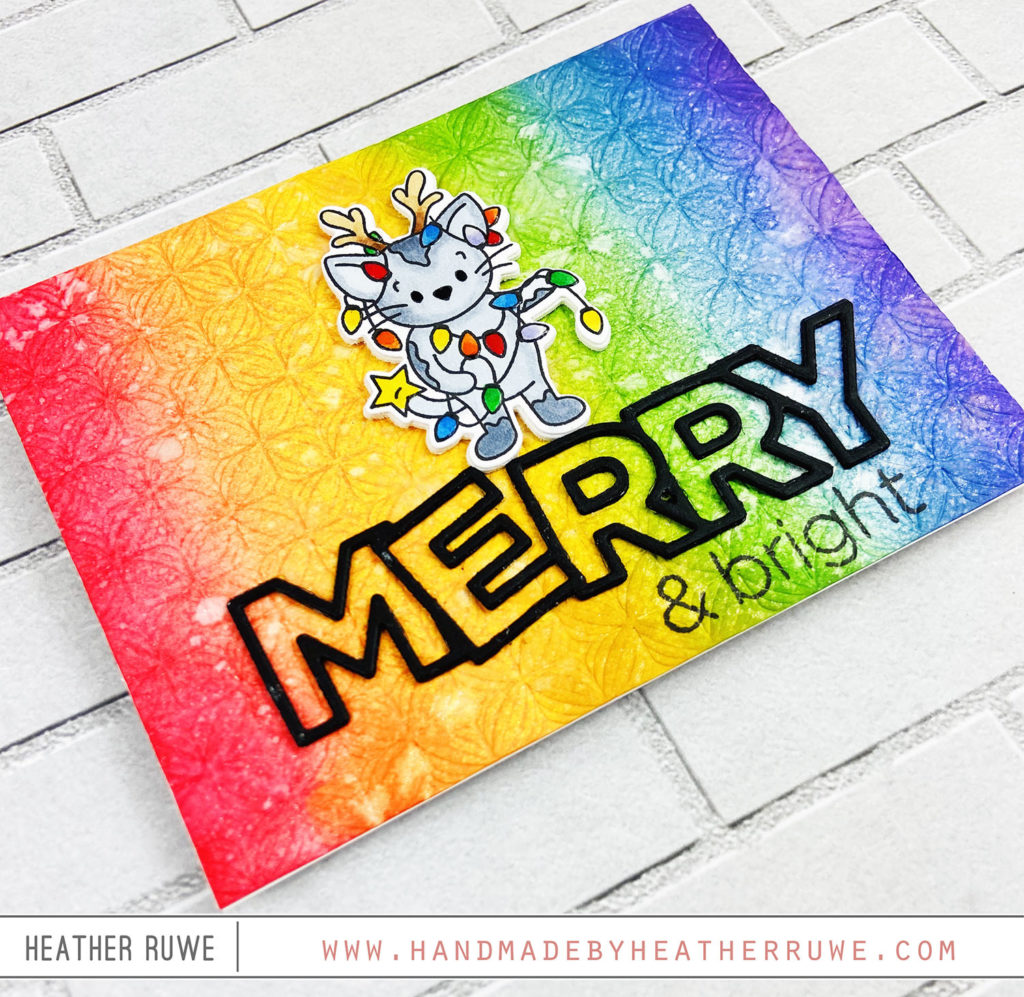
Here’s a closer look…
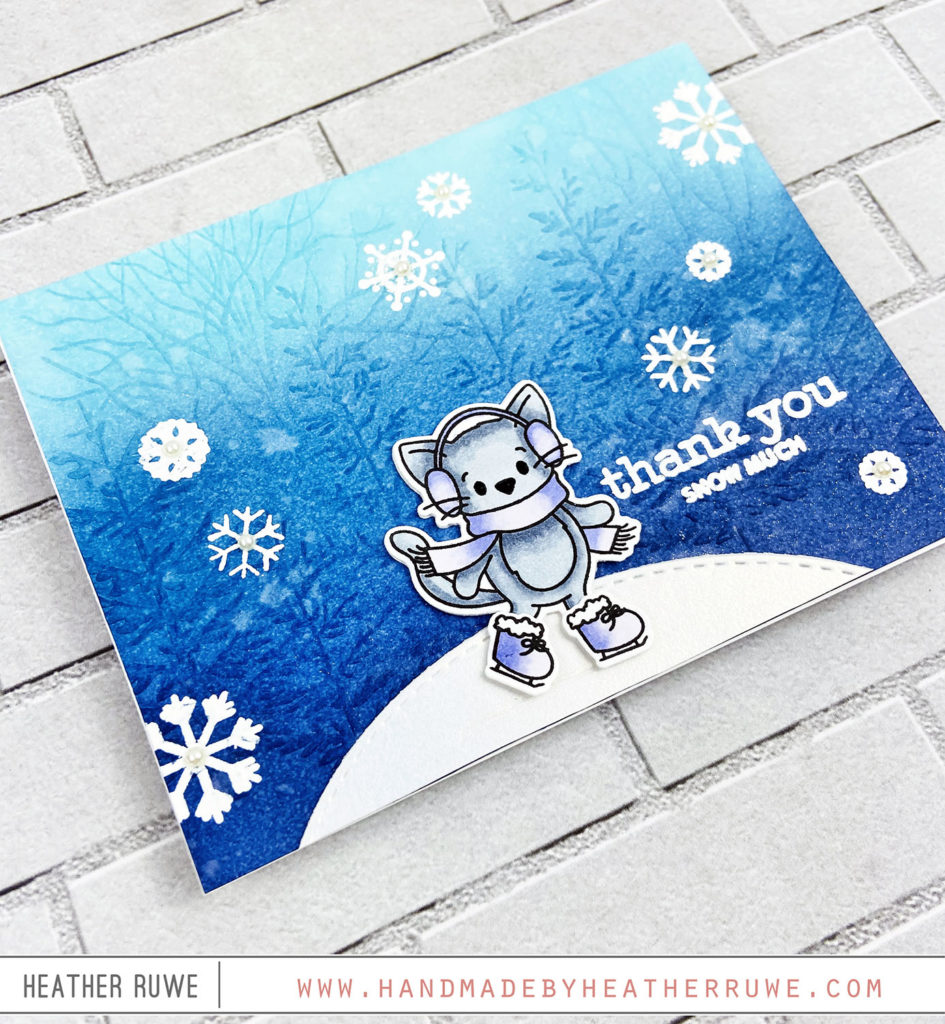
FOREST BORDER EMBOSSING FOLDER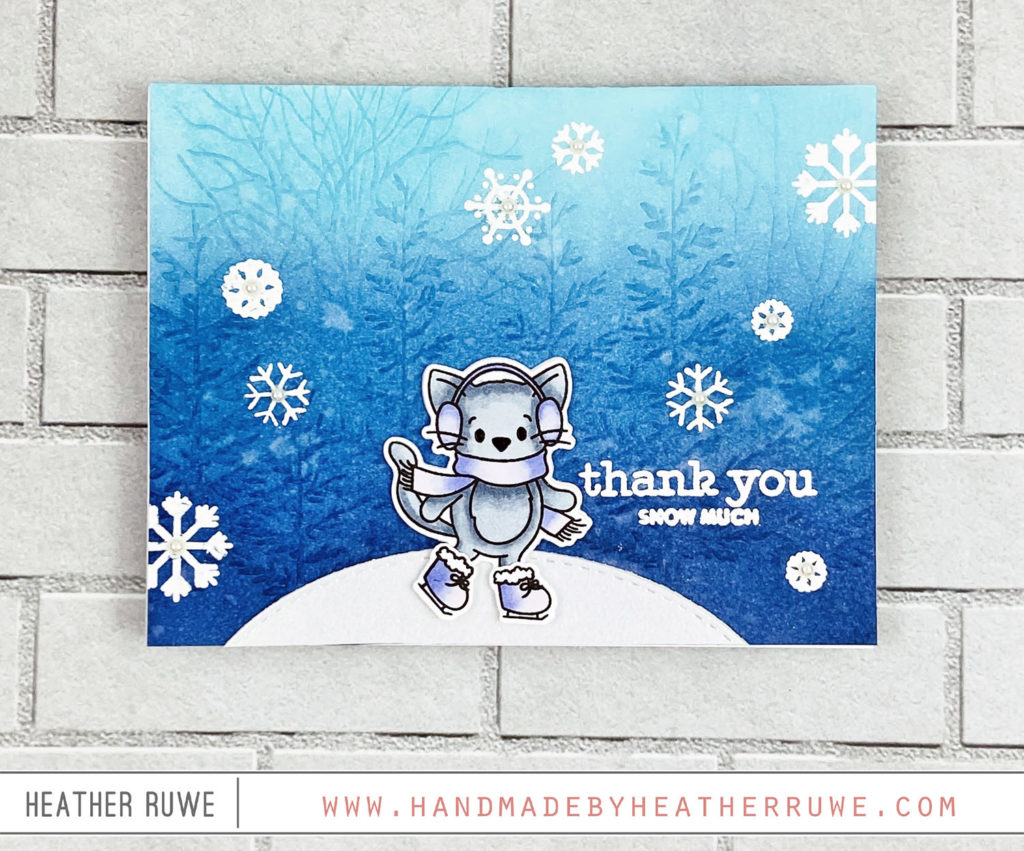
I used THIS embossing folder with THIS card stock. I applied a few shades of blue Distress Inks using THESE blender brushes. I sprayed the background heavily with THIS shimmer spray and let it air dry. I adhered the panel to one of THESE note cards and white heat embossed snowflakes from THIS, THIS, and THIS stamp set. I die-cut an oval using THIS die and cut it in half to make an ice skating rink for THIS image. I finished off the design with a white heat embossed sentiment from THIS stamp set and a few pearls.
Here’s a closer look…
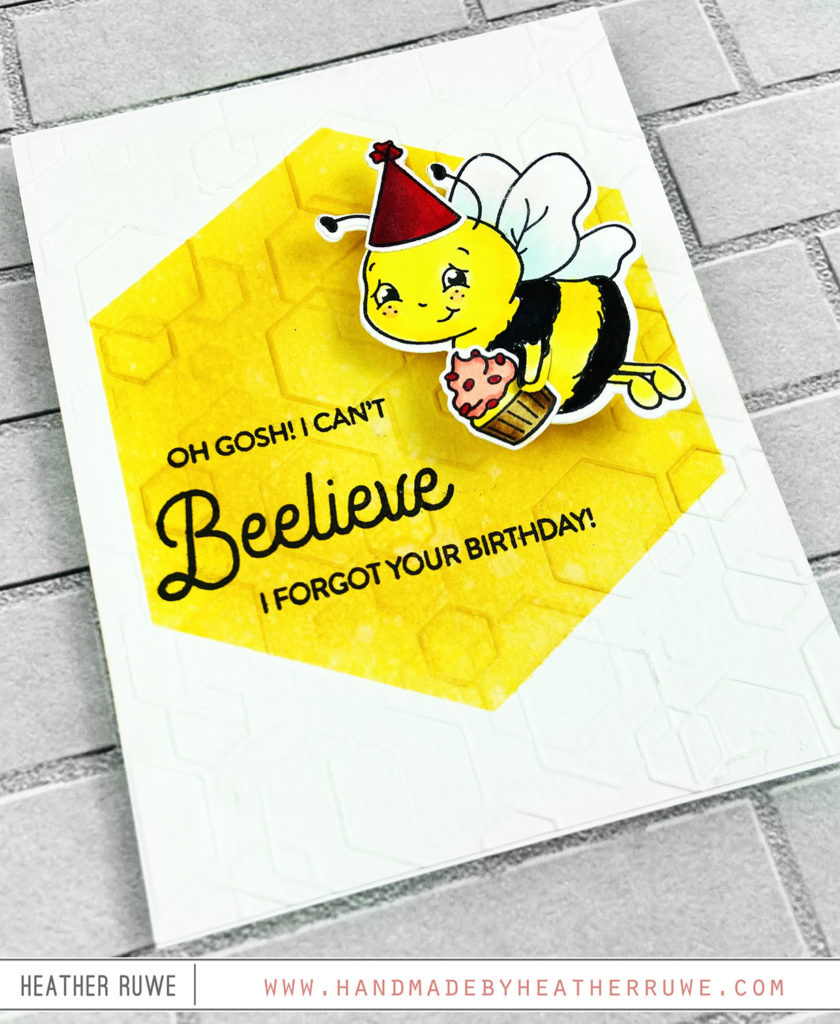
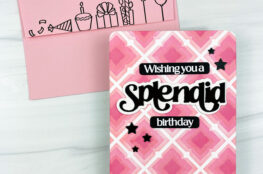
TUMBLED HEXAGON EMBOSSING FOLDER
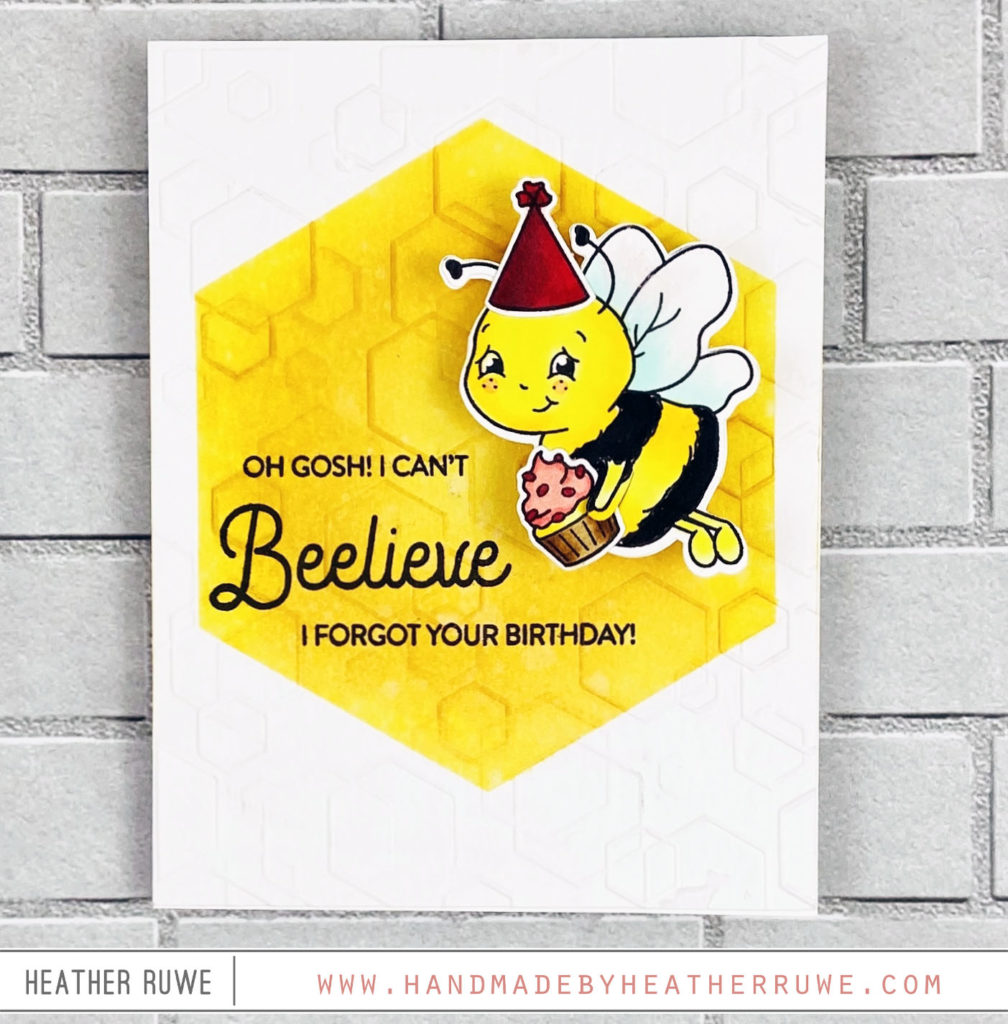
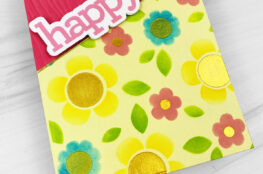
I used THIS embossing folder with THIS card stock. I die-cut a mask using a hexagon die and used the negative piece to mask off the center. I applied some yellow Distress Ink using THESE blender brushes. I sprayed the background heavily (with the mask still on) with THIS shimmer spray and let it air dry. I removed the mask and stamped a sentiment from THIS stamp set as well as a bee image. After coloring it with Copic Markers, I used THESE coordinating dies to cut it out. I added the panel to one of THESE notecards and added THIS mini action wobbler to add some movement.
Here’s a closer look…
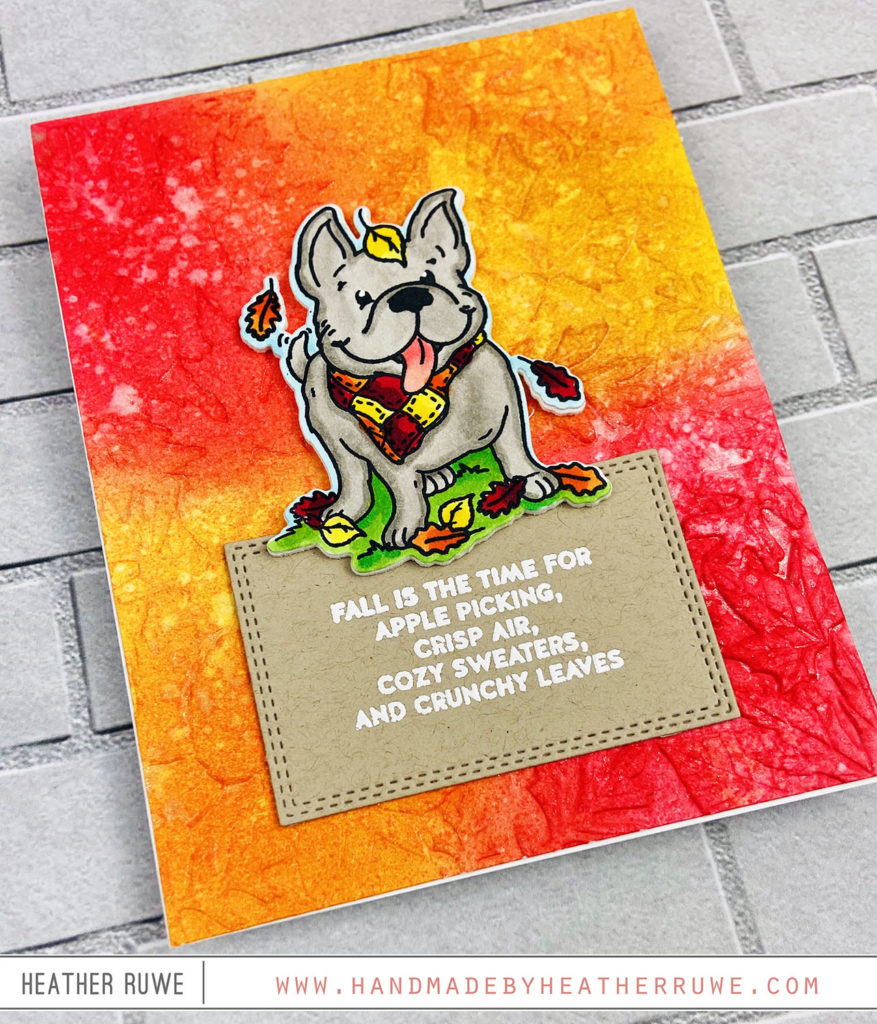
I used THIS embossing folder with THIS card stock. I applied some red and orange Distress Ink using THESE blender brushes. I sprayed the background heavily with THIS shimmer spray and let it air dry. I adhered the panel to one of THESE note cards and added THIS dog image that I colored with Copic Markers and cut out with THESE coordinating dies. I white heat embossed a sentiment from the same stamp set and die-cut it using THIS double stitched rectangle die.
Here’s a closer look…
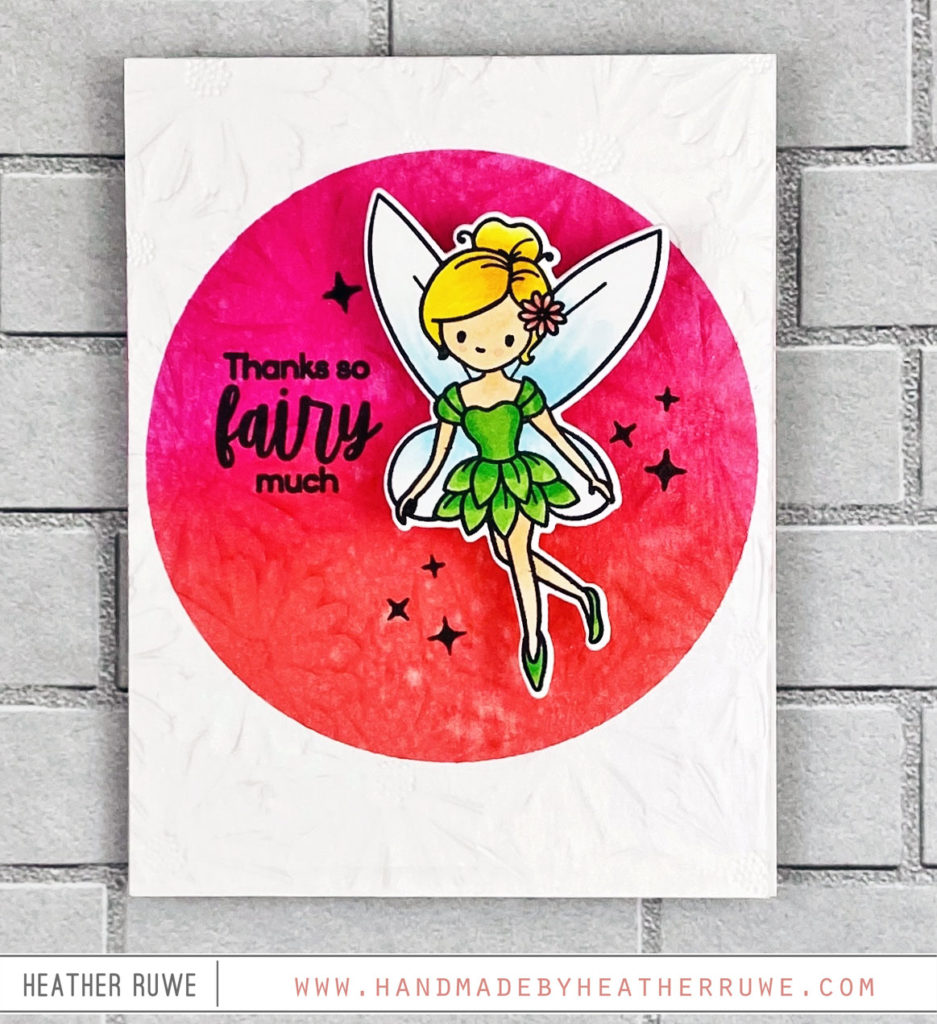
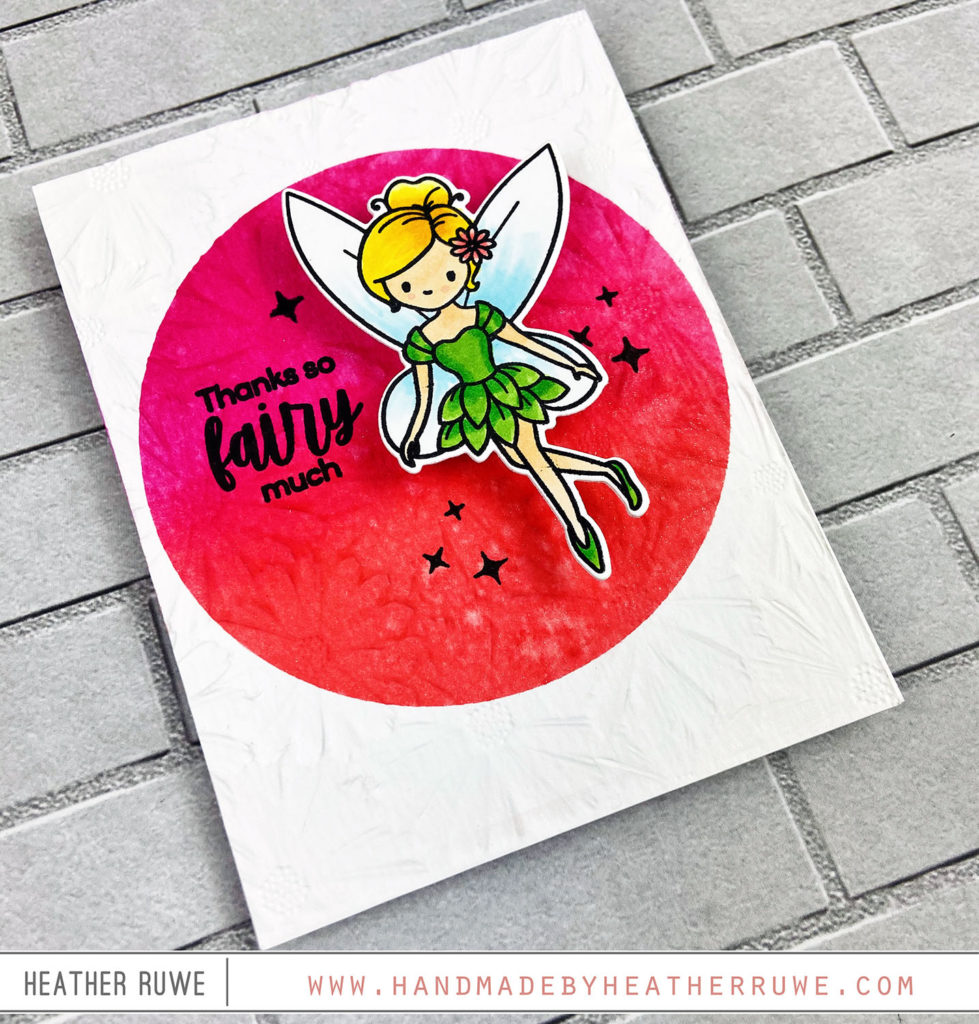
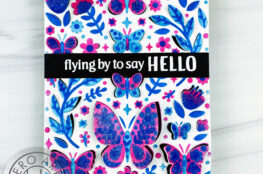
I used THIS embossing folder with THIS card stock. I used the other side of the panel. The debossed side for a different look. I die-cut a mask using a circle die and used the negative piece to mask off the center. I applied Picked Raspberry and Abandoned Coral Distress Ink with THESE blender brushes. I sprayed the background heavily (with the mask still on) with THIS shimmer spray and let it air dry. I removed the mask and stamped a sentiment from THIS stamp set as well as the fairy image. After coloring it with Copic Markers, I used THESE coordinating dies to cut it out. I added the panel to one of THESE notecards and added THIS mini action wobbler to add some movement.
Here’s a closer look (it’s hard to capture the texture in a photograph but is there in real life)…
I hope this gives you a better look at some of the new embossing folders and inspires you to use some dry embossing on your next project.
Thank you for spending your time here today. I appreciate your support.
P.S. I’ve linked to the new release below as well as supplies used on today’s cards.
LINKS TO ENTIRE HOLLY JOLLY RELEASE:
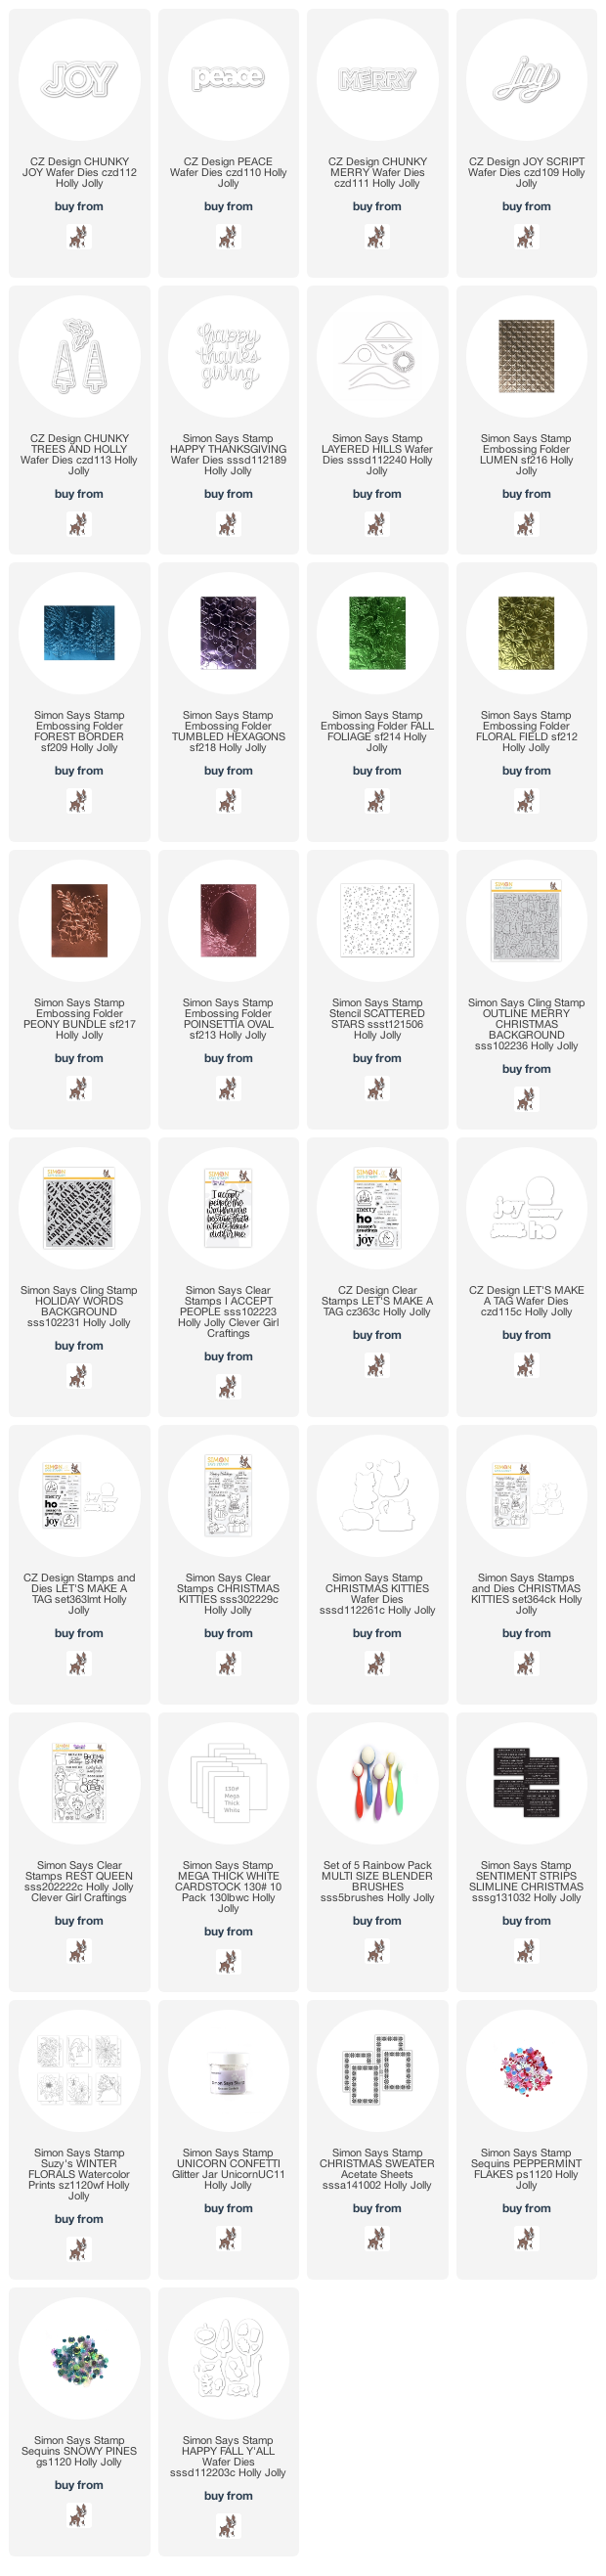
LINKS TO SUPPLIES USED ON TODAY’S CARDS:

November 7, 2020
Thank you so much for the additional inspiration. I think these embossing folders are amazing and I love the vibrant colors you used on your backgrounds.