Hi there, crafty friends. I have a couple cards to share today and a few tips on adding dimension to your die-cuts….
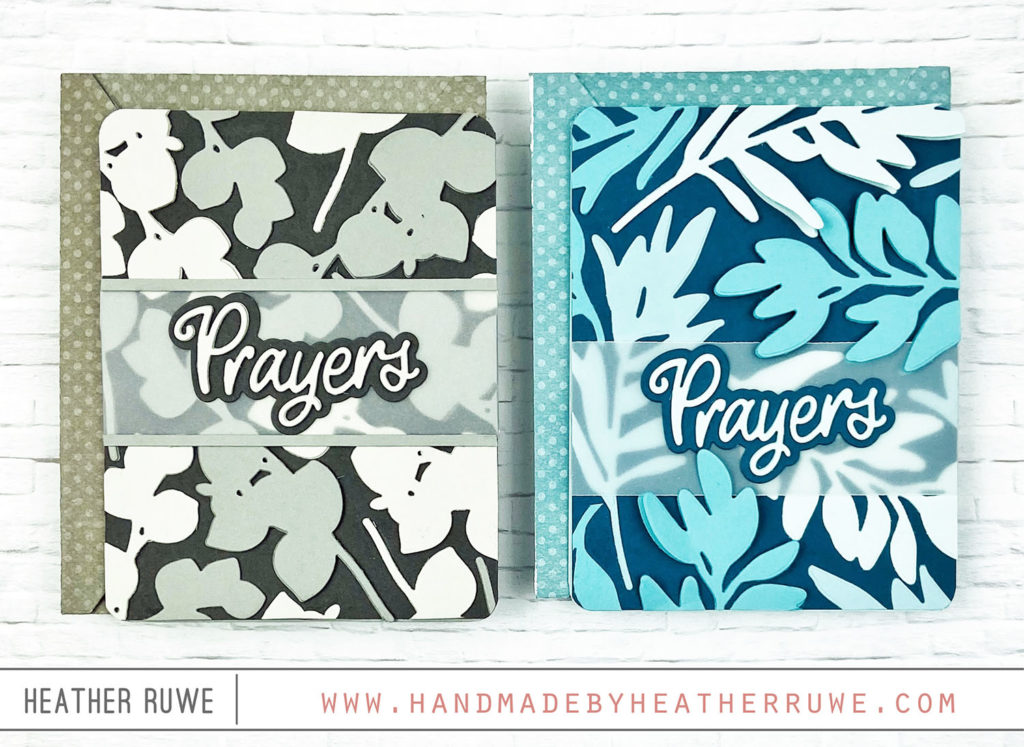
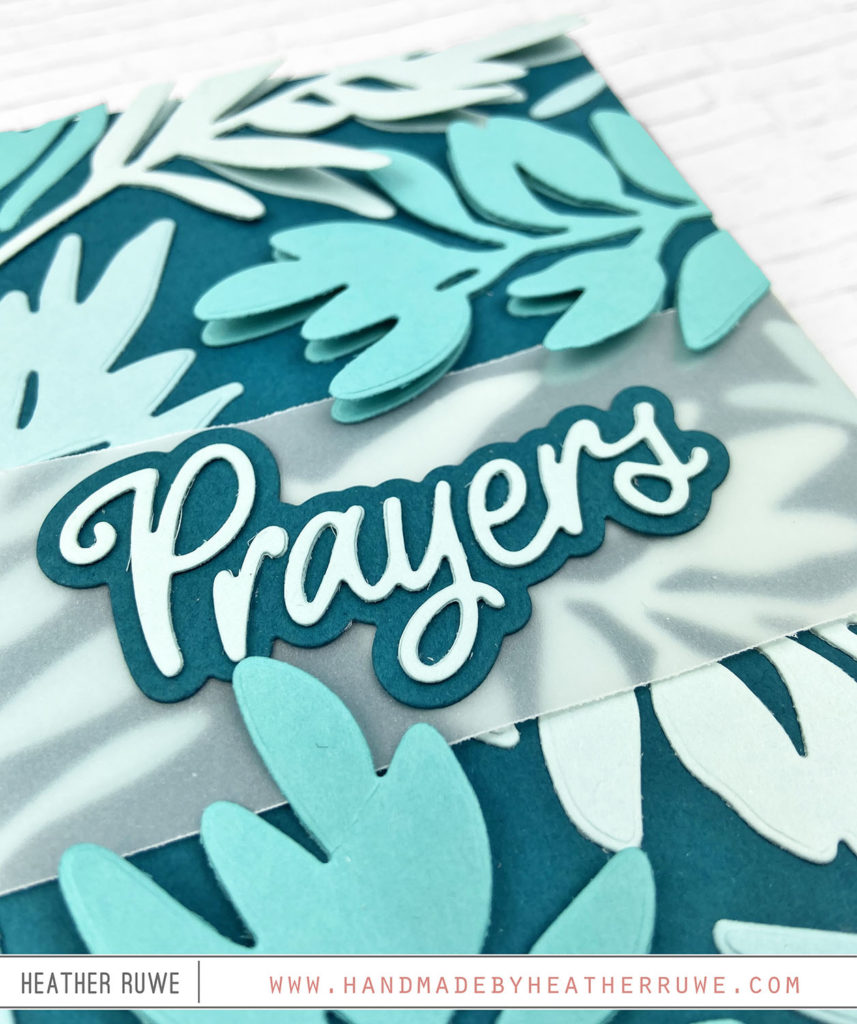
For the card on the right, I cut one of THESE leaves from shades of teal and blue card stock and adhered them to a card panel, creating a background. Instead of adhering the second layer of die-cuts directly down (on a select few leaves), I adhered just the center vein of the leaf.
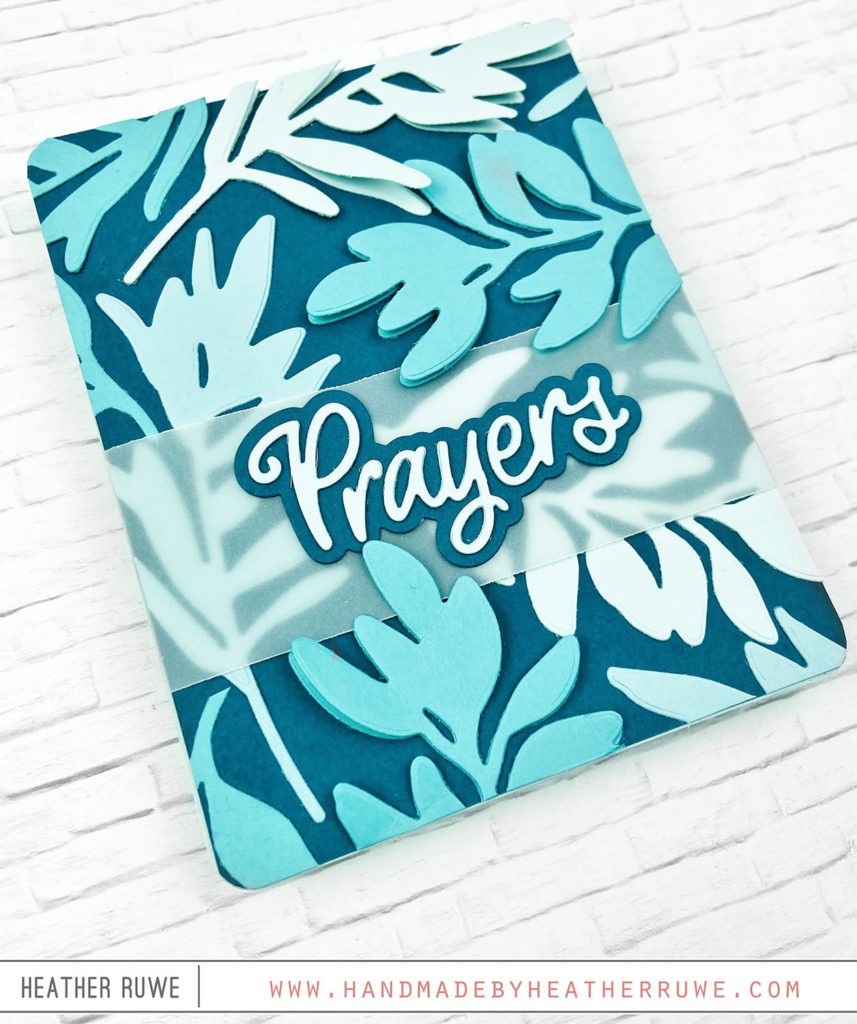
This allows the edges of the leaves to be loose so you can pull them up and add dimension….
For the other card, I did the same process but with a different leaf image (from the same die set) and different colors. To add dimension, I adhered layers of the same die-cut on top of each other, stacking some up four times, other three times, two times, one time. This gives valleys of dimension…
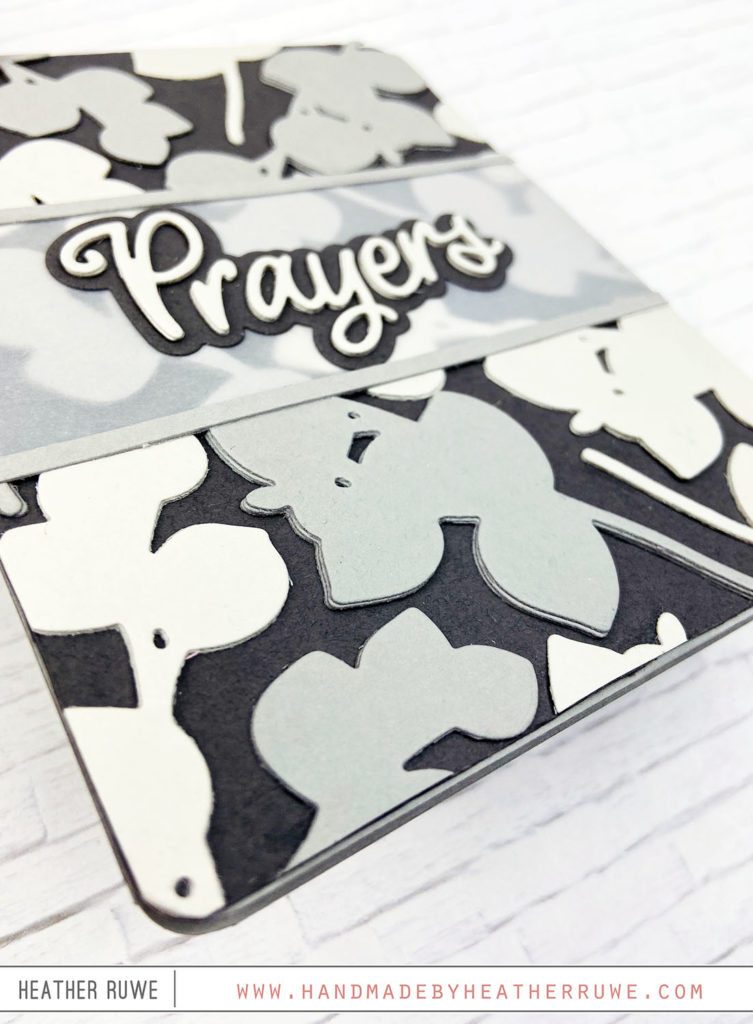
To finish off the cards I added a strip of THIS vellum to mute the busy background so THIS die-cut word could stand out. I also rounded all of the corners of the cards with THIS.
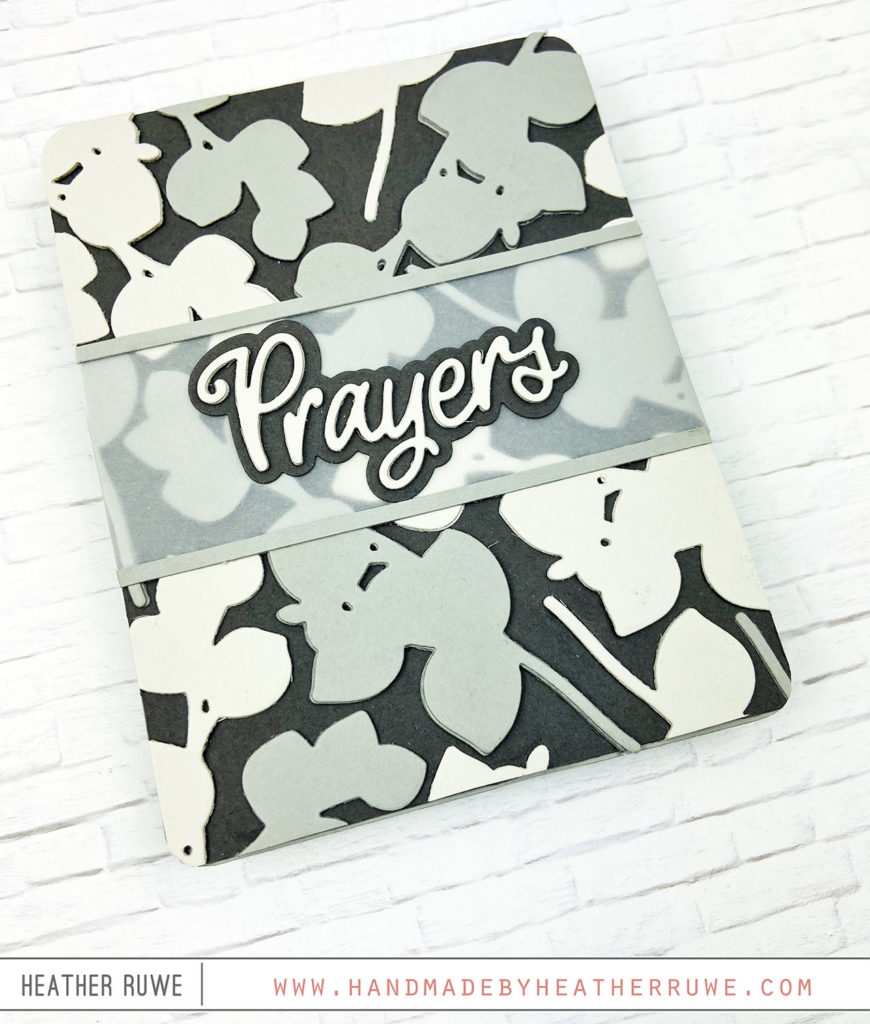
The dies I used for these cards were not stand alone dies. They were coordinating dies. They are leaf shapes, but any shape would work as a fun background.
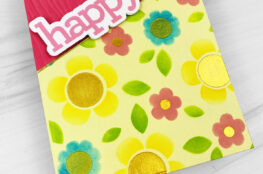
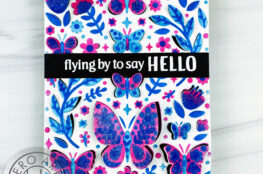
Another note to mention is to try using a monochromatic color scheme. It can take the guess work out of choosing color combos and always looks pleasing to the eye.
If you’re interested in the coordinating envelopes, see THIS post for all the information.
I hope this inspires you to create a die-cut background with dimension. It’s a great way to use up scraps.
LINKS TO SUPPLIES USED: