Hello, crafty friends. I’m a big Tim Holtz fan. His products always inspire me so I was excited to get to play with THIS exclusive collaboration stamp and stencil set for STAMPtember.
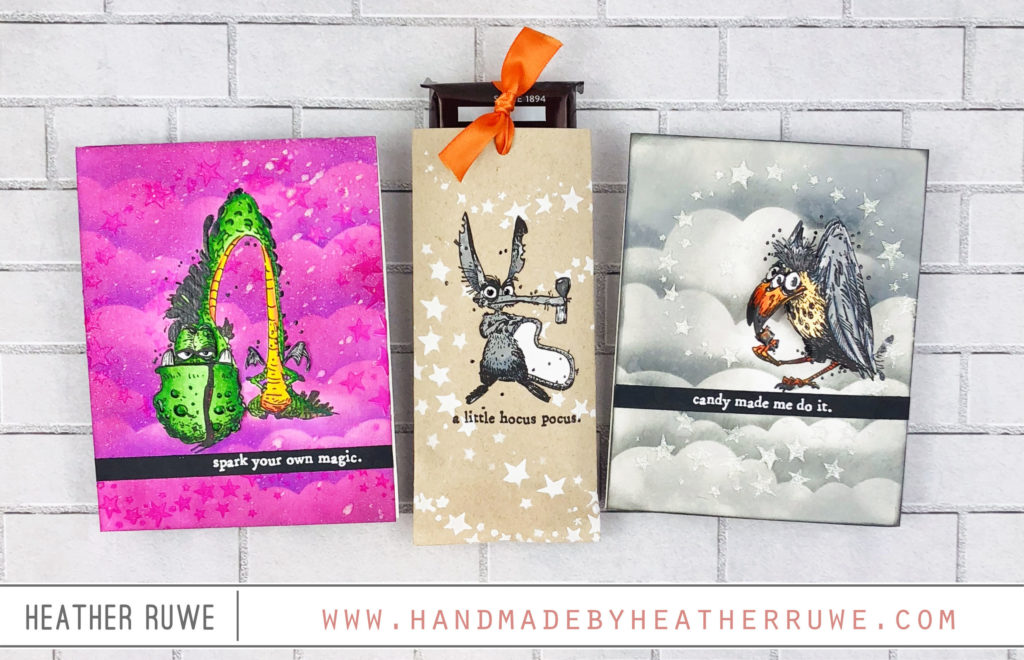
How fun is THIS stamp set!? THIS stencil that is bundled with it is a must have and I used it on all of today’s projects.
For the first card…
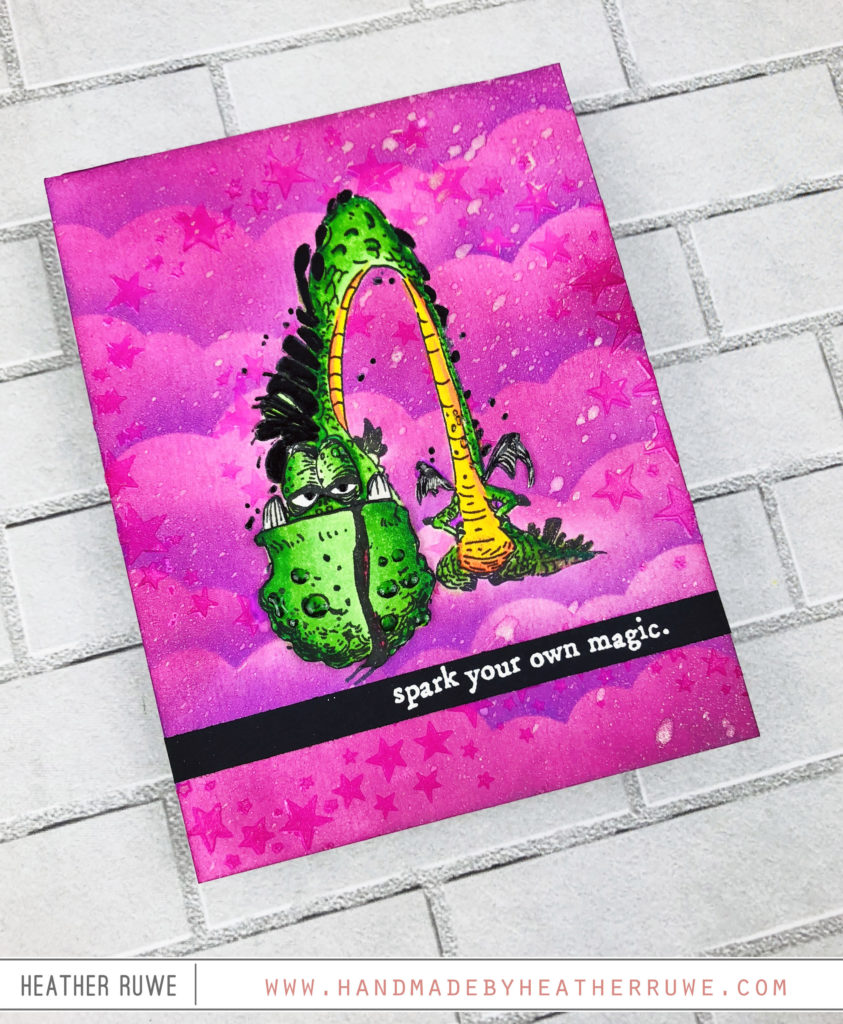
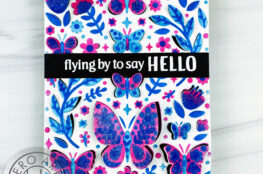
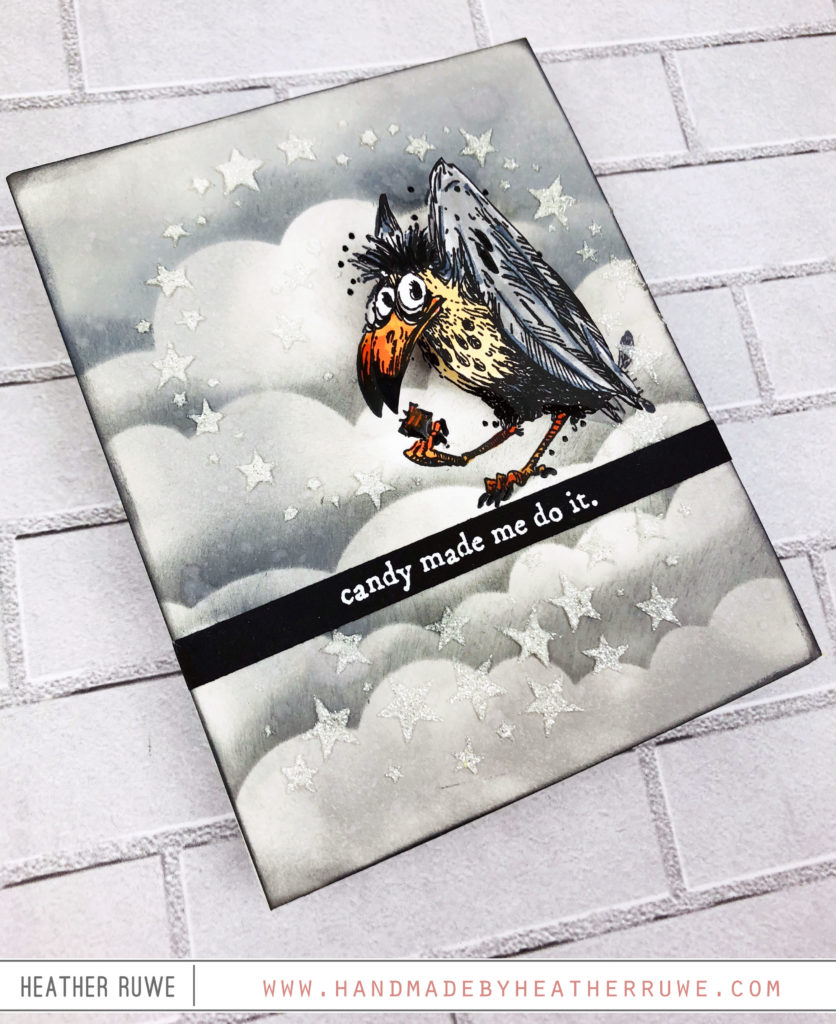
I started by stamping and then coloring the image with THESE markers. I stamped the image on THIS masking paper, cut it out, and placed it over top them image to protect it so I could blend THIS and THIS ink on top using THIS cloud stencil. I applied THIS through THIS star stencil as well as THIS for some texture and shine. I white heat embossed the sentiment on a black strip of card stock. I stamped another image and only colored the mouth, eyes, and wings. I cut those out and added them on top of the image with foam tape for lots of dimension.
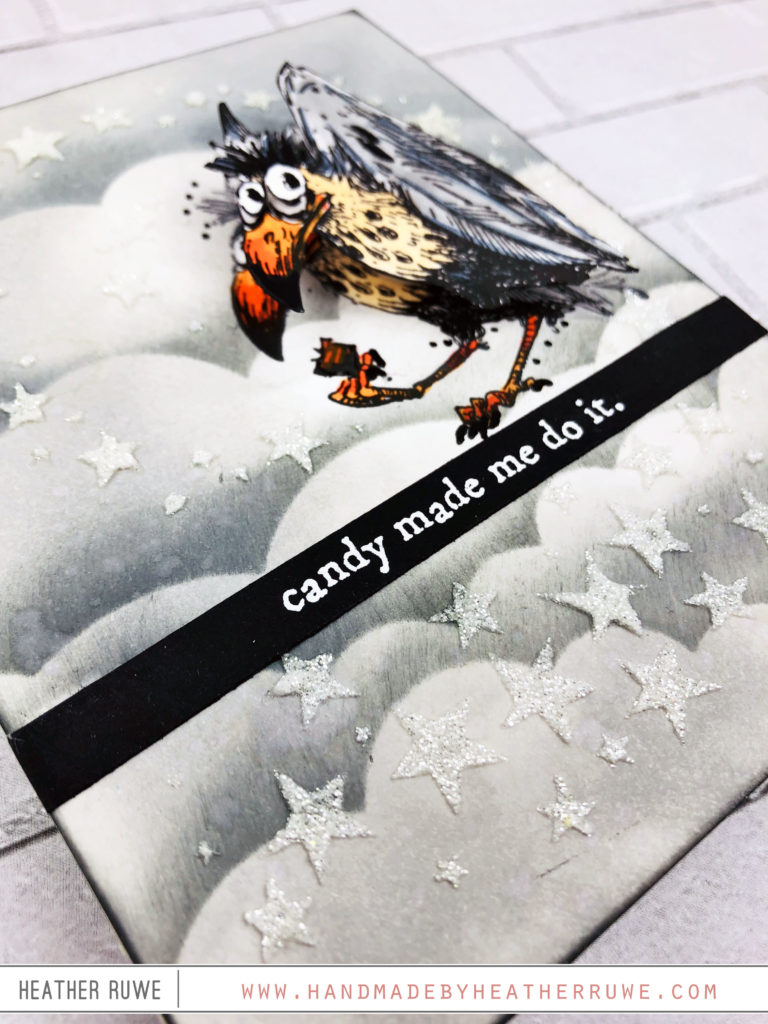
Here’s a closer look…
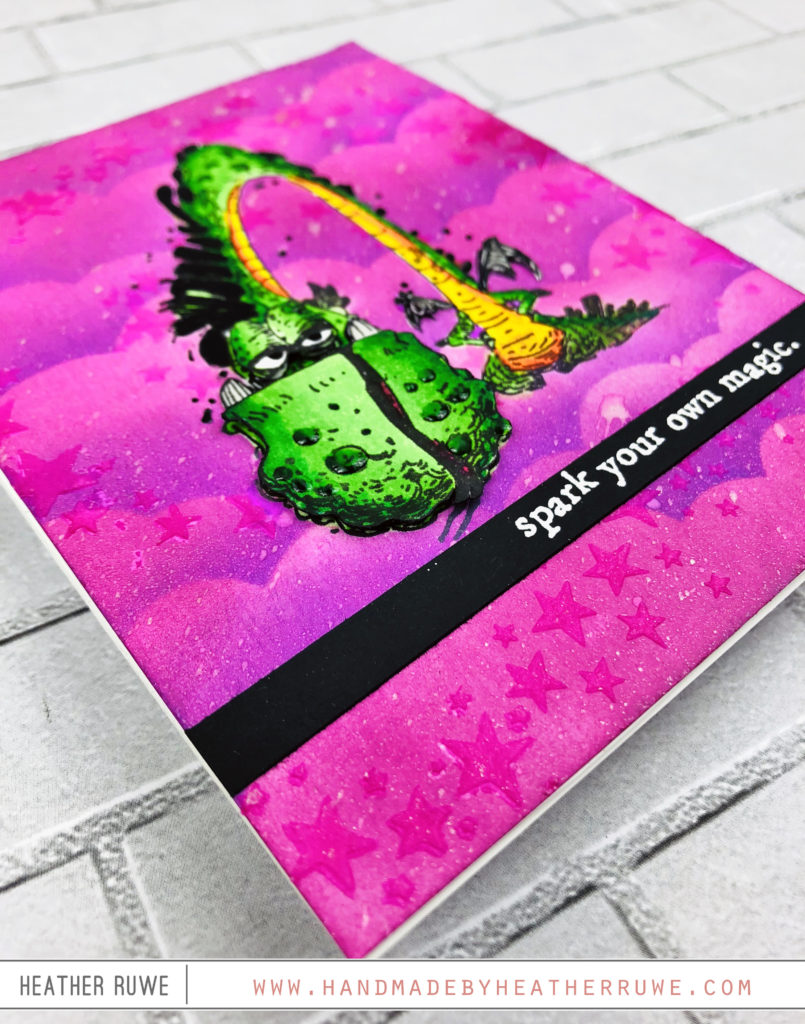
I also added details to the image with my two favorite products to use for finishing touches, THIS and THIS.
Moving on to the next project…
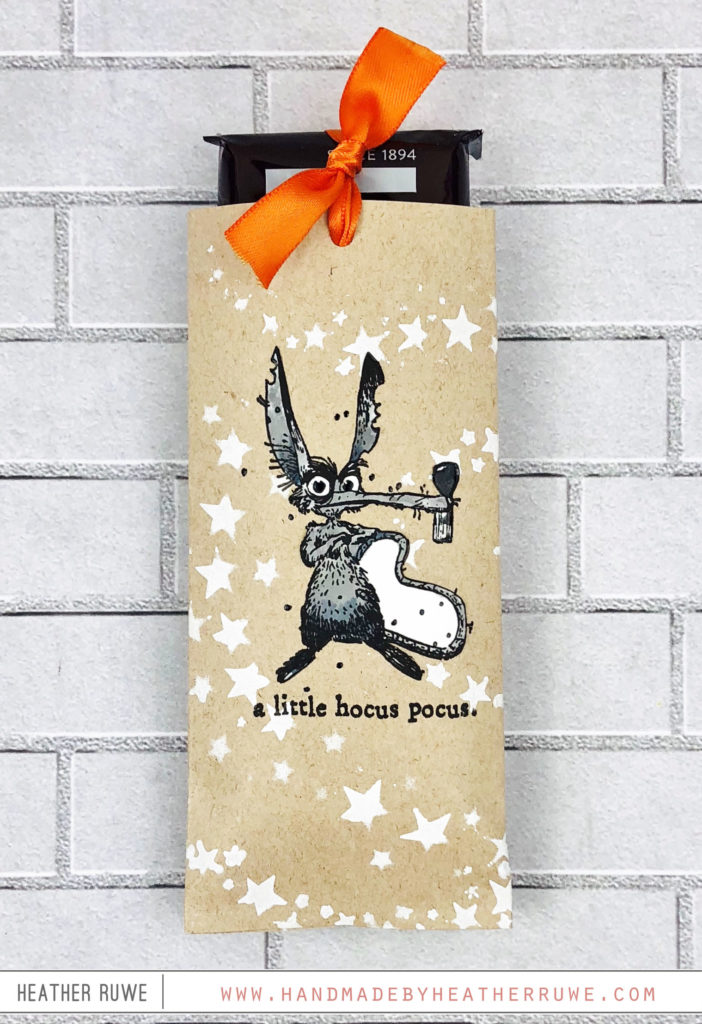
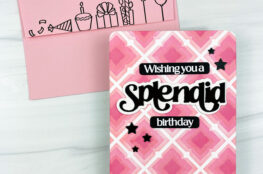
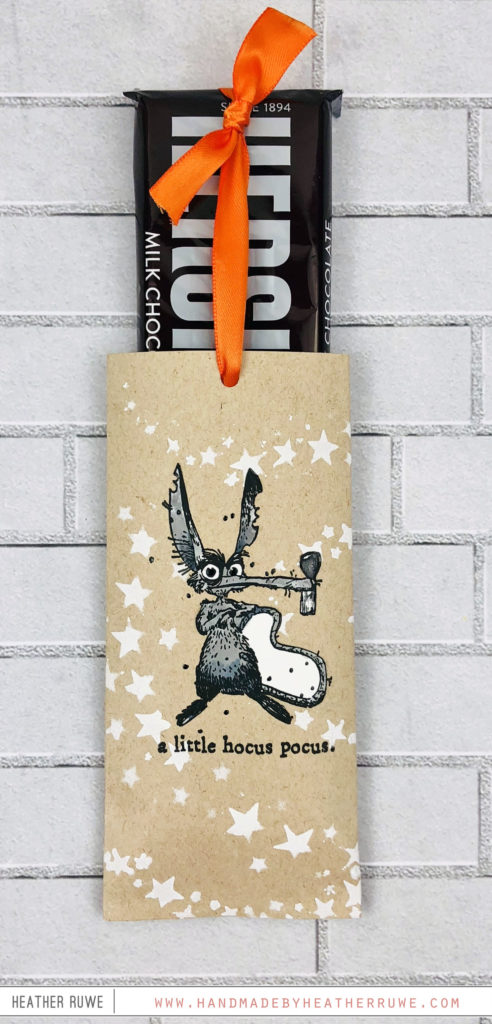
I started by applying THIS white pigment ink through the star stencil on a piece of 6×6 kraft card stock. After I heat set it and it was dry, I started to create the candy bar holder. I scored it at 1/2 inch on one side. After flipping it to the other side, I scored at 3 1/4. I folded the score lines applied adhesive to the thin flap and along the bottom. After adhering it all together, I scored 1/4 from the bottom to give a place for the candy bar to rest once inside. I stamped, colored, and cut out the image and adhered him to the front of the pocket and punched a hole at the top for the ribbon. I pushed the ribbon through the holes and met it at the top evenly. I placed the candy bar in between the ribbon and then pushed it down, pushing the ribbon down inside the pocket too. Once the candy bar was inside the pocket, I tied a knot to hold it in place.
When you pull the ribbon, the candy bar pops up…
For my last project…
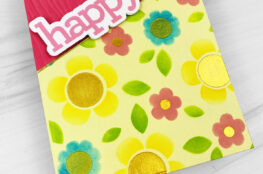
I created it very similar to the first card but used THIS and THIS ink as well as THIS glitter paste. I added lots of dimension by adding layers…
I also added one of THESE between the layers so when you tap him, he shakes. I thought that would go along perfectly with the sentiment.
![]()
You can find more information about the stamp set and stencil HERE. Rembember, once this stamp and stencil set sell out, they are gone for good.
Thanks so much for stopping by. Happy STAMPtember!
LINKS TO SUPPLIES USED: