
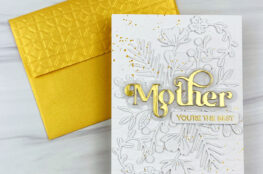
Hello there, crafty friends. Today’s cards features how to stretch the use of your coordinating dies…
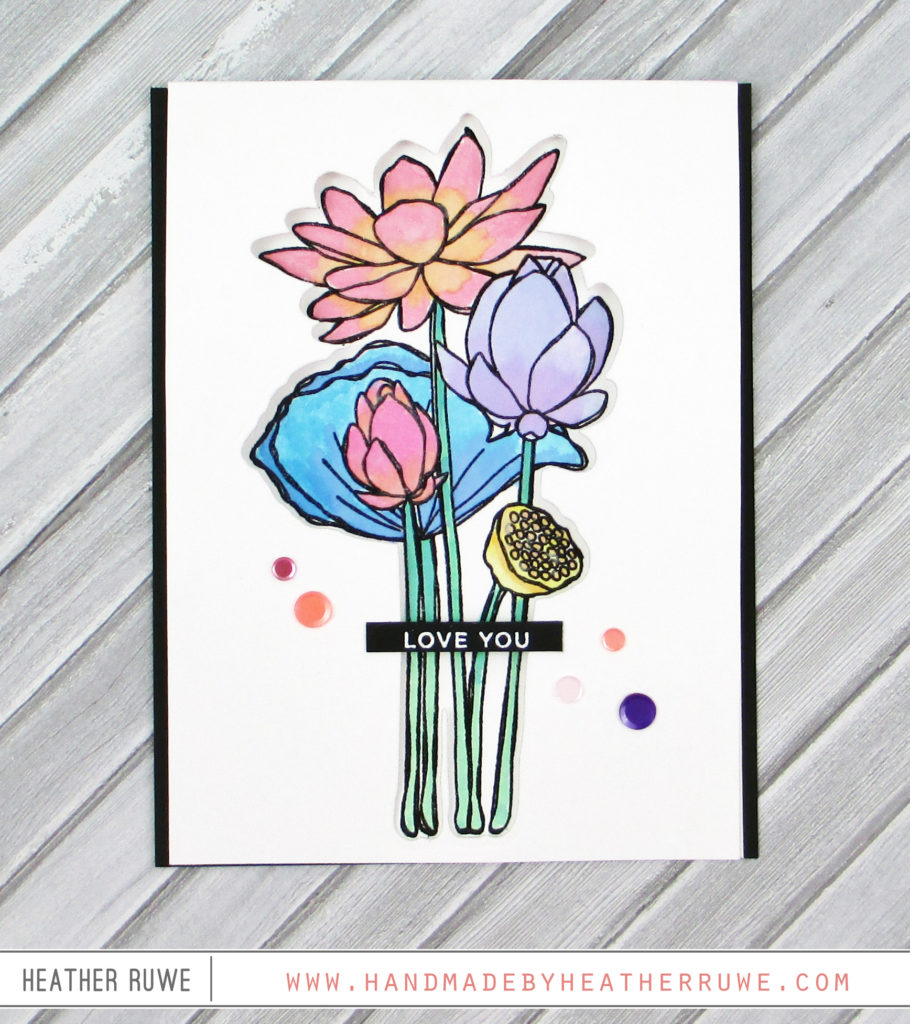
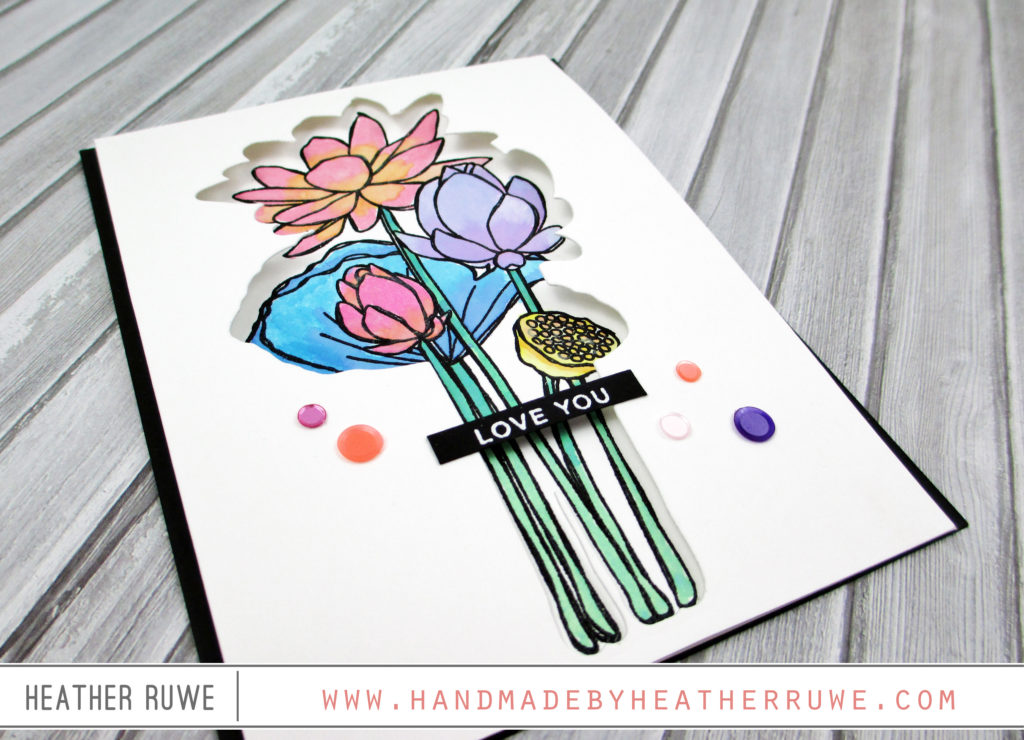
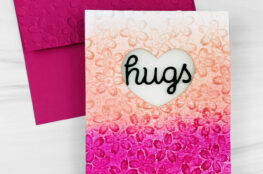
Coordinating dies are an investment, but there are many fun techniques you can do with them. Instead of just cutting out the image, I created a window for the image.
I started by die-cutting THIS coordinating die from the front of white note card. I placed the card in the MISTI and stamped the coordinating image from THIS stamp set inside the opening on the inside of the card. I stamped it with THIS black ink and clear heat embossed it for some shine.
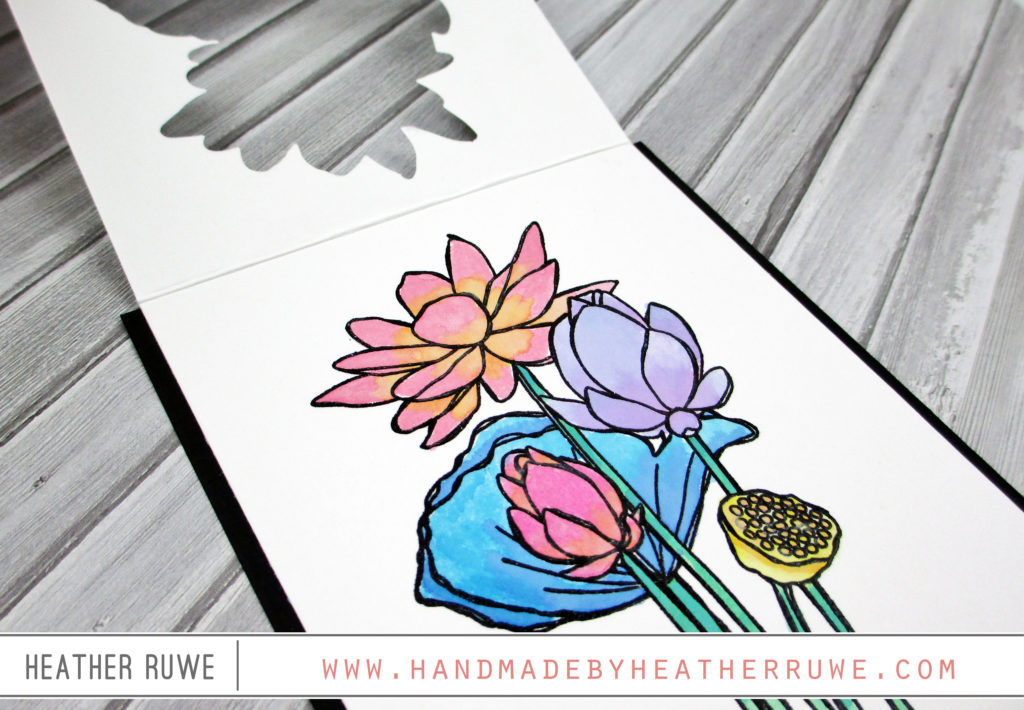
I applied a variety of Distress Oxide inks to THIS mat, sprayed lightly with water, and used them to paint in the images. I love the chalky look it gives. I white heat embossed a sentiment from THIS set on a small strip of black card stock and adhered it to the front window of the card. I finished off the card with a few of THESE sequins and adhered the entire piece to a 4.25 x 5.5 piece of black card stock.
This technique would work with any stamps and coordinating dies. I hope it has inspired you to create a die-cut window on your next project.
Thanks so much for joining me. Happy Crafting!
LINKS TO SUPPLIES USED:

August 7, 2018
It’s a beautiful card Heather, the window is a simple but so effective technique for jazzing up a card. So pretty too ❤️