
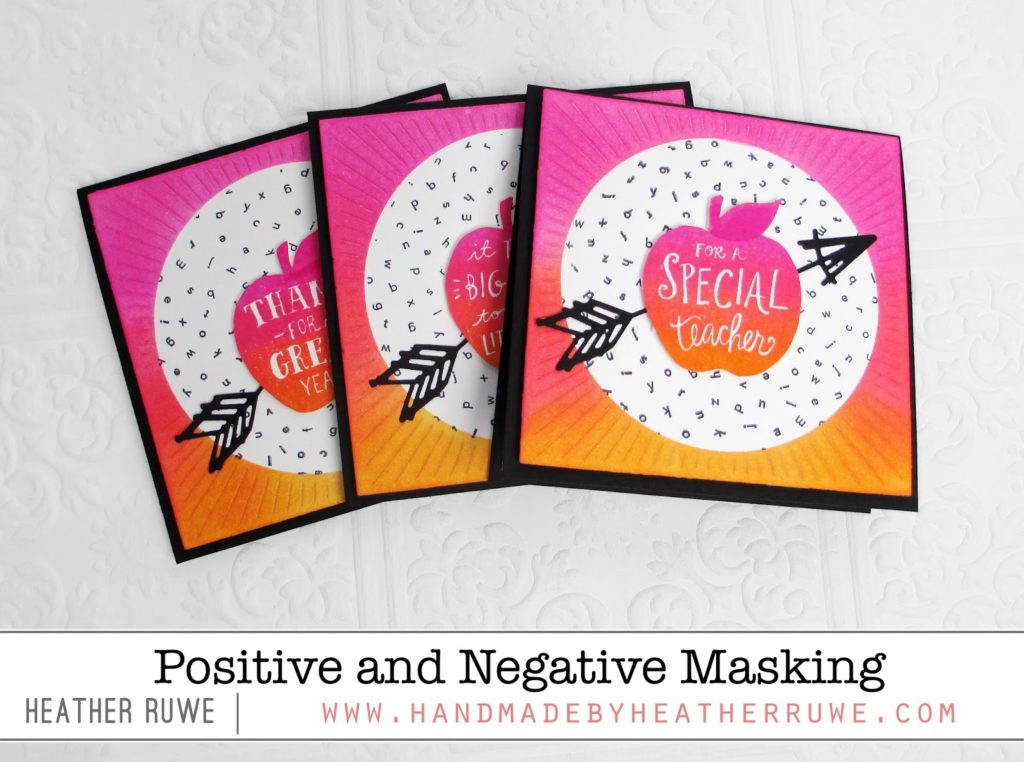
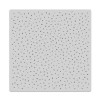
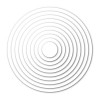
These cards were created by masking with the positive and negative portion of the die-cut. I started by cutting THIS burst frame die from Avery Elle out of several sheets of white cardstock. I also cut it from a sheet of THIS masking paper. I used a circle die from THIS die set and die-cut the center of the masking paper. I used the frame (the negative portion) to mask of each panel so I could stamp THIS background stamp inside the circle area.
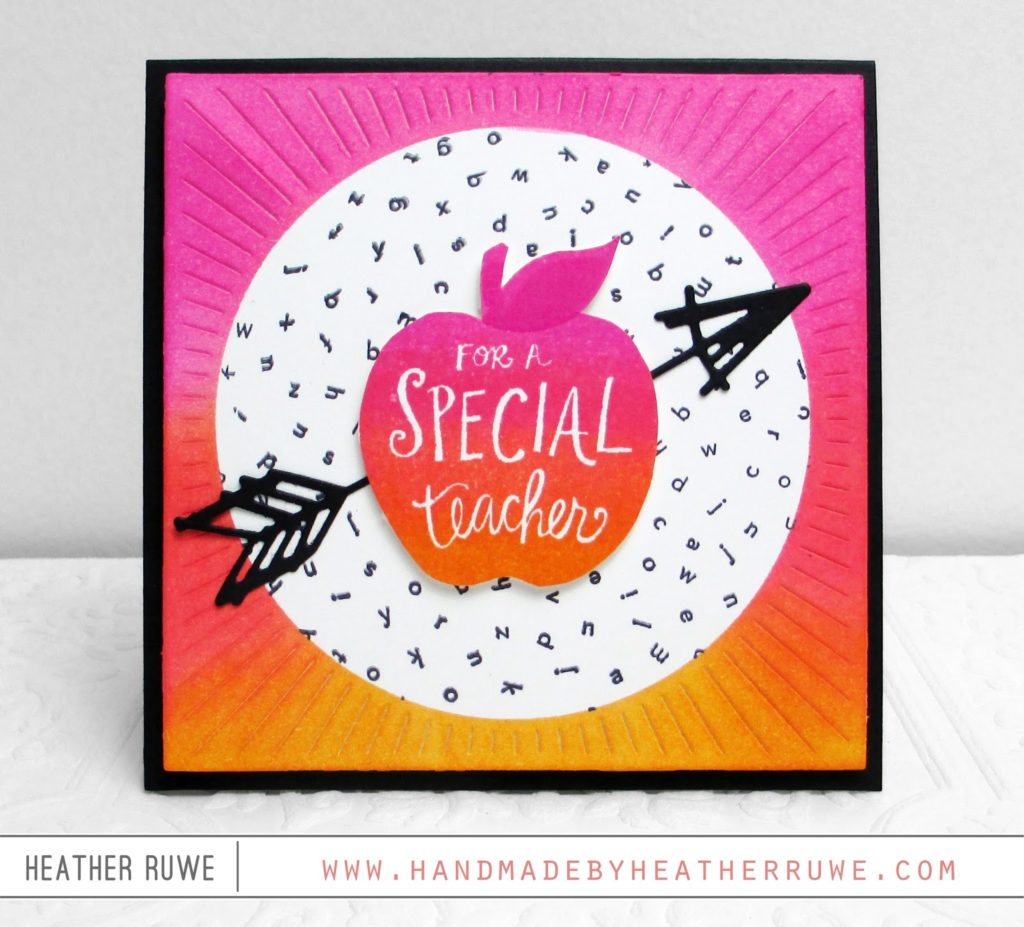
Then I used the positive portion of the die-cutting (the circle) and placed it over what I just stamped. It covered the letters so I could apply three distress ink colors (Picked Raspberry, Abandoned Coral, and Spiced Marmalade) to the edges of the burst.

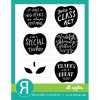
I stamped the apples from THIS Reverse Confetti stamp set using the same three colors of Distress Ink. Sometimes it’s difficult to get Distress Ink to stamp smoothly. I was able to get good coverage by repeat stamping with my MISTI.
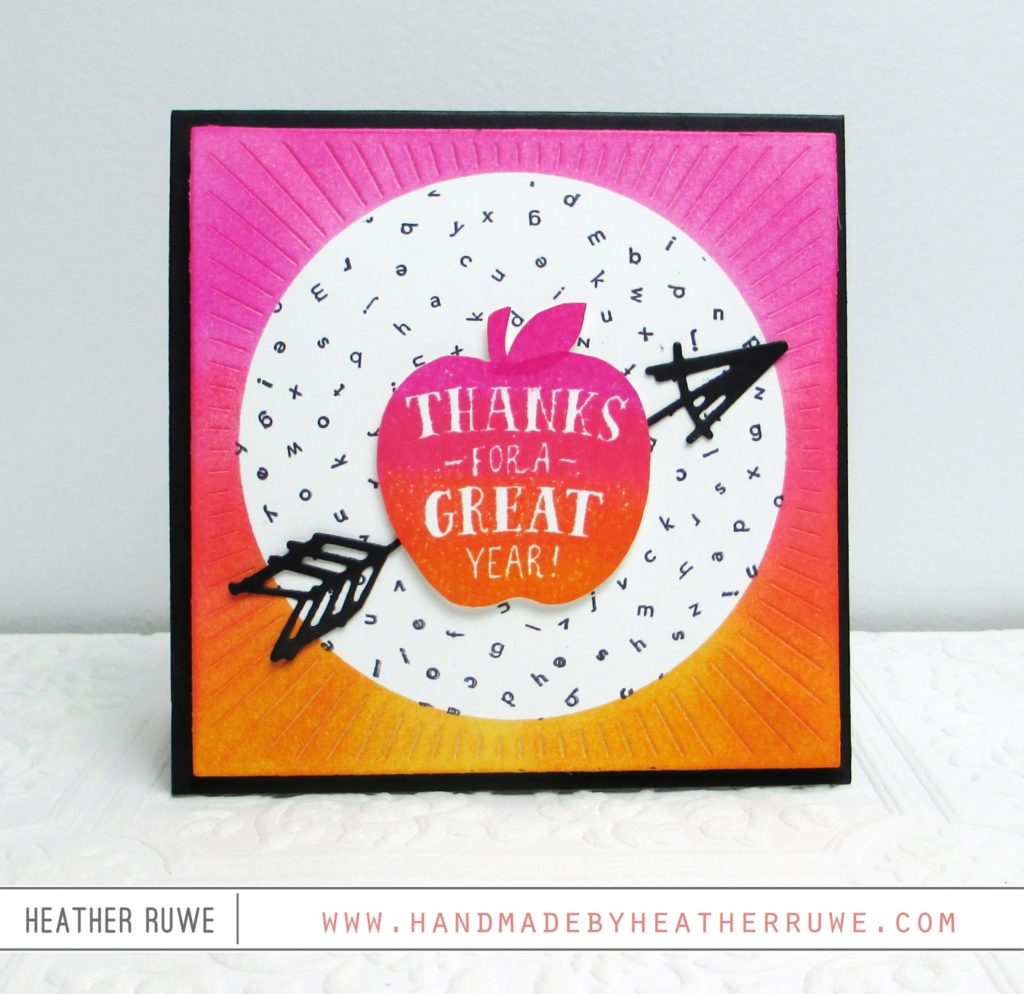
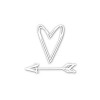
I finished off the cards by adding a die-cut arrow using THIS die. I hope this inspires you to create a card using positive and negative masking.
Thanks for stopping by. Have a great day!
LINKS TO SUPPLIES USED:


May 13, 2016
Great cards for teachers!
May 13, 2016
Awesome and fun colors!