
Hello! I remember playing with Fun Foam as a kid and having so much fun. I decided to break some out and experiment with it in card making. Here are three different ways I incorporated fun foam on my cards…
1. Use as an embellishment…

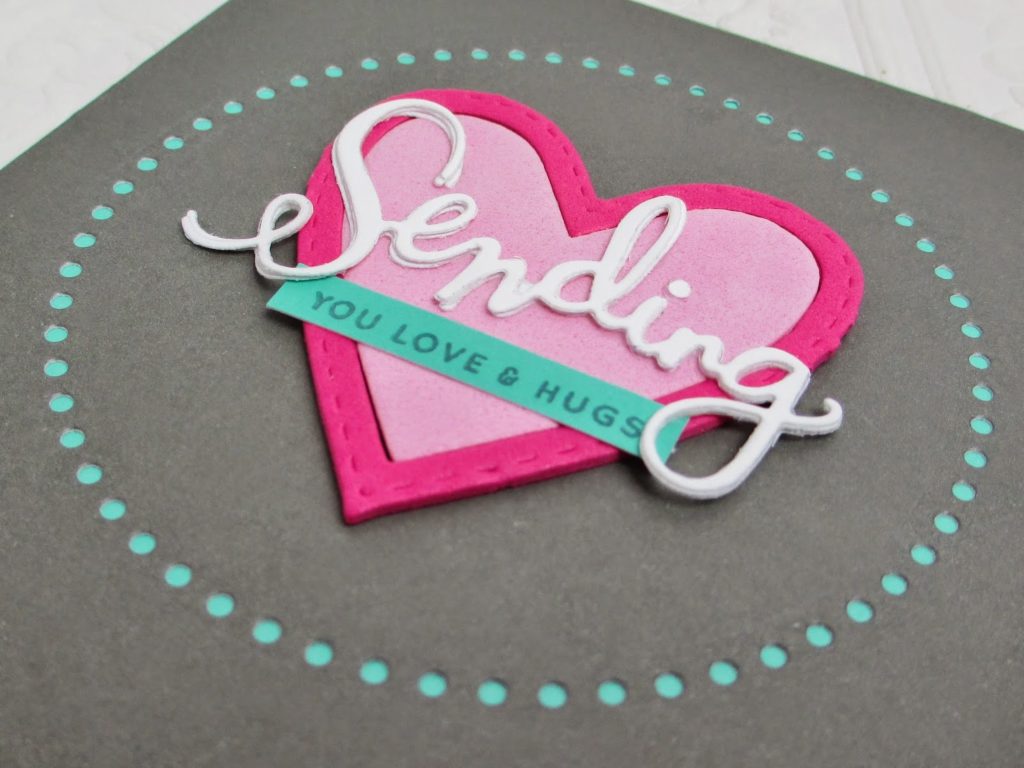
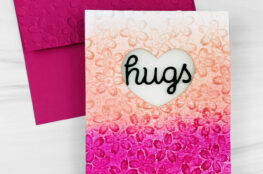
I die-cut THIS die out of some dark and light pink fun foam. I used the inlaid technique and placed the light pink heart inside the dark pink outline heart. This creates a unique and fun embellishment that serves as the focal point on my card. Speaking of focal points, THIS die is absolutely awesome for achieving that. It creates a circle of small dots to draw your eye in. I finished the card by adhering THIS sentiment and a sentiment from THIS stamp set on top of the heart. I added some of THIS paper behind the holes to add a pop of color.
I love the dimension that the fun foam gives….
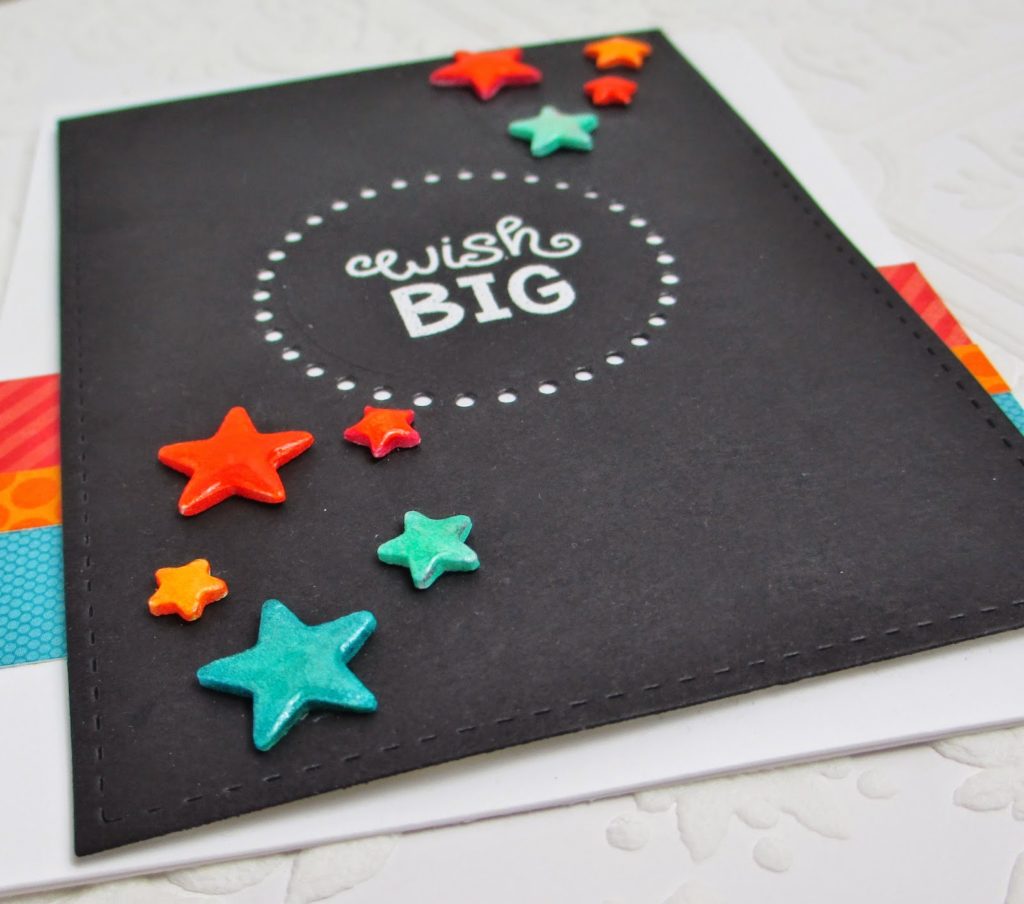
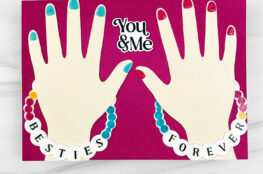
I used THIS die to cut out some stars out of white fun foam. I encourage you to buy white because you can transform the color by using markers. I used my Copics Markers to color the stars and adhered them to the card panel using some of THIS adhesive. I covered them with Glossy Accents, which gives them a unique look. NOTE: I didn’t have any trouble with my Copic Markers after coloring the fun foam. However, if you are unsure about possibly damaging your markers, I would encourage you to try some inexpensive permanent markers. Oh, and Crayola Markers do not work for this technique because it smears.
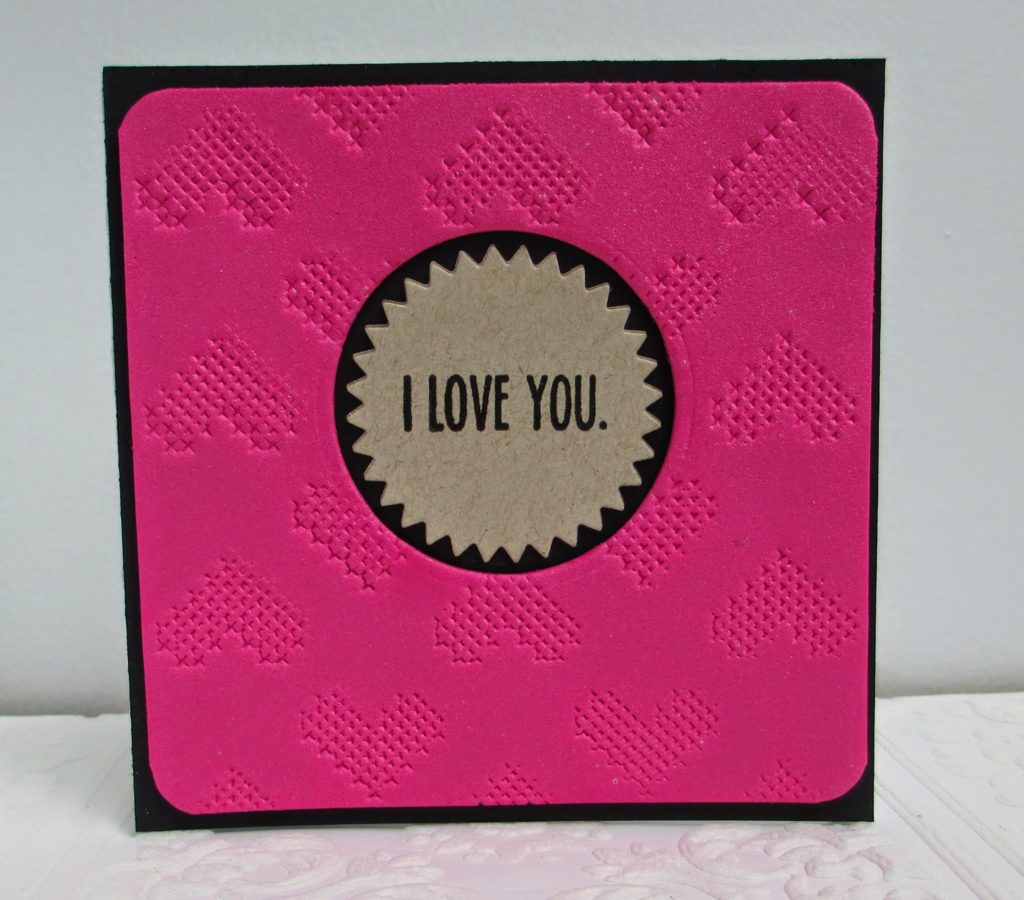
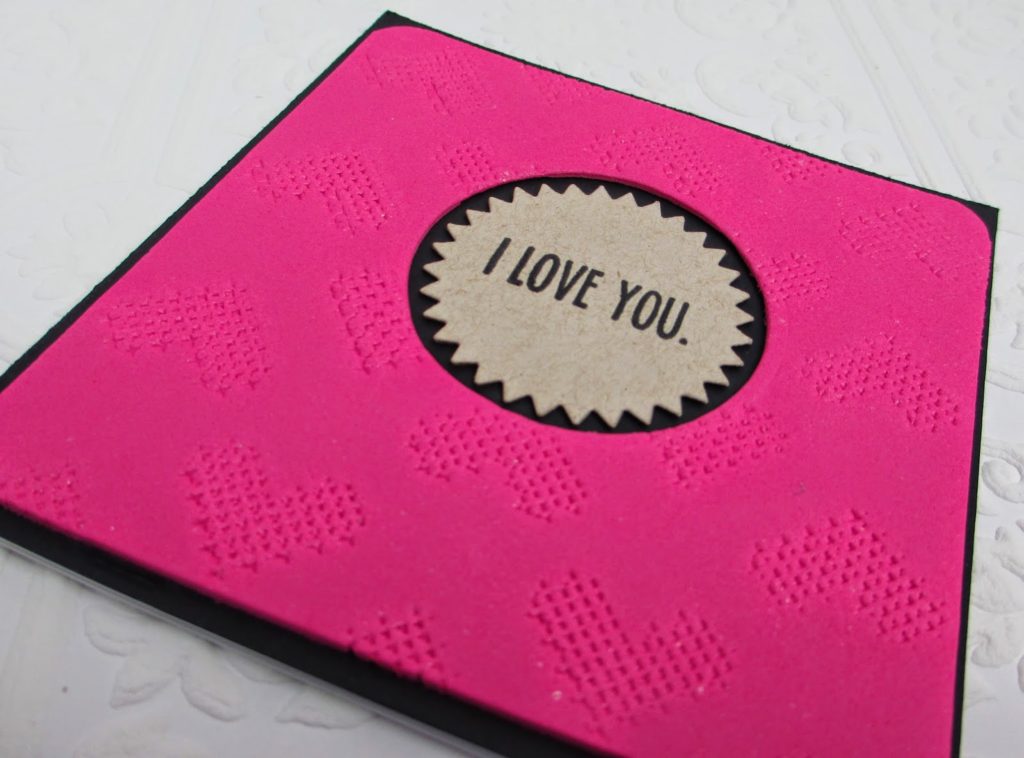
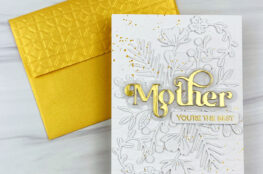
I dry embossed the fun foam with THIS embossing folder. I die-cut a circle from the center and stamped THIS sentiment on to THIS die cut from THIS cardstock. I adhered it in the window and finished the card by rounding the corners of the fun foam and spraying it with some perfect pearls for some shine. It’s hard to photograph but is so pretty in real life…
April 11, 2015
Wow all great beautiful cards
February 6, 2015
Thanks for sharing these fun ways to use fun foam!
January 30, 2015
Wow very creative using foam! Love the card 🙂
January 27, 2015
Foam is one of my favorite materials to work with too!! Love the starry card
Cheers
Dr Sonia
Cards Crafts Kids Projects
January 25, 2015
Fantastic cards, I must try this, Cathy x
January 24, 2015
Great ideas! Love the stars card the most!
January 16, 2015
Great ideas!
January 15, 2015
I need to give these a try! Thanks for the inspiration!
January 15, 2015
All FABulous ideas!
January 15, 2015
Wow just love how you used the foam!
January 15, 2015
your cards are amazing!!