March 2024 My Monthly Hero Release Blog Hop

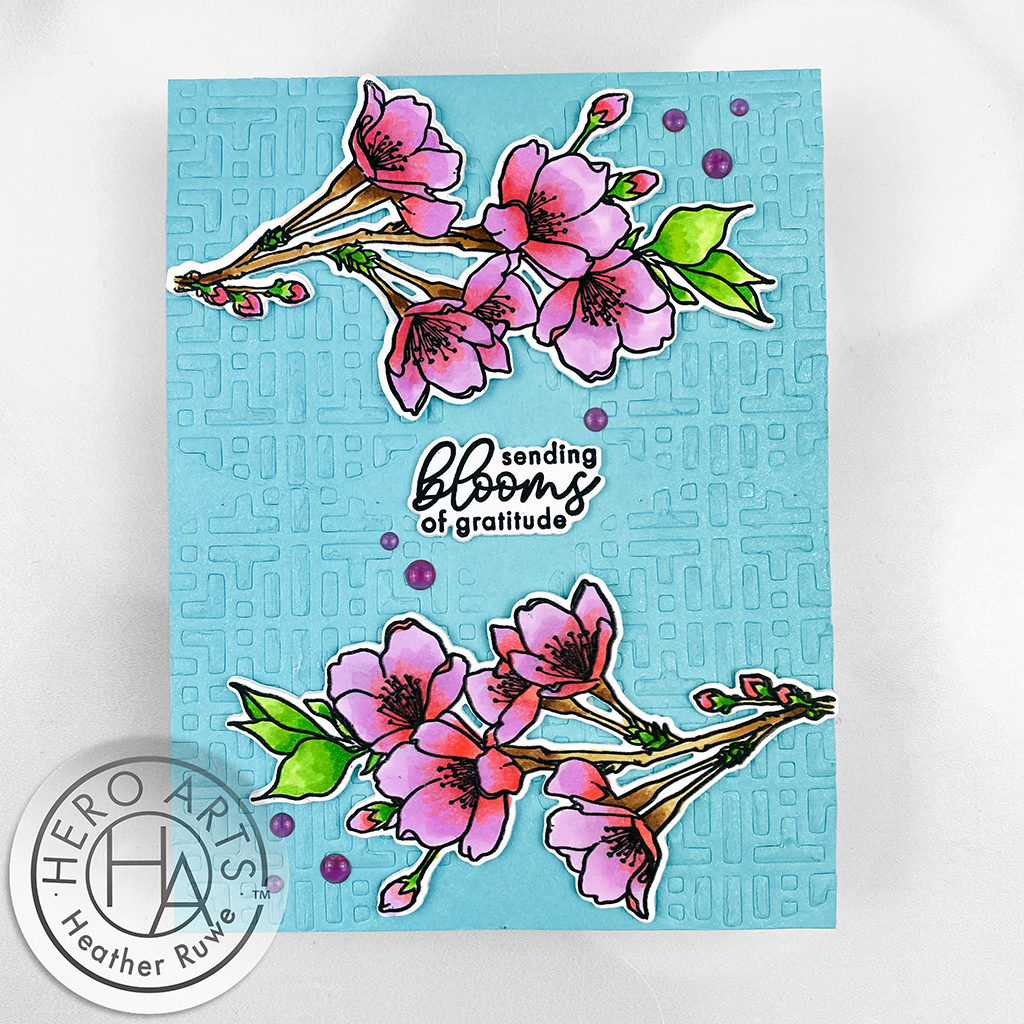
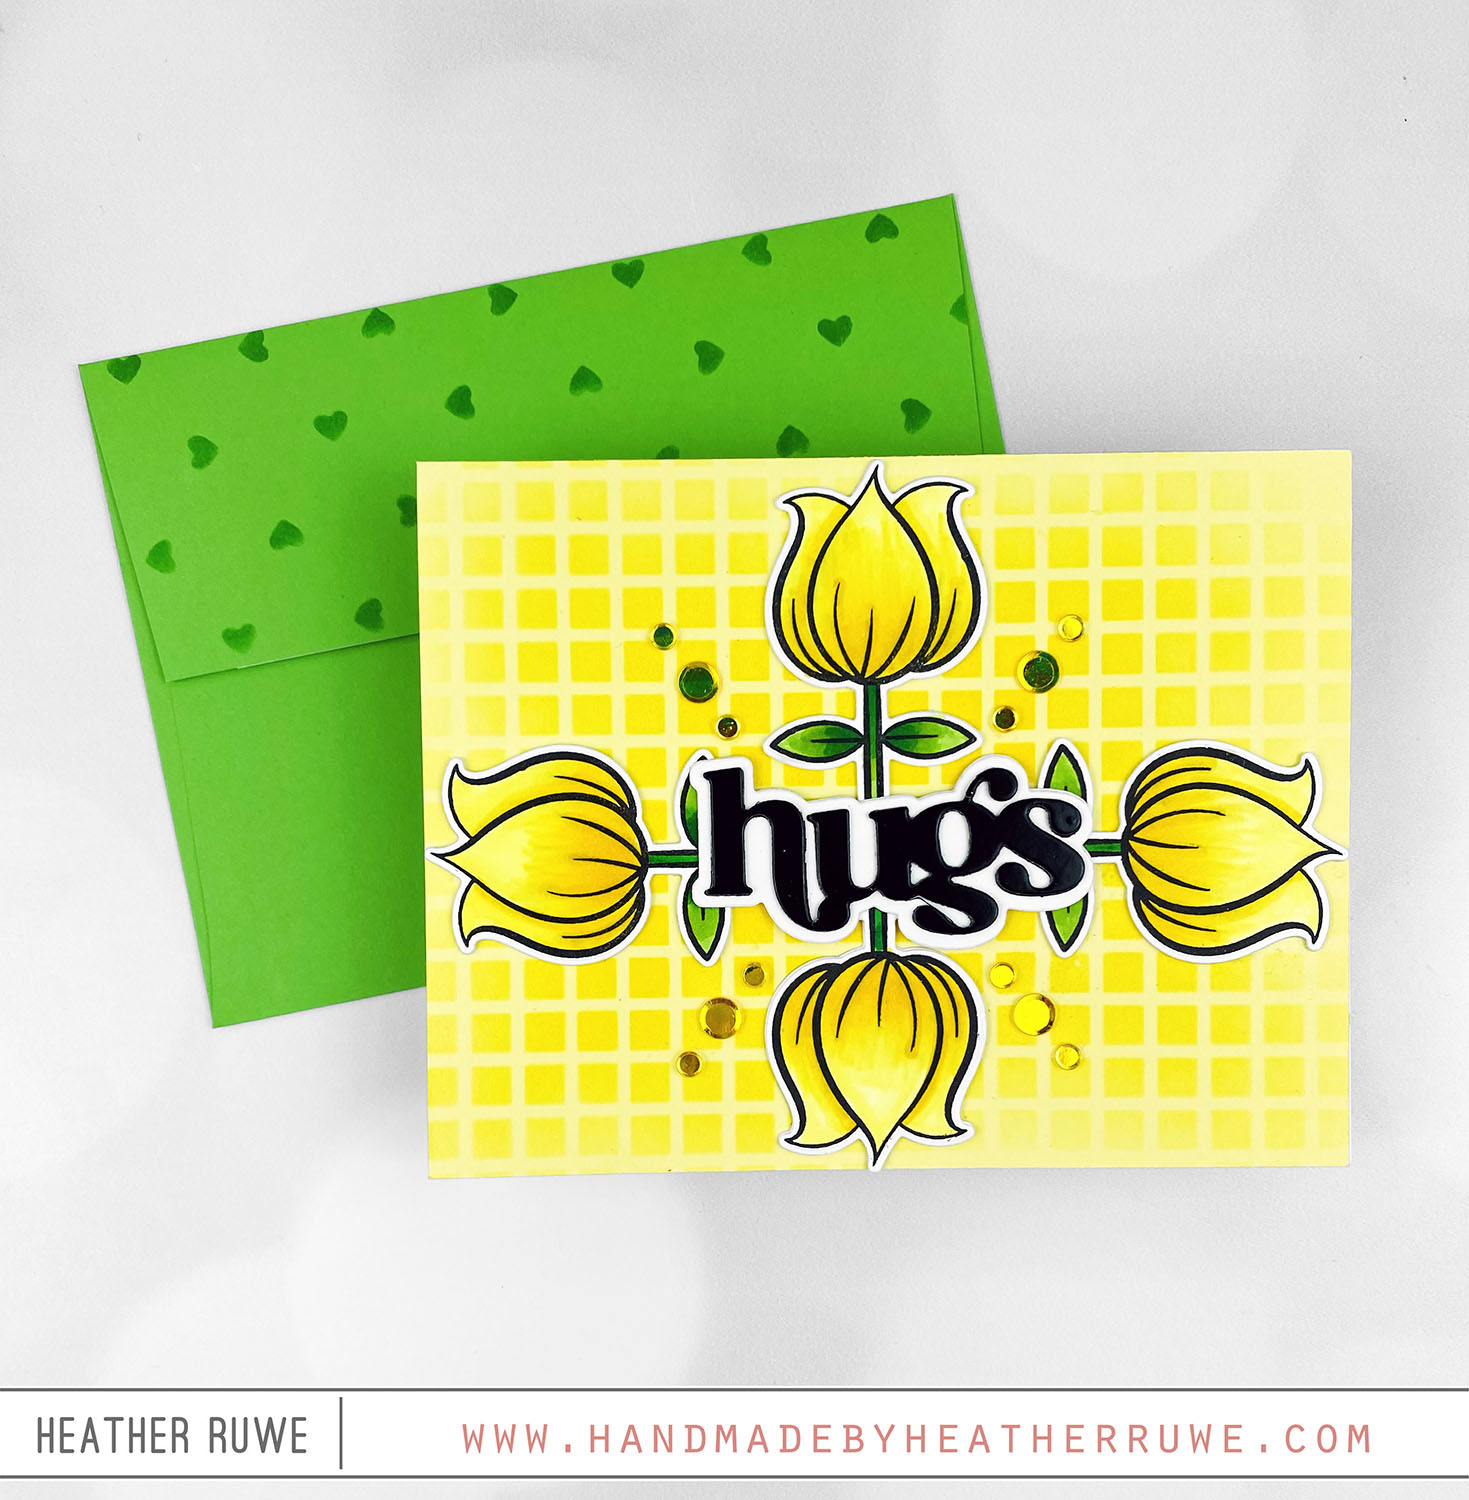
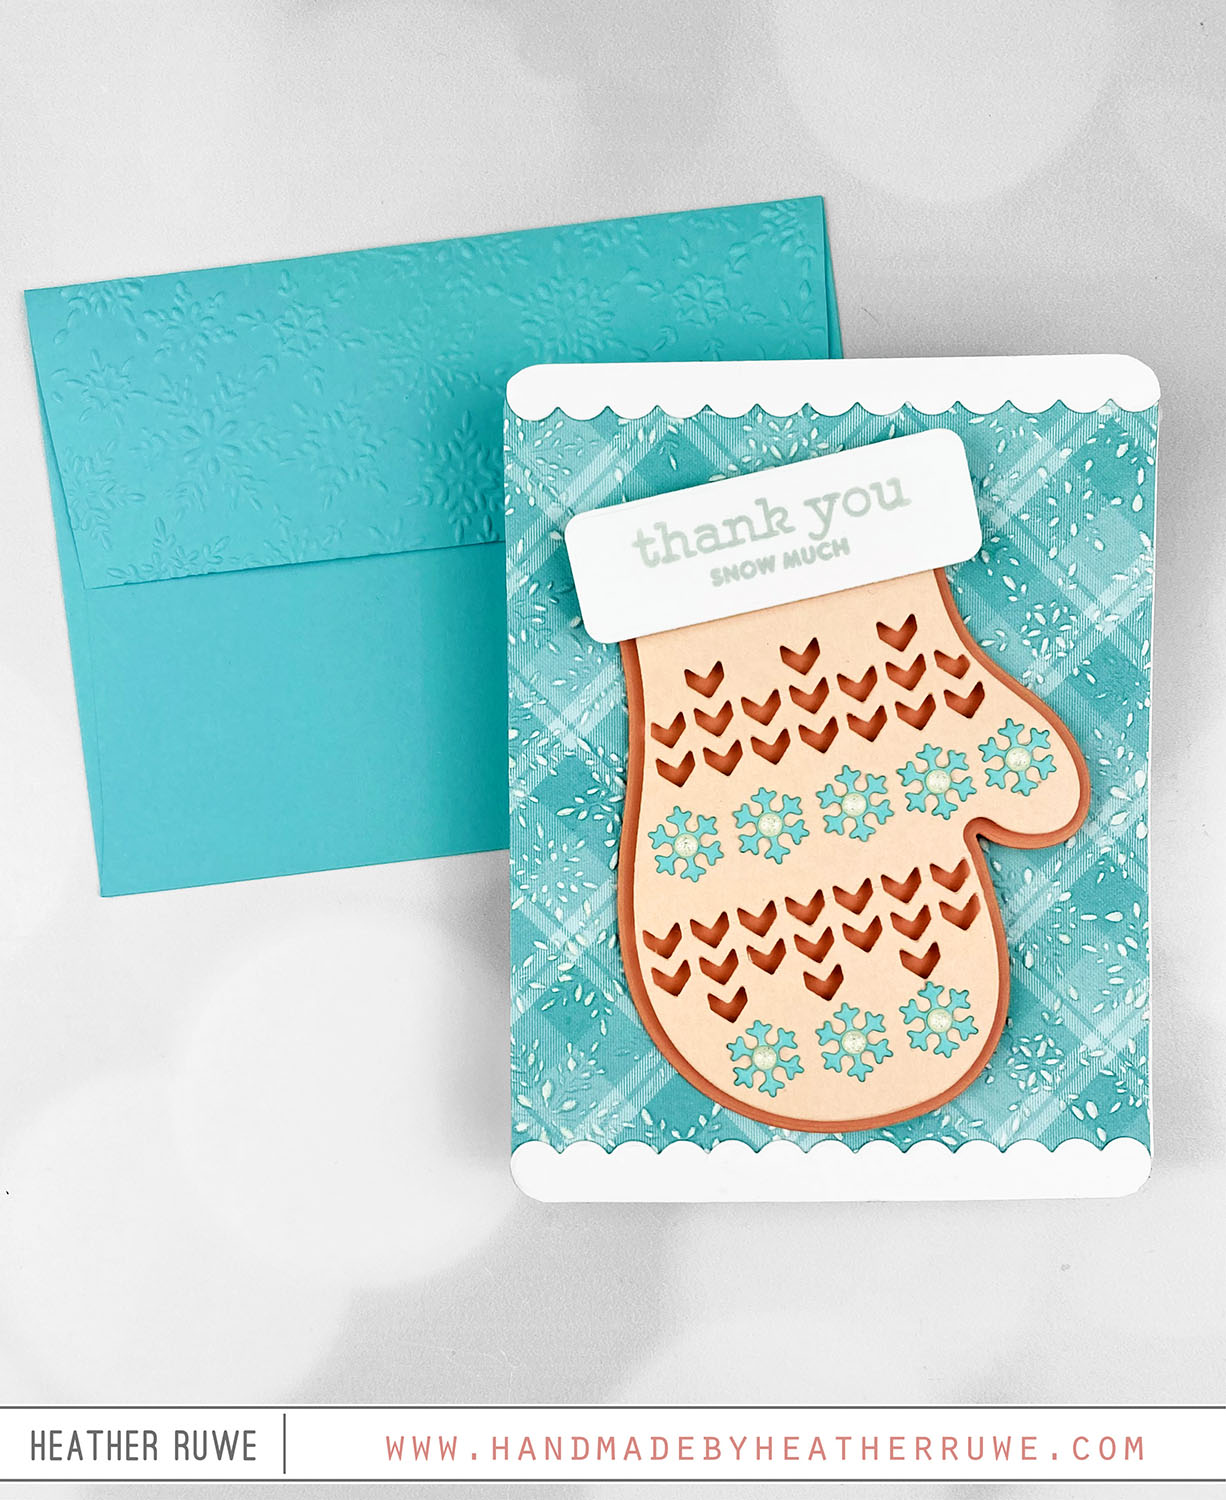
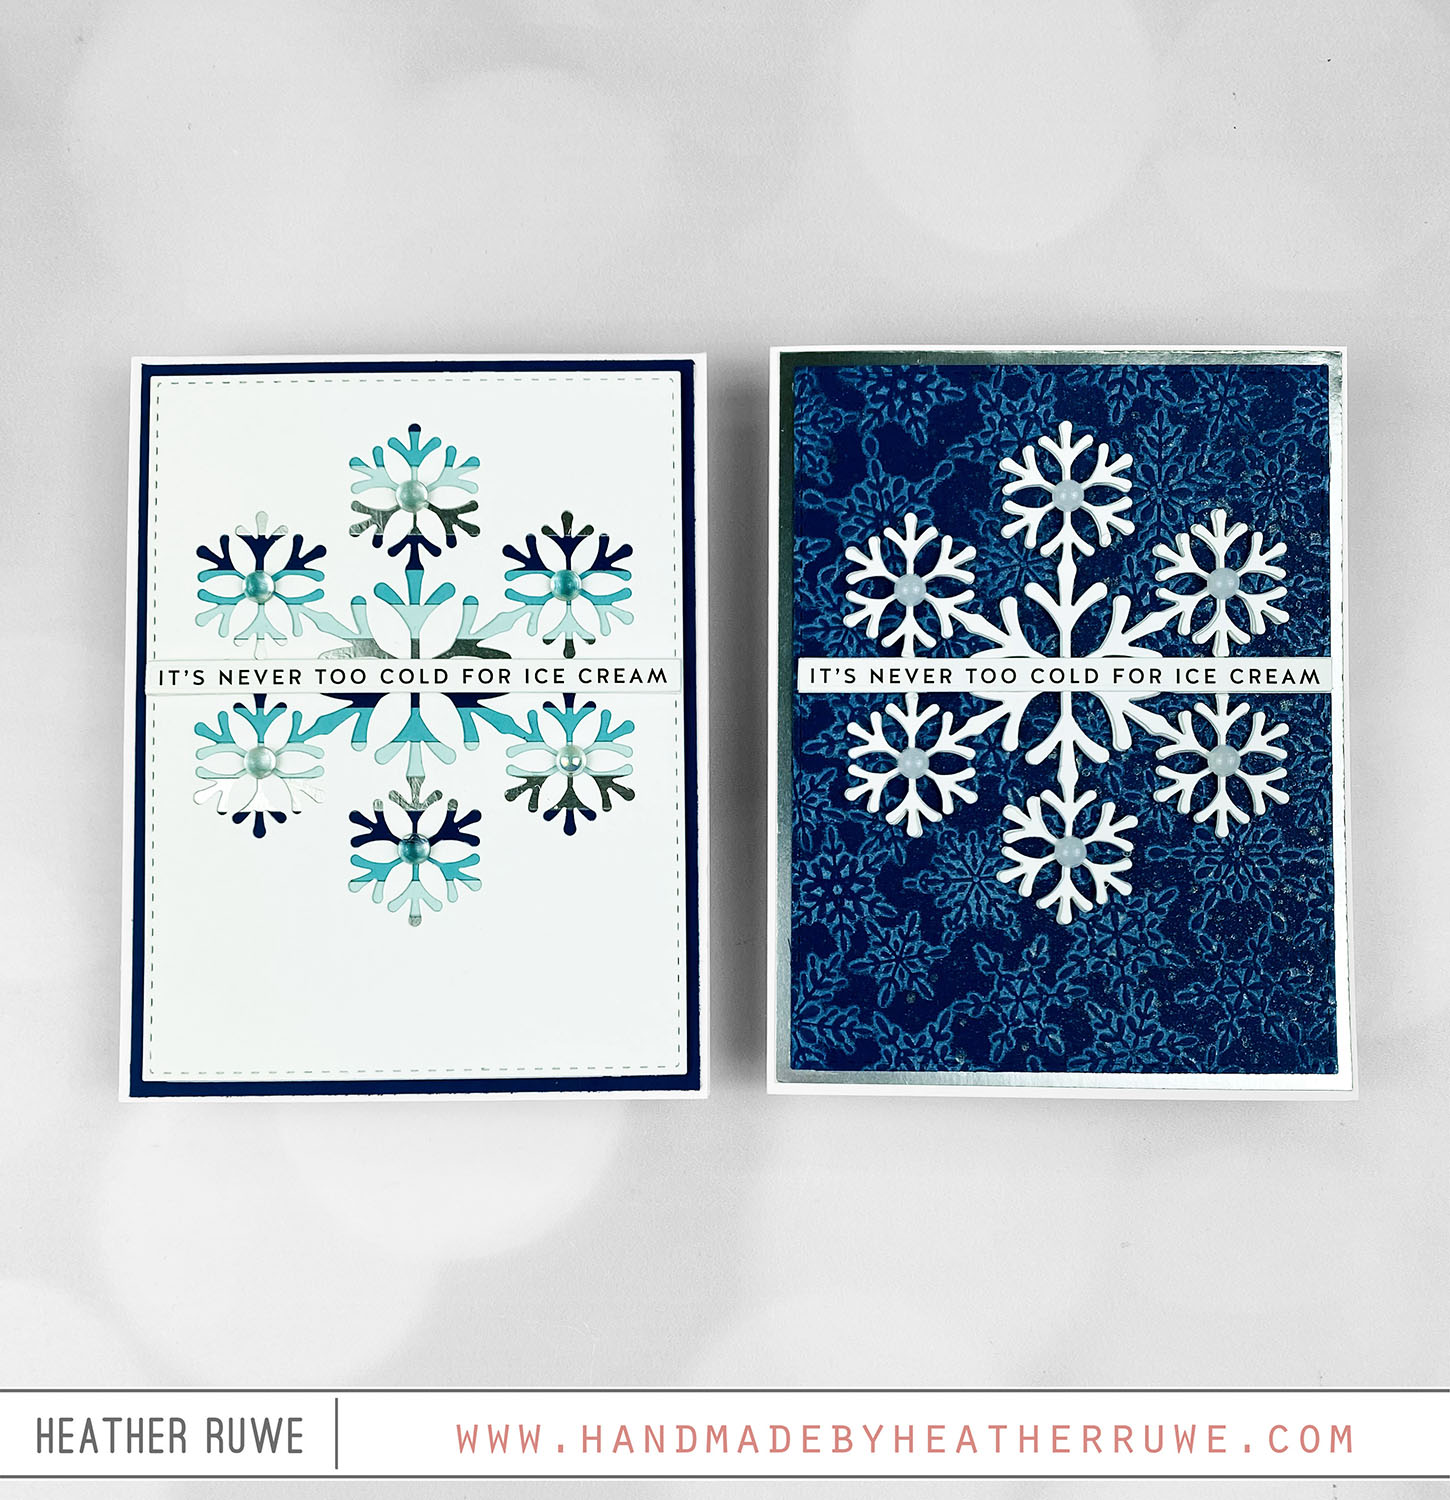
Hello, crafty friends. I have two cards to share today featuring new products from Hero Arts as part of THIS Blog Hop. Before we get to the projects, let’s take a look at the kits available… CLASSIC KIT: Classic Kit Contents: • Clear Stamp Set, 6”x 8” • 17 Coordinating Frame Cuts • Cover Plate Window Die • 2 Rub-On Transfer Sheets • 3 Ink Cubes (Cherry, Periwinkle, Deep Ocean) Premium Kit Contents: (Premium...

Whimsical Tulip Card + Giveaway

Hello again, crafty friends. Today’s card features some fun products from Altenew… To create this card, I started by stamping THIS tulip image four times and used THIS coordinating die to cut them out. I colored them in with Copic Markers and adhered them on a stenciled background that used THIS stencil. I arranged them in a graphic look and added one of THESE die cut words in the center. I finished off the...

Winter Mitten Gift Card Holder

Hey there, crafty friends. I’m not a fan of winter but I am a fan of THIS mitten die. I used it to create a gift card holder… To create this card, I die cut THIS mitten die from shades of peach cardstock. I cut the top of the mitten using white cardstock and added snowflakes cut from THIS die. I stamped a sentiment from THIS stamp set on the top part of the...

Never Too Cold for Ice Cream Cards

Howdy, crafty friends. Recently, I took THIS class from Online Card Classes and made a bunch of backgrounds. I put two of those backgrounds to use today. For the first card… I applied white ink to the smooth side of THIS embossing folder and embossed it on a piece of A2 navy cardstock. I spritzed it with THIS for some sparkle and shine and added a mat around it using THIS specialty paper. I...

Repeated Image Backgrounds

Hi, crafty friends. Today’s card features a repeated image background using new products from the Hero Arts Spring Catalog Release… To create this card, I started by stamping the musical notes image from THIS stamp set multiple times using a rainbow of ink colors to create a background. The inks that I used are listed below. I die cut the panel using THIS die. I cut a few more from white cardstock to adhere...

Mix and Match Butterflies Card Kit

Hi, crafty friends. Today’s card features THIS new card kit… I started by stamping the butterfly image from the kit’s stamp set. I colored it with Copic Markers and used the coordinating dies to cut it out. I added a few gems from the kit to the butterfly design to add some sparkle and shine. For the background I embossed the kit’s embossing folder on the bottom half of a navy A2 panel. I...

Splendor Release Blog Hop Day 2-St. Patrick’s Day Tag

Hi, crafty friends. Today’s project is part of THIS Blog Hop celebrating THIS new release. I have a St. Patrick’s Tag to share featuring some of the new products… I started by creating the background. First, I applied green ink through THIS stencil on a tag cut with THIS die. I spritzed on some of THIS shimmer spray to add some sparkle ands shine. I added  a strip of green cardstock along the bottom...

Layering Stencils and Stamps

Hello, crafty friends. Today’s card features THIS new release. It also features layering stencils and stamps, which I’m loving lately… To create this card, I stenciled THESE layering stencils on a white panel. I die cut it using an older stitched die and adhered it to a pink note card. Next, I stamped the layers of THIS bunny image on white cardstock and adhered it on the stenciled background. I added a strip of...

Easter Treat Bags + Video

Hello, crafty friends. Today’s project Features THIS new release from Simon Says Stamp. ‘ VIDEO You can watch the video on how these treat bags came together HERE or click on the video below. To create the bag, I started with THIS gift bag die. I cut the bag portion and the handle die twice from pink cardstock. I laid one of the bag portions on THIS Grip Mat and used some low tac...

Hero Arts Spring 2024 Catalog Blog Hop

Hello, crafty friends. The Spring 2024 Catalog is now available HERE at Hero Arts! I have two cards to share today featuring some of the new products… For the first card… I used products from THIS co-branded product line with Ralph Tyndall. I applied ink through a ray stencil for the background to create some show lights. I adhered a strip of gray cardstock along the bottom of the panel and stamped the images...