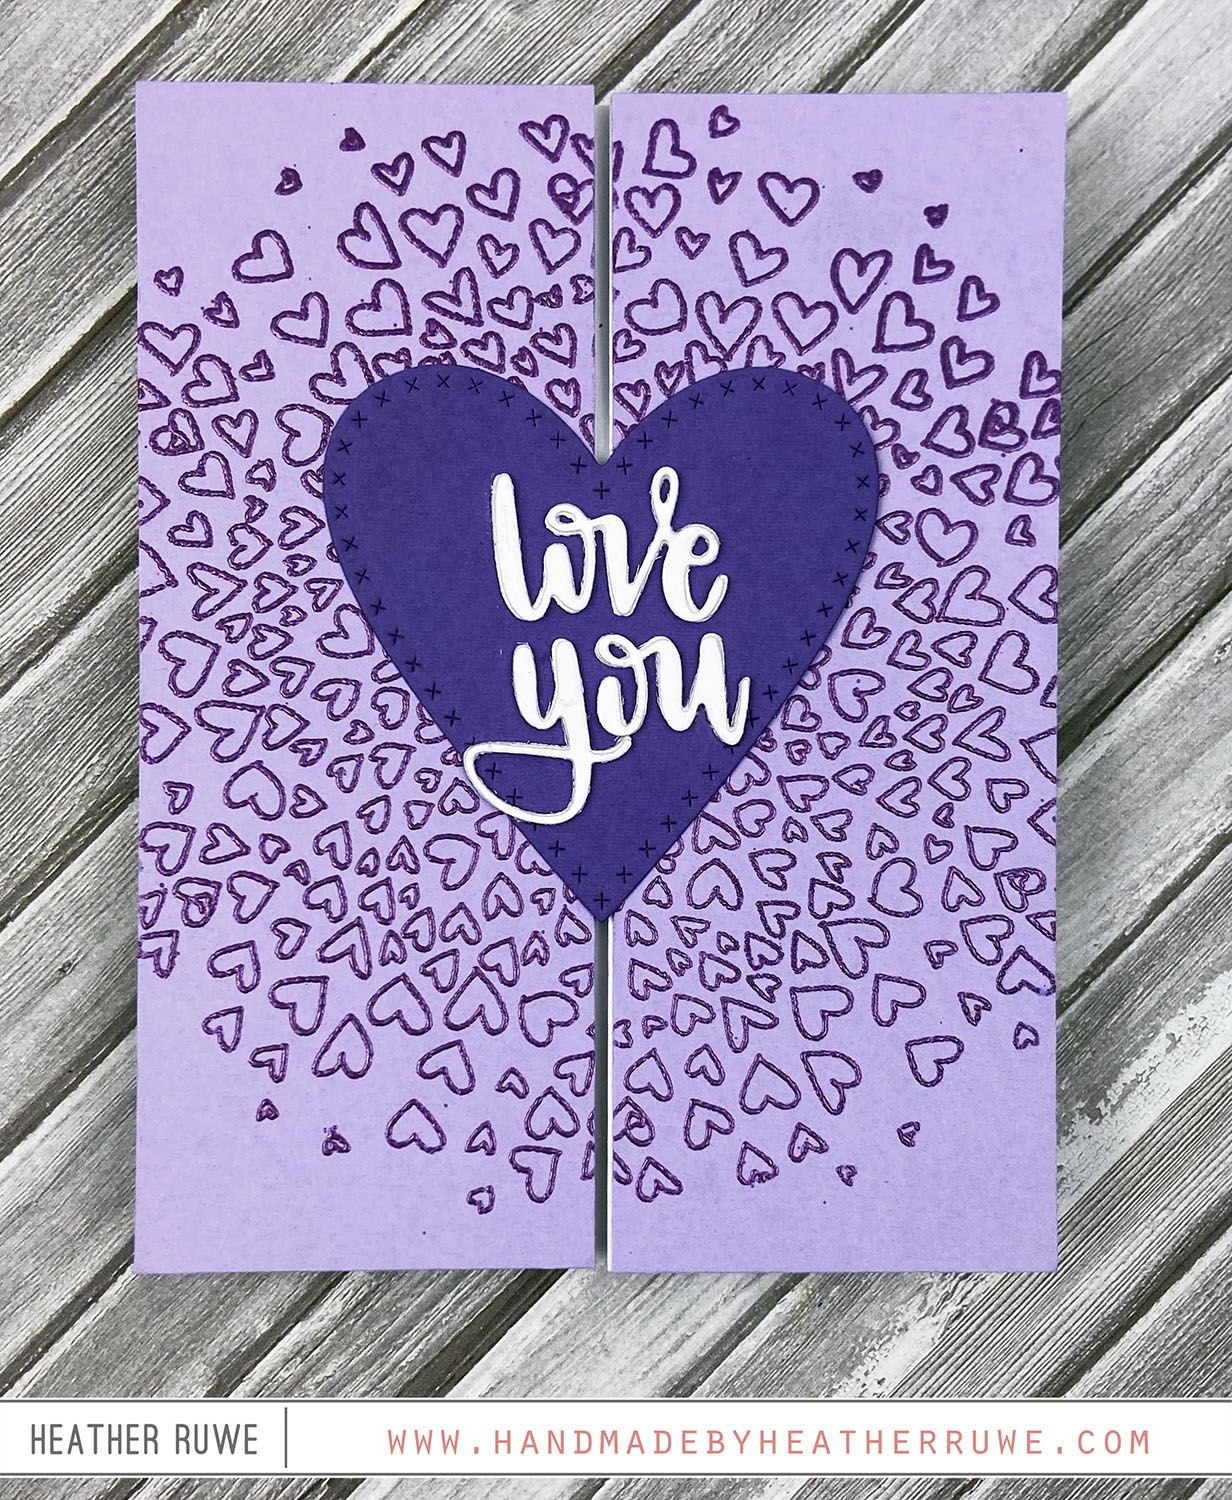
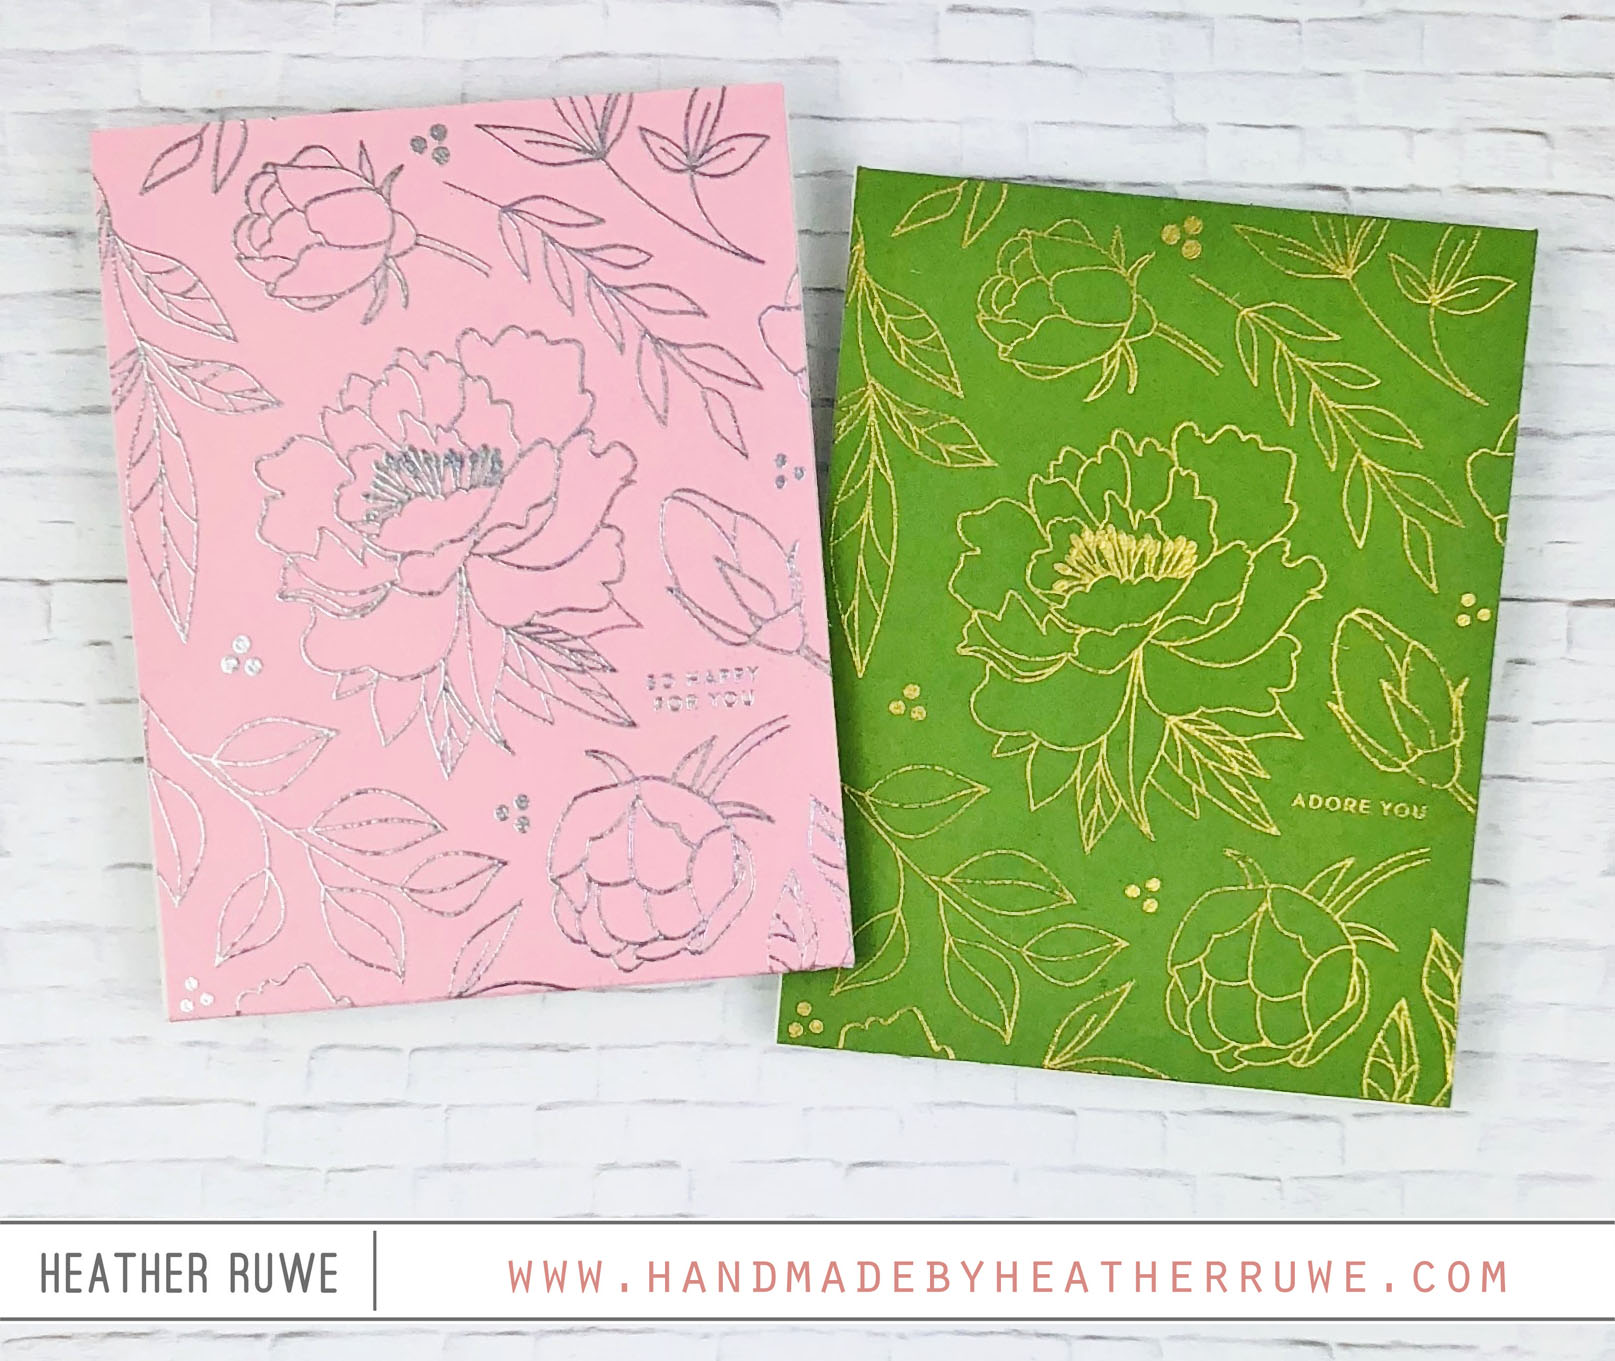
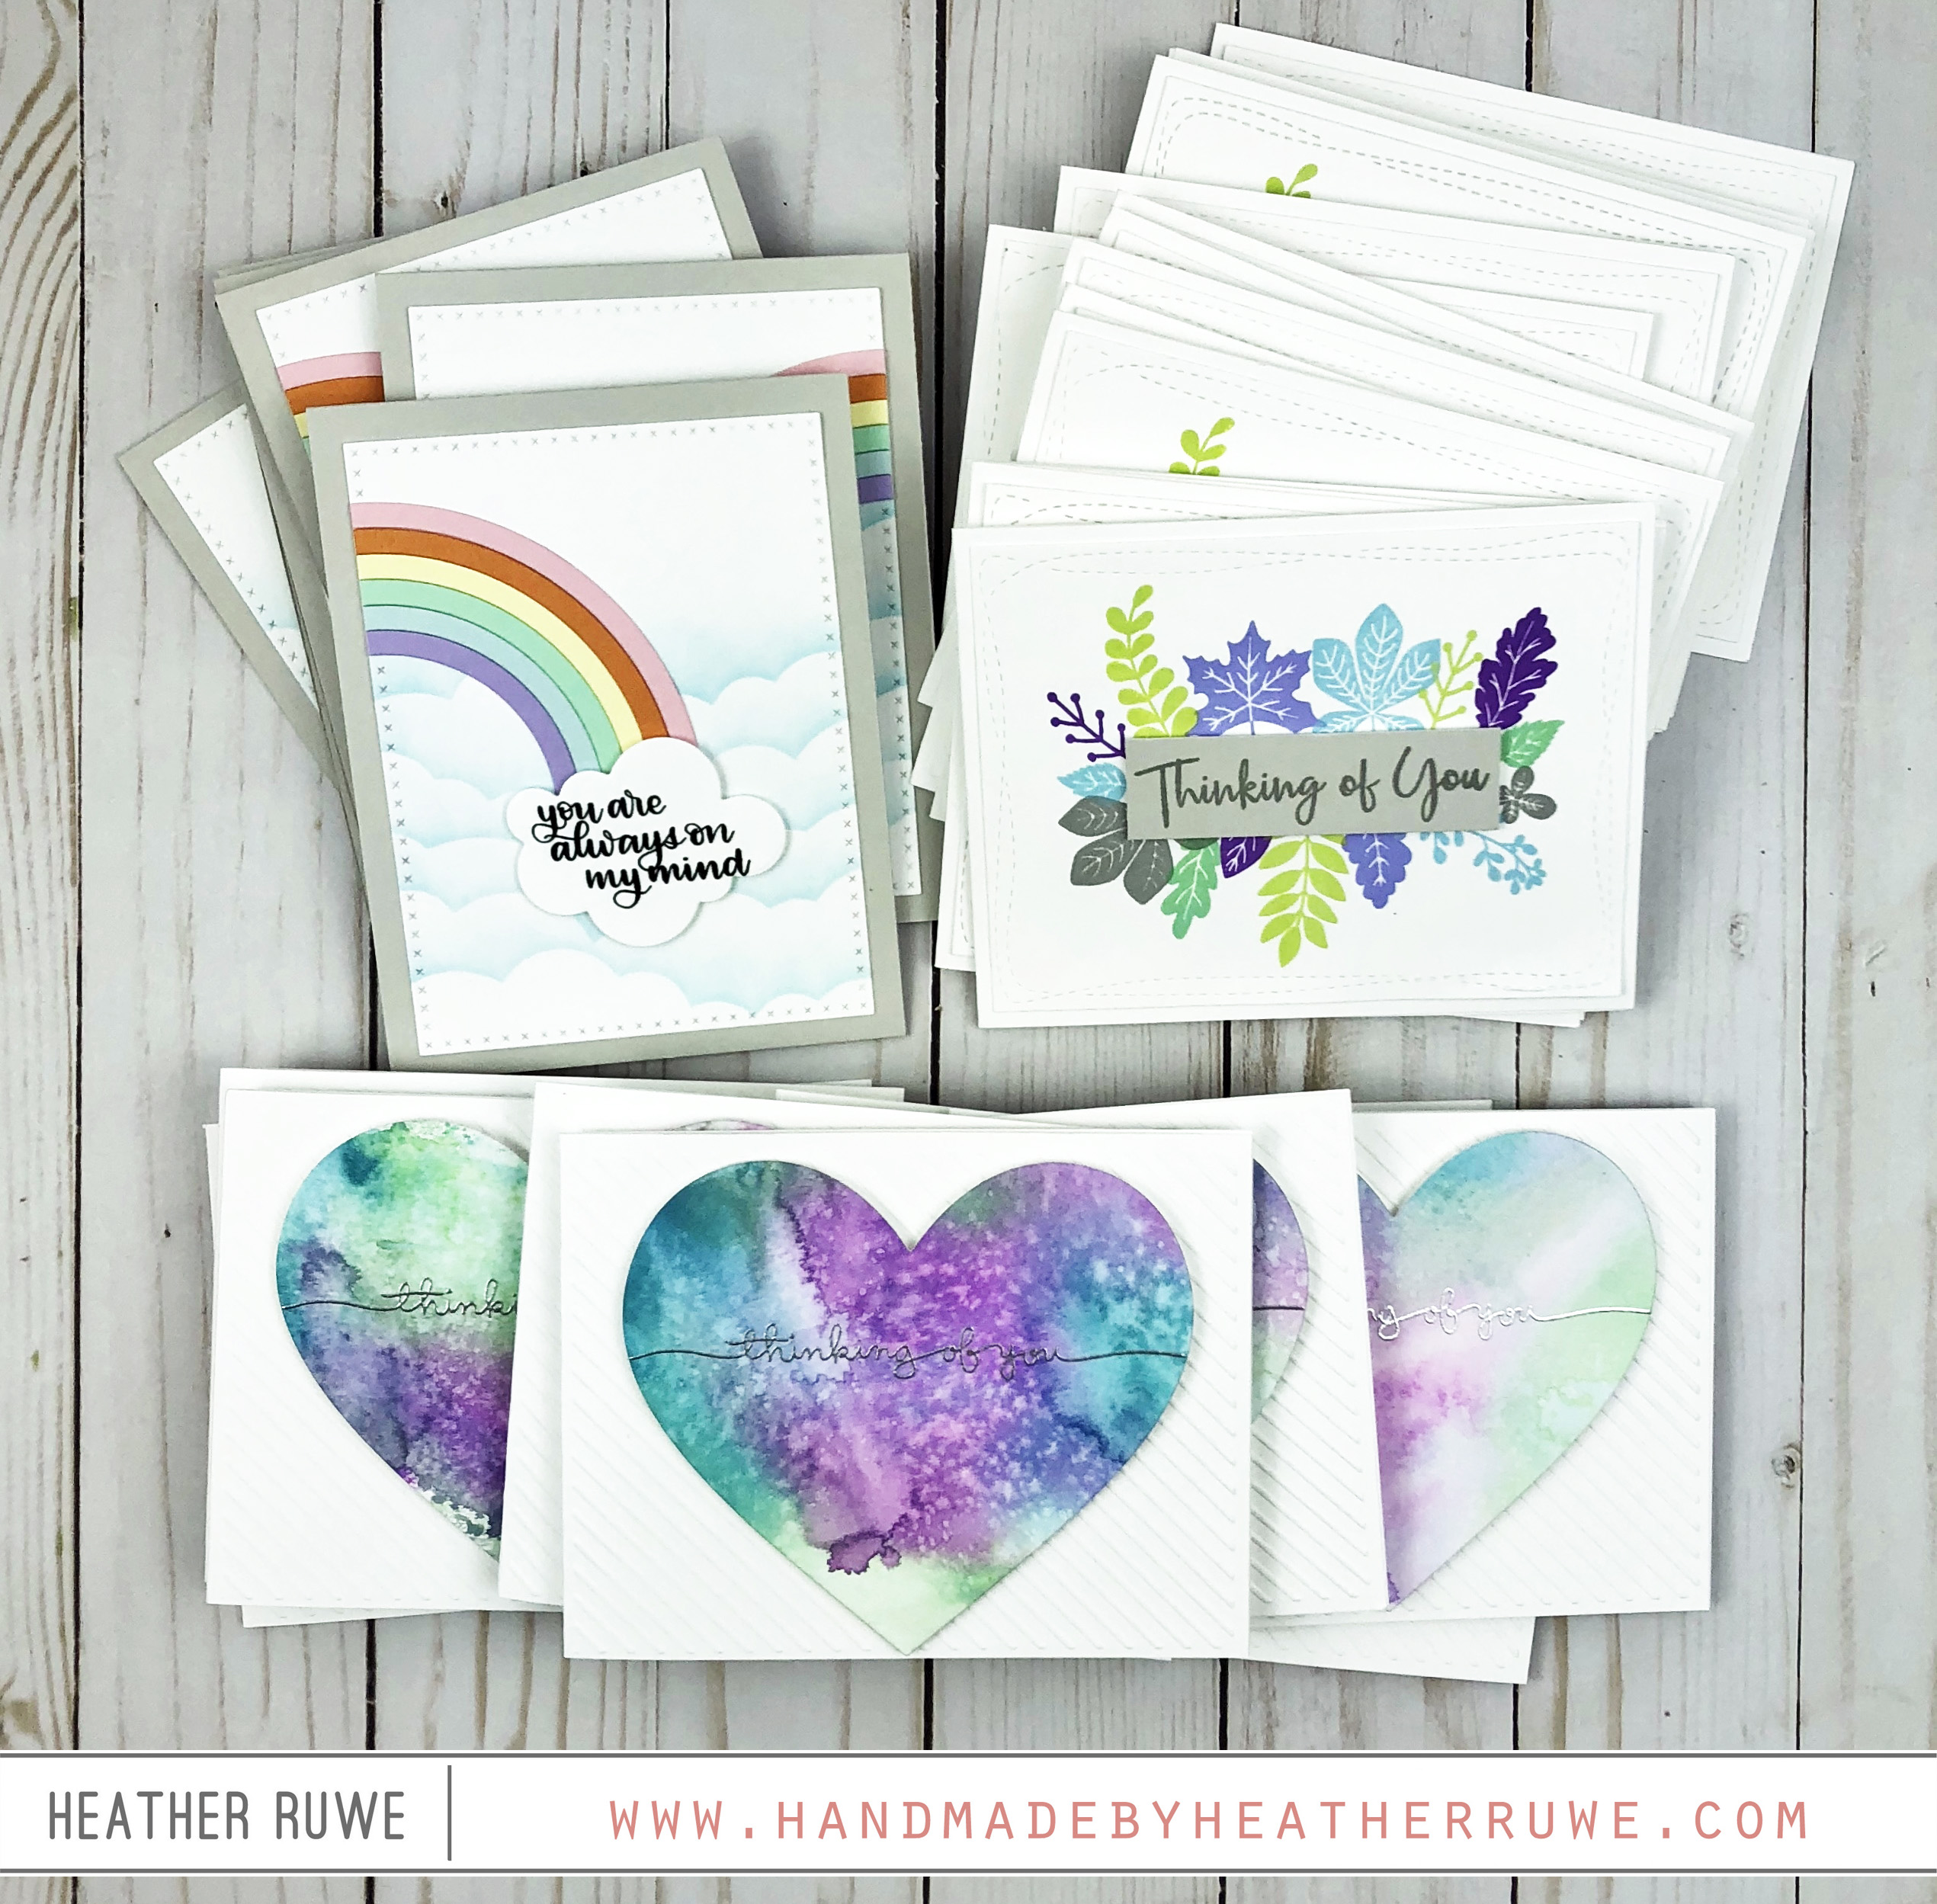
More Diecember Inspiration + Quick Crafty Tip

Hello again, crafty friends. I have another card to share featuring some Diecember goodies as well as a quick crafty tip (more on that later). Today’s card is super bright so you may need some sunglasses… To create the background, I dry embossed THIS new die using THIS embossing mat in my die-cut machine. Instead of cutting, it leaves an impression. I inked up the entire panel with a few yellow distress inks and...

Picket Fence Studios + WOW! Embossing Collaboration Blog Hop

  Hi, crafty friends. Today’s blog post is part of a fun blog hop with WOW and Picket Fence Studios. To create this card, I started by stamping and coloring the fox image from THIS stamp set. I used THIS coordinating die to cut it out. I stamped the tree trunk and cut it out as well as a grassy hill from THIS die. For the background, I blended blue and purple Distress Oxide...

Simon Says Stamp Celebrate You Release

Hello, crafty friends. I’m sharing a couple cards today featuring products from THIS new release. For both cards, I dry embossed THESE dies to create a background. I stamped, colored, and cut out THESE images. I stamped a sentiment from the stamp stamp set in the center and added some of THESE and THESE drops along with some hearts from THIS die. I added some of THIS on top of the hearts from some shine...

One Layer Embossed Backgrounds + May Card Kit

Hello, crafty friends. Today’s cards feature some products from THIS new card kit from Simon Says Stamp. I wanted to create a one layer card so I heat embossed the images in THIS stamp set that is included in the kit on to the kit’s card stock, creating a background. I included the sentiment on the panel as well as the dots image from THIS stamp set to finish off the design. Since the...

Mass Producing Cards

Hello, crafty friends. A Ronald McDonald House recently reached out asking if I could create a bunch of cards for the families who lost a child. I decided to mass produce some thinking of you cards and share some tips for creating several cards at once… My first tip is to start with a design that you can possibly get more than one card from. For these cards… I knew die-cutting the rainbow and...

Double Take: Ornate Leaves

Hi. Today I’m sharing two cards with the same design in different color combos. They both feature THIS stamp set… Using my Misti, I stamped the medium leaf from the set on a strip of white and kraft cardstock using Distress Oxide Inks. I masked off the leaf and stamped two smaller leaves next to it. I heat embossed a sentiment from THIS stamp set in silver and gold. I added a few enamel...

SSS Encouraging Words Blog Hop- Part 2

Hi, friends. I’m thrilled to be taking part in the SSS Encouraging Words Blog Hop. THIS release is full of awesome product, but THIS is my favorite. The images are adorable and I used all of the critters to create these cards… For all the cards, I used a partial embossing technique to create a focal point on each card. I haven’t reached for my embossing folders in awhile, so I broke them out...

Stamptember 2016-Tim Holtz

Hello! Today’s card features products from a collaboration by Tim Holtz and Simon Says Stamp in celebration of STAMPtember! HERE are the two exclusive products… Click HERE for more information on these products. I’m a big fan of Tim Holtz and his products and in honor of that, I pushed myself out of my comfort zone and played with some alcohol inks for the background… Of course I had to use bright colors! I’m always...

STAMPtember 2016

It’s the most wonderful time of the year! STAMPtember is finally here. I will be sharing lots of inspiration this month, but wanted to kick off the party by sharing a card created with THIS stamp set… I stamped the fairy image using THIS ink and then clear heat embossed it. I did this because I used THESE watercolors to color in the image and the heat embossing helps keep the colors separate. I...