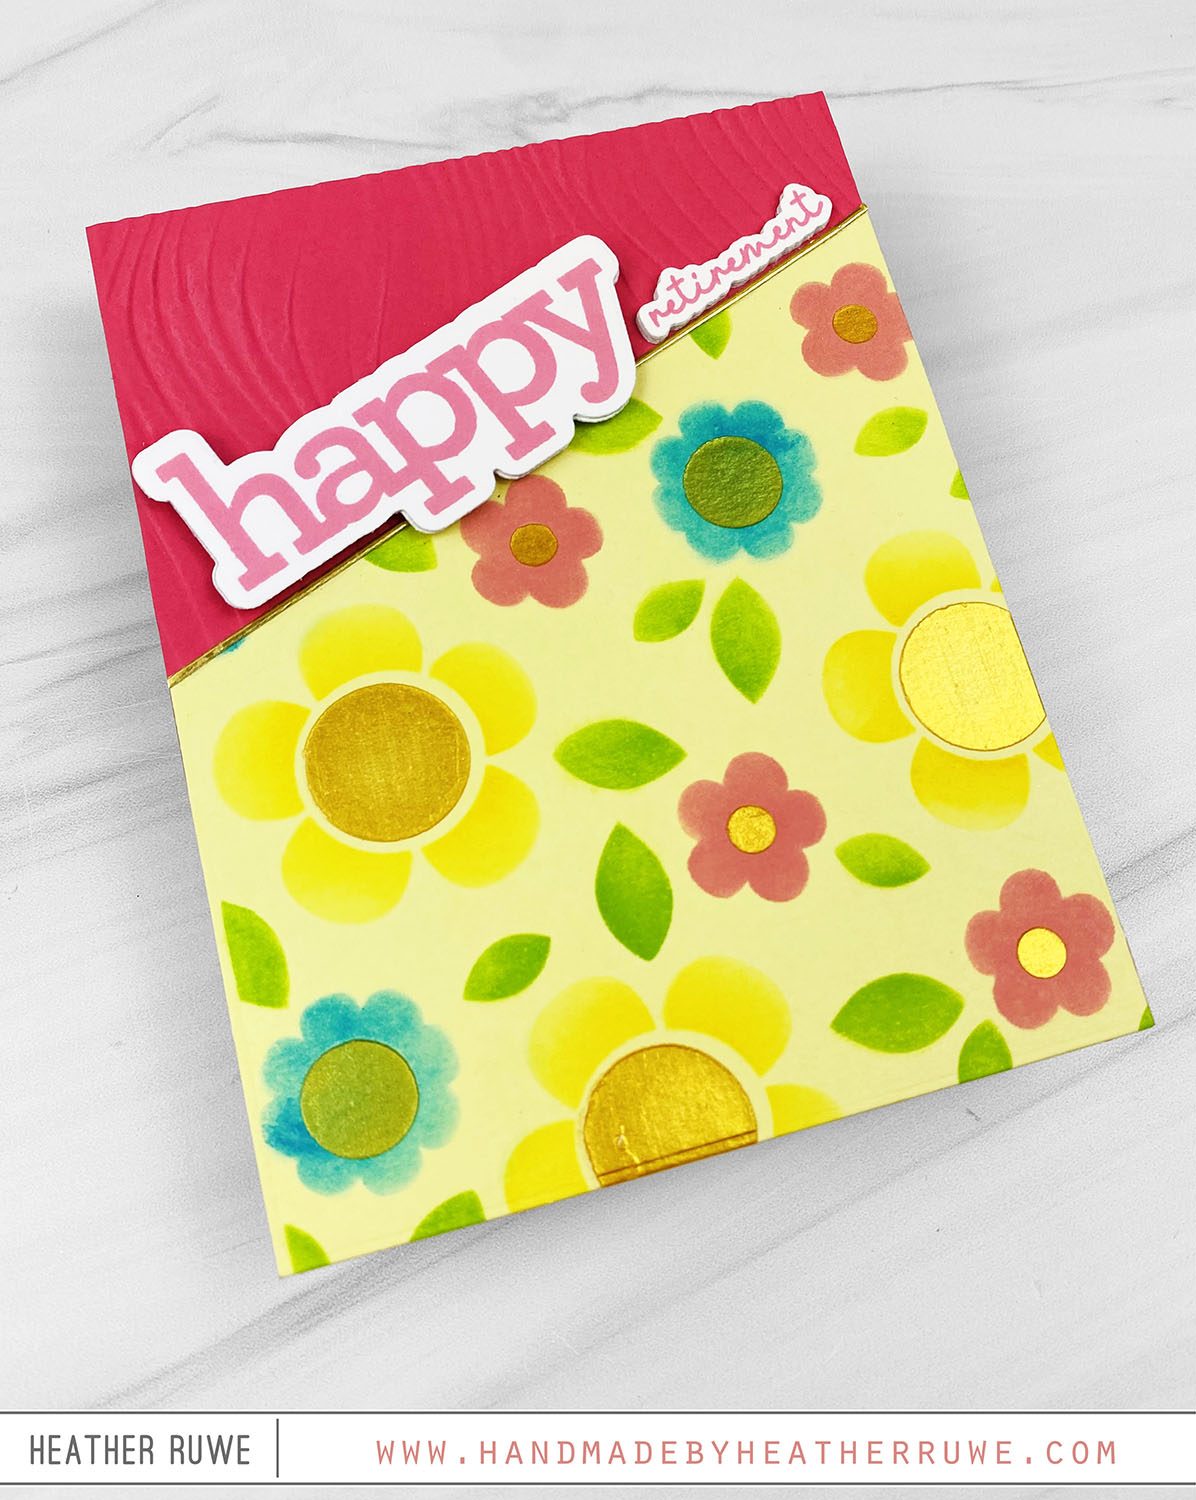
Hello, crafty friends. I have a retirement card to share today featuring THESE layering stencils, THIS embossing folder, and THIS sentiment set… To create this card, I applied ink through THESE layering stencils on a yellow A2 sized panel. On the last layer, I applied THIS gold paste for the flower centers to give some shine and dimension. Next, I embossed a piece of pink cardstock with THIS embossing folder. I cut it and...
Layering Stencils with Embossing Paste
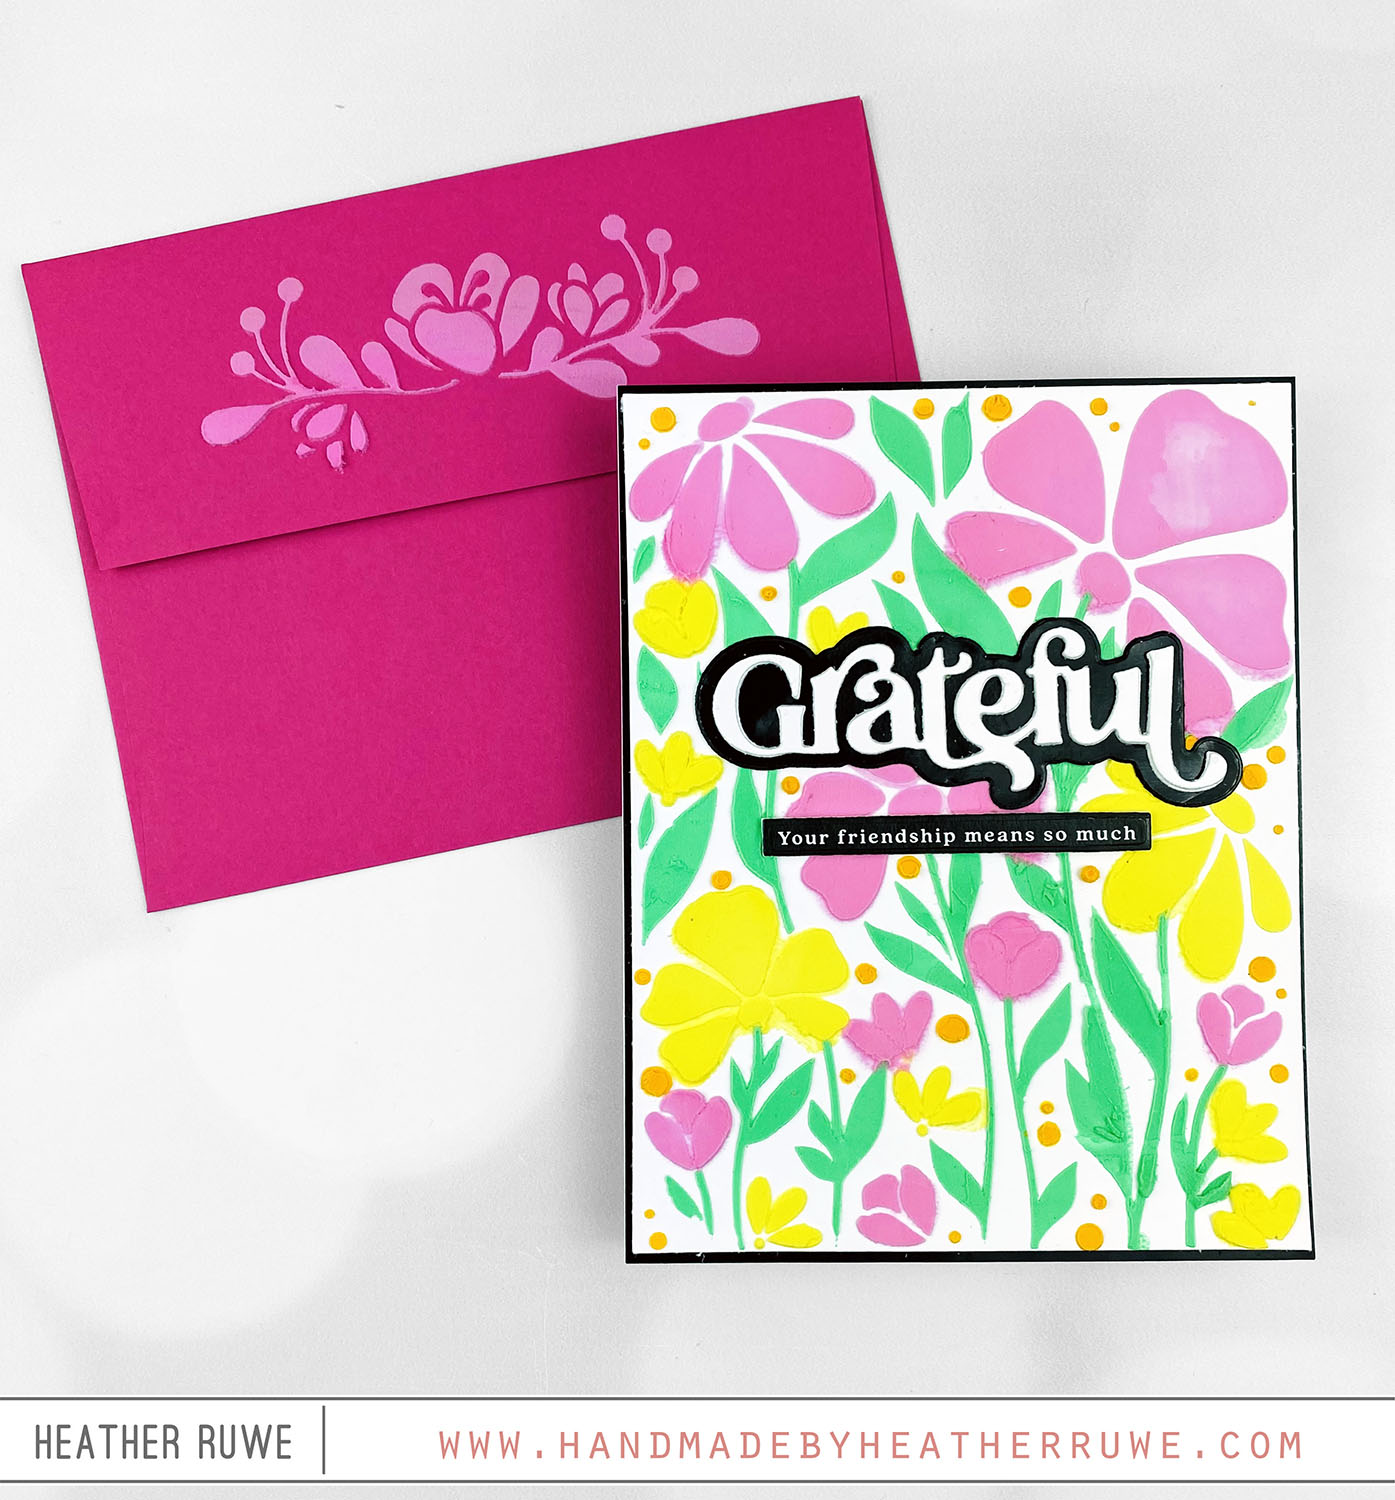
Hello there, crafty friends. Today’s card share features using embossing paste with layering stencils… For the background, I applied paste through THESE stencils. I used THIS opaque paste and colored it with Distress Oxide Inks. I applied the colored paste through the first stencil layer, let that dry, then did the second layer, let that dry, and continued that until all four layers were complete. I added a black mat using THIS black glossy...
New Distress Color: Salvaged Patina
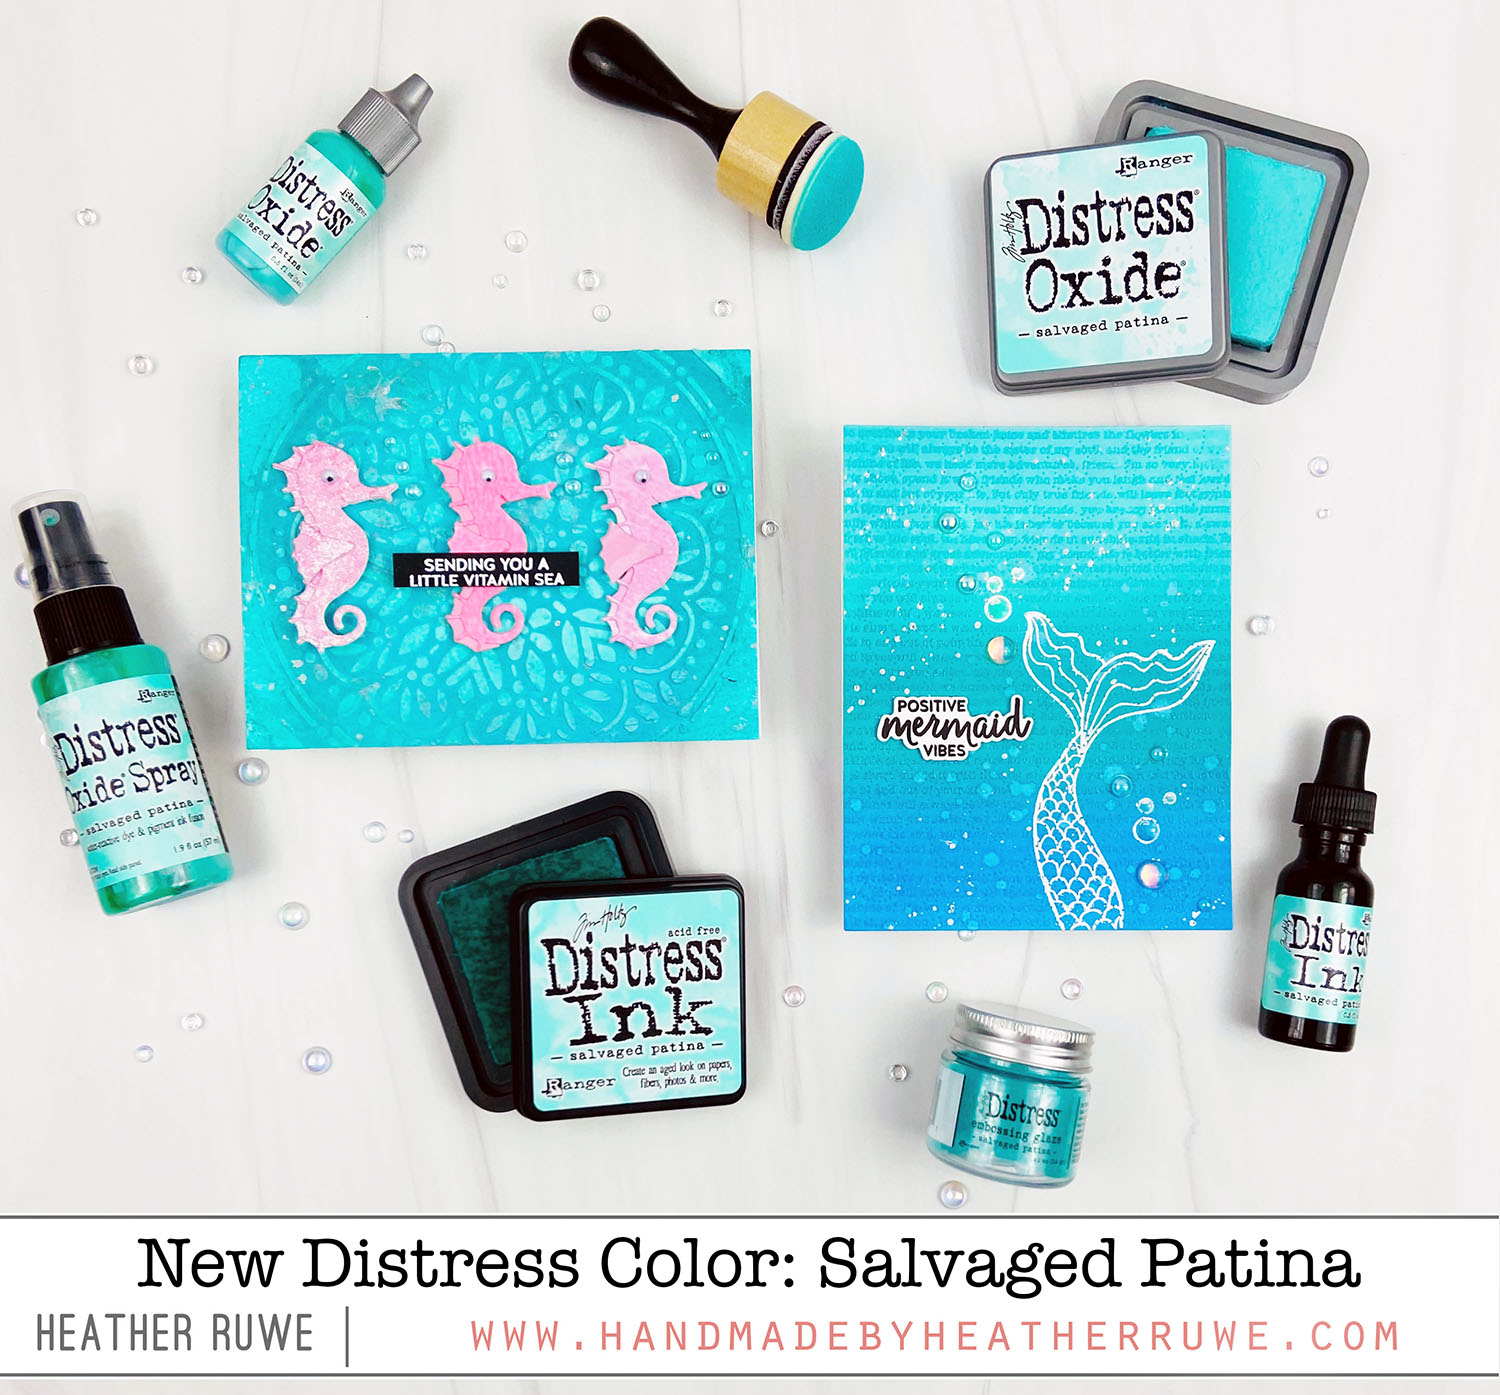
Hello, crafty friends. Tim Holtz recently revealed the new Distress color HERE and it has quickly become my favorite. It reminds me of the ocean (my happy place) so I’m sharing a couple of ocean themed cards today… For the first card… I started by applying white embossing paste through the Spring Boho Circle stencil. After it was dry, I sprayed Salvaged Patina Distress Stain on top heavily and then spritzed with water to...
Mini Slimline Bear Hugs
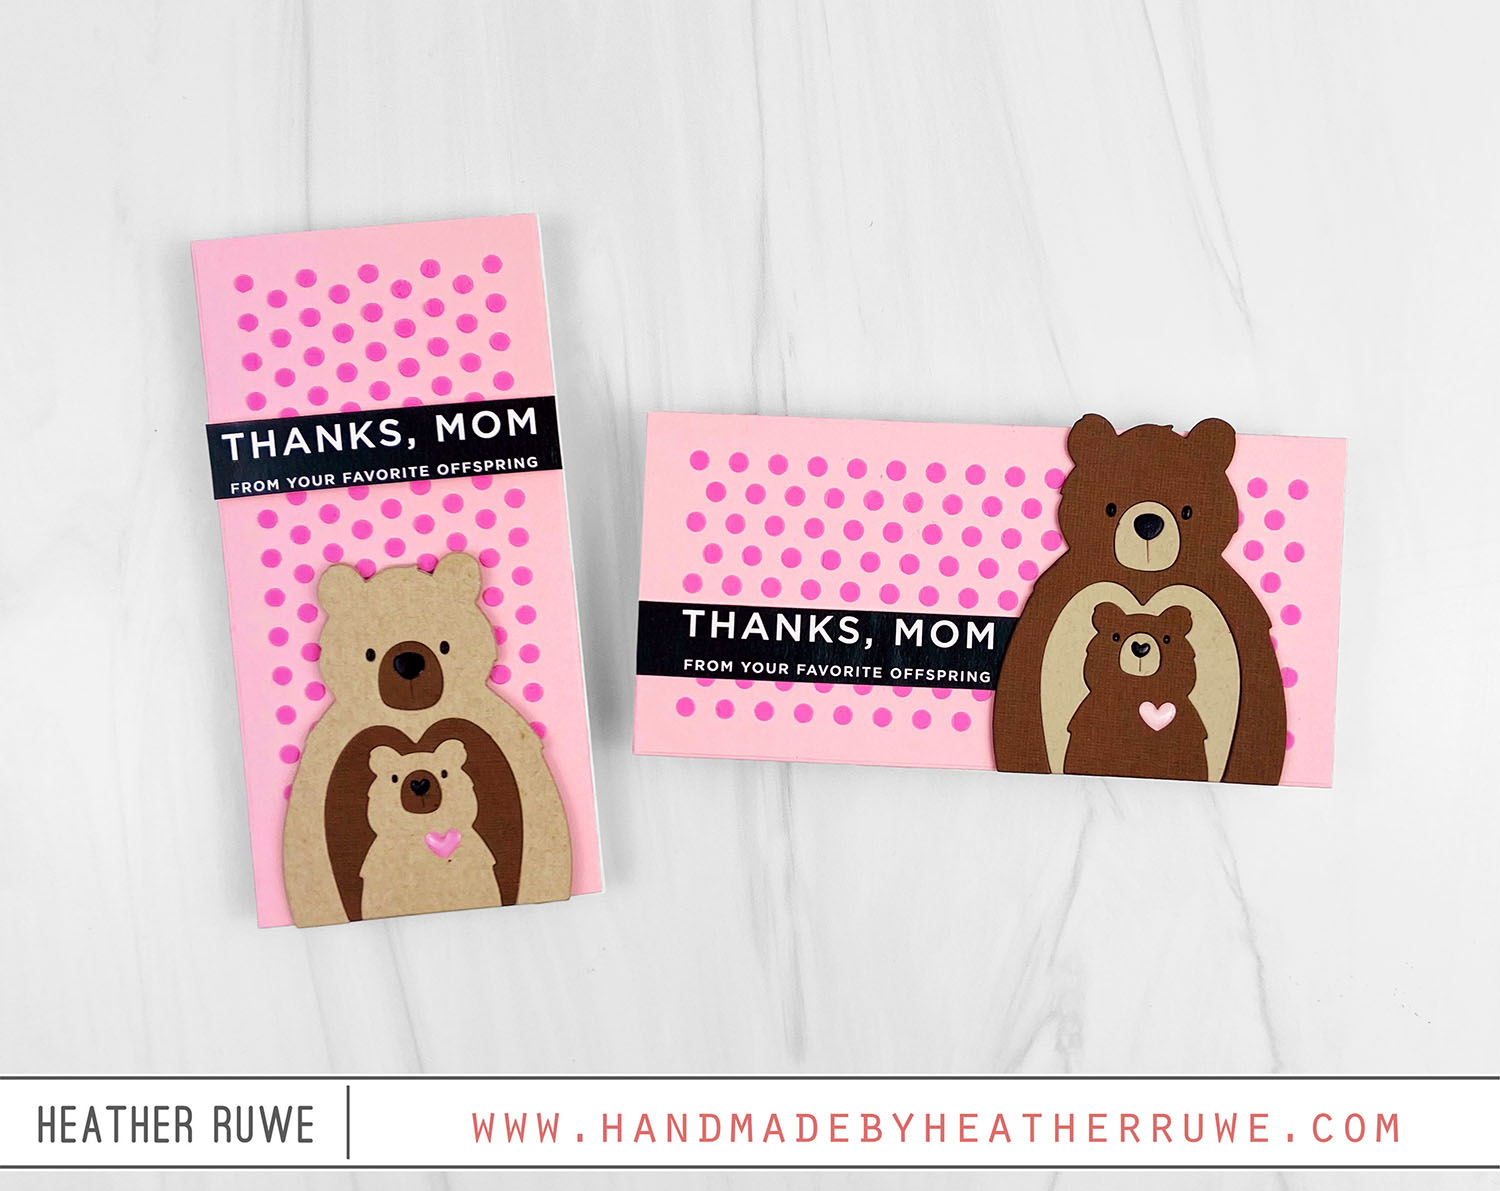
Hello, crafty friends. I’m back with more inspiration featuring products from THIS release… I started by mixing in Picked Raspberry Distress Oxide ink into the white embossing paste. This is a great way to stretch your supplies. Instead of buying lots of colors of embossing paste, I only buy white and mix in ink to add color. I applied the paste through one of the Mini Slimline Patterns stencils on a pink panel cut...
Roundimals Roundup
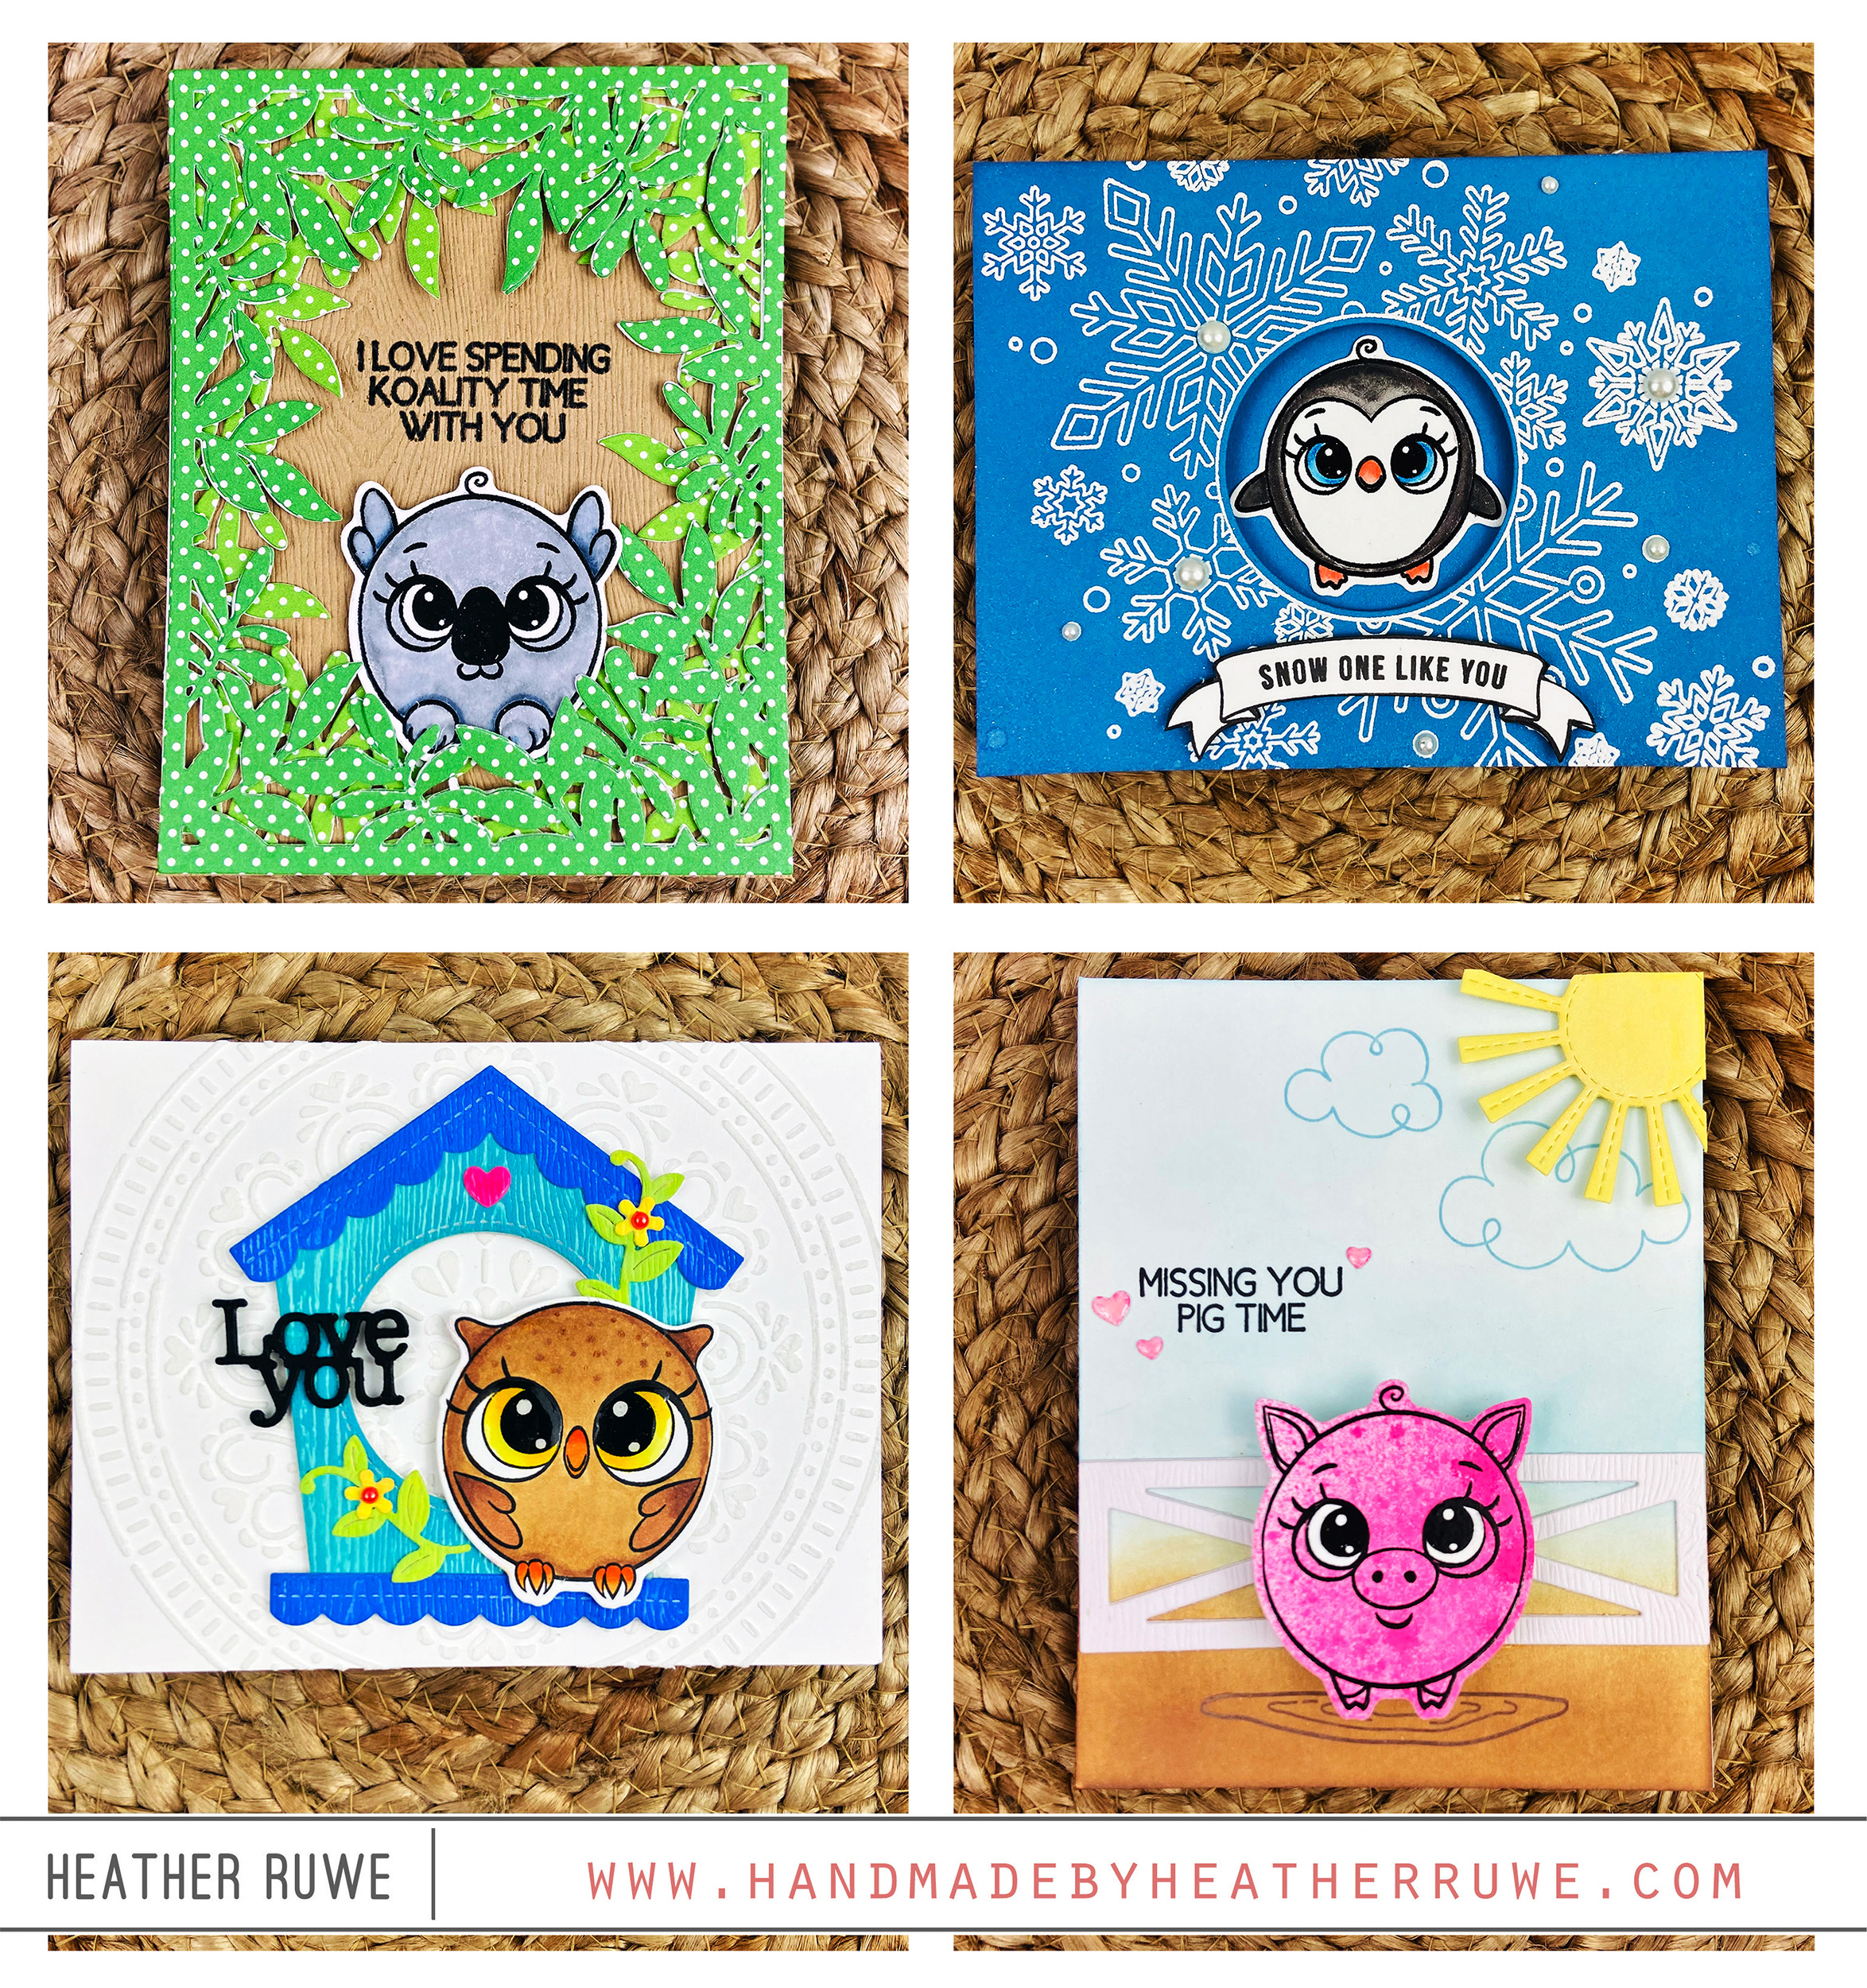
Howdy, crafty friends. Have you seen the Roundimals stamps and dies from Brutus Monroe? They have stolen my heart and I wanted to share the projects I made with them… For the first card… I stamped and colored THIS adorable owl and used the included coordinating die to cut it out. I started by applying white texture paste through THIS stencil to add subtle interest to the background. I die-cut the pieces from THIS...
Snowman Shaker Card with Frosted Window
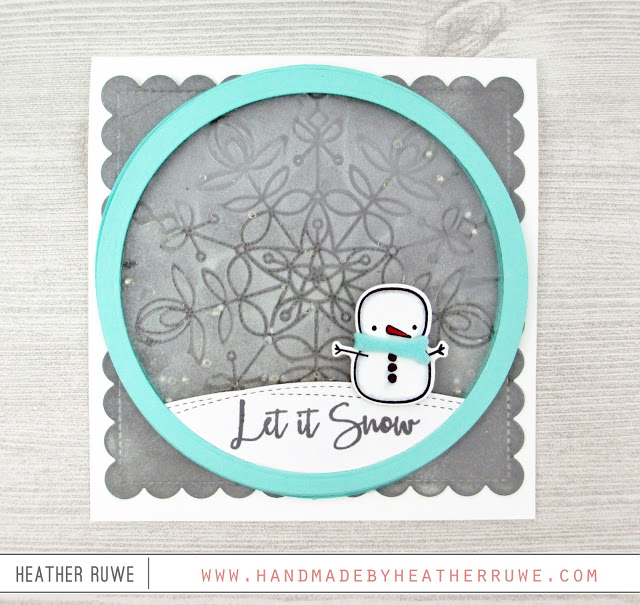
Hello, friends. Today, I’m sharing a winter themed shaker card featuring a frosted window technique… Let’s talk about the technique first. I cut a piece of acetate using one of THESE circle dies. I just used a piece of recycled packaging for the acetate. I adhered one of THESE stencils on top using a small piece of tape towards the bottom (since that part would be hidden). I applied some of THIS embossing paste...
SSS Encouraging Words
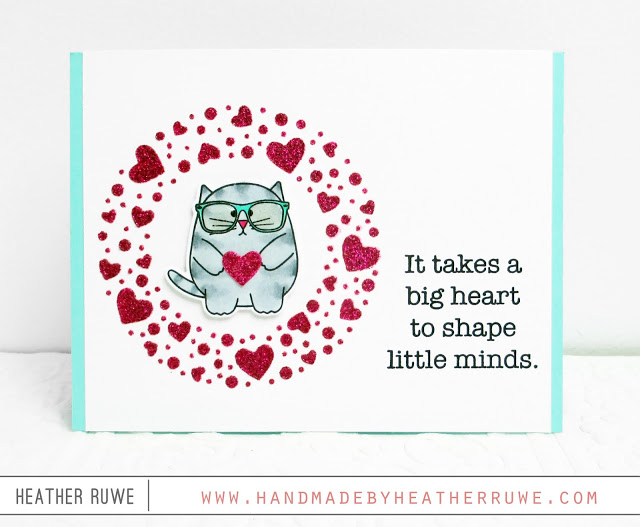
Hi there. Today I’m sharing a teacher thank you card created with a couple of stamp sets from the Encouraging Words release by Simon Says Stamp… I started by stamping, coloring, and cutting out the cat image from THIS stamp and coordinating die set. I stamped a sentiment from THIS new stamp set on a piece of THIS cardstock using my MISTI. I cut THIS die from another piece of cardstock. I used it...
MMH May 2017 Blog Hop
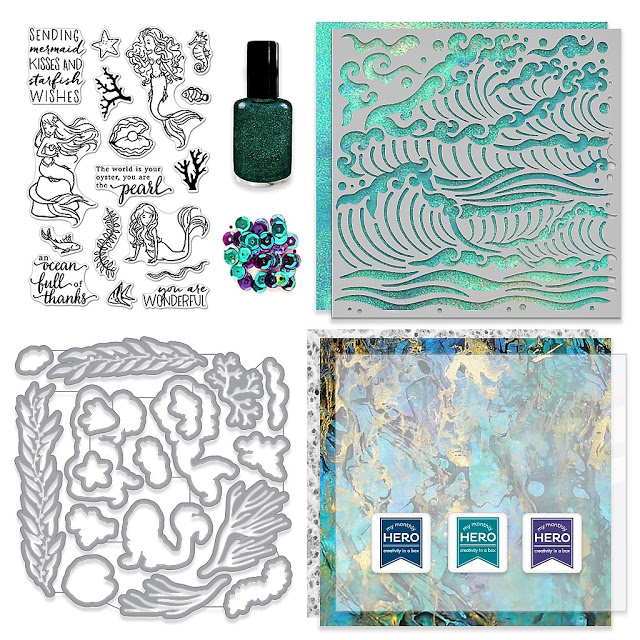
Hello and welcome. Today I’m sharing projects created with THIS May My Monthly Hero Card Kit from Hero Arts. Here’s a look at the kit… Kit contents: 1 4” x 6” clear stamp set 18 coordinating dies (5 Fancy Dies & 13 Frame Cuts) 1 6” x 6” stencil More than 2.5 teaspoons cyrene sequins 3 ink cubes (Deep Blue, Aqua, Amethyst)5 5” x 6” acetate sheets 1 bottle of turquoise silk liquid ink (iridescent)...
Peek-a-boo Message
Hi there. I wanted to share the cards I created for the latest Little Tangles Challenge… It’s all about coloring and you can color any way you want with any medium you like. I decided to color some embossing paste to create these tone on tone backgrounds… I applied some of THIS white embossing paste on to THIS craft sheet. I added some of THIS and THIS Distress Ink on to the craft sheet...
Stamptember 2016-Tim Holtz
Hello! Today’s card features products from a collaboration by Tim Holtz and Simon Says Stamp in celebration of STAMPtember! HERE are the two exclusive products… Click HERE for more information on these products. I’m a big fan of Tim Holtz and his products and in honor of that, I pushed myself out of my comfort zone and played with some alcohol inks for the background… Of course I had to use bright colors! I’m always...

