Geometric Circles Pizza Slimline Card

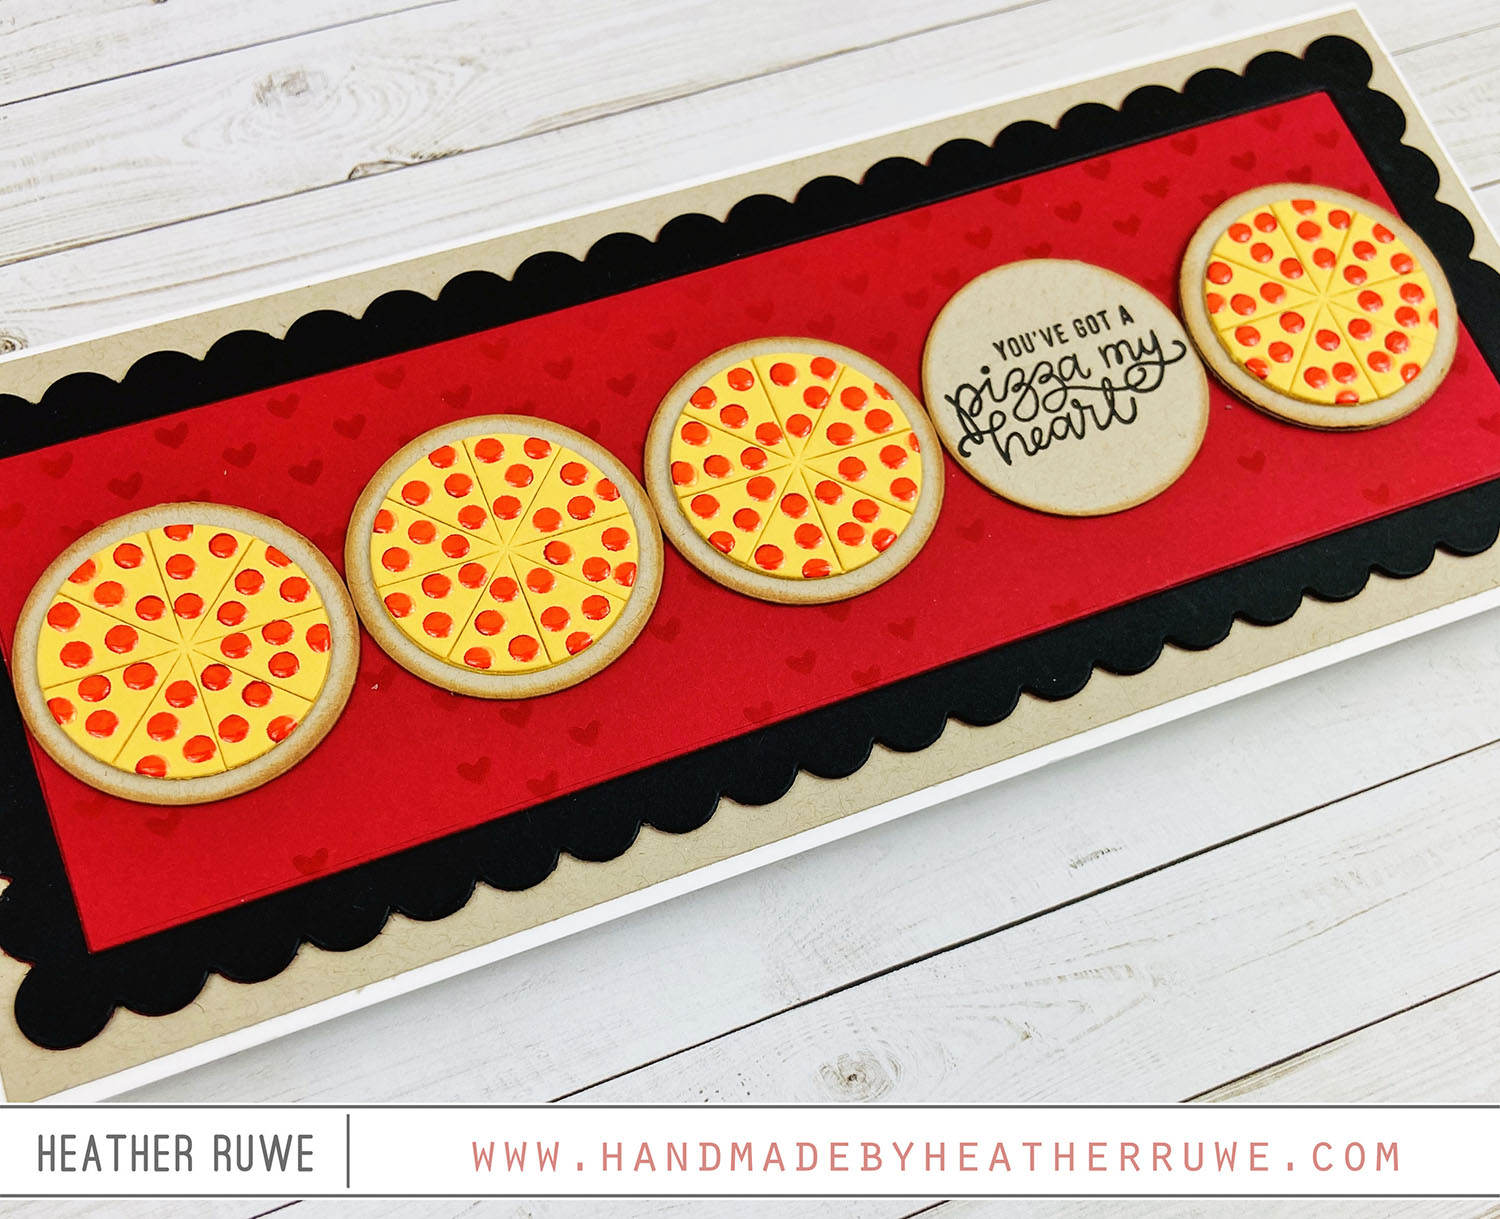
Hi there, crafty friends. Today, I’m sharing a different spin on THESE geometric builder circle dies… I thought one of them looked like pizza…maybe I was just hungry (lol)…so I stamped a small circle repeatedly from THIS stamp set to make it pepperoni pizza. I added a sentiment from THIS stamp set and adhered the circles to a background created with THIS stencil and THIS die. I added THIS to the pepperoni for some...

Concord & 9th Be Mine Mini Card Set

Hi there, crafty friends. I’m back today with a mini note card set that would be perfect for Valentine’s Day… I started by making all the kraft mini note cards. They measure 2.75 x 3.75. I dry embossed THIS frame die on the front of each note card using an embossing mat with my die-cut machine. I stamped and colored THIS adorable images and used THESE coordinating dies to cut them out. I attached...

One Layer Cards

Hello, crafty friends. I have a few one layer cards to share today… When THIS stamp set hit the market, it stole my heart. Such a sweet image. I finally got a chance to play with it and created multiple cards with a simple design. First, I stamped the image on a top folding white note card. I colored it with Copic markers and then stamped the image on some of THIS masking paper....

Hero Kids Monster Kit Release Blog Hop

Hello, crafty friends. I’m back today with a project I did with my son (Aiden) featuring THIS new Hero Kids Monster Kit… Aiden and I decided to make Halloween gift bags for his classmates. We started by decorating the monster die-cuts in the kit to create tags for the gift bags. The kit includes markers but Aiden wanted to paint, so he did some marble painting. To do marble painting, temporarily adhere the paper...

Ink Blot Shop STAMPtember 2020 Collaboration

Hello there, crafty friends. THIS stamp set from the Ink Blot Shop is the next STAMPtember collaboration stamp set… I started by stamping the border image from THIS stamp set along the bottom of a white card panel. I only stamped the left side first and then shifted the image in my MISTI to stamp the other end. I did this to stretch the length of the image and give me more trees on...

Sugar Pea Designs STAMPtember 2020 Collaboration

Hello there, crafty friends. Happy STAMPtember! The party continues with another exclusive collaboration stamp set. This time it’s from Sugar Pea Designs… I started by swiping three different colors of Distress Ink direct to paper, across a slimline panel. I die-cut three of THESE stitched circles and stamped the adorable images from THIS stamp set and colored them with Copic markers. I stamped a sentiment from the same stamp set on the center circle...

Let’s Connect Release-Unicorn Love

Hello there, crafty friends. I’m back today with more inspiration using THIS new release… I started by stamping and coloring THESE unicorns. I cut from one corner of the card diagonally to the next corner of the card. I repeated that on the other side, creating four pieces. I adhered them back together on a card panel that was covered in THIS holographic card stock. When adhering them down, I separated the pieces a...

Let’s Connect Release Rainbow Cards

Hi, crafty friends. I love creating shaped cards for something fun and unexpected. THIS new rainbow die from THIS new release makes it so easy… I started by die-cutting THIS rainbow card base. I die-cut an extra card base for each card, cut them apart and adhered them to the back of each main card base to add more stability. For the first card, I die-cut the rainbow pieces from patterned paper and the...

Kid’s Artwork Cards

Hello, crafty friends. Today’s cards features art work from my son… I’ve saved many pieces of his sweet little art. Instead of storing all of them, I use some of them to make cards from. For all three of today’s cards, I used his rainbow drawings/paintings to create backgrounds for cards. For all of the sentiments, I white heat embossed a few from THIS stamp set on to black card stock. For the first...

Simple Interactive Cards with Reversible Sequin Fabric

Hello, crafty friends. Recently, I attended Stampaway (a yearly local stamping convention) and purchased some fun products. One of them was THIS reversible sequin fabric. I used it today to create some simple interactive cards… I started by die-cutting the panels with THIS stitched rectangle die. I die-cut THIS balloon shape on one card and THIS heart shape on the other. I heat embossed sentiments from THIS and THIS stamp set. I cut a piece...