More inspiration using the Retro Wishes Card Kit

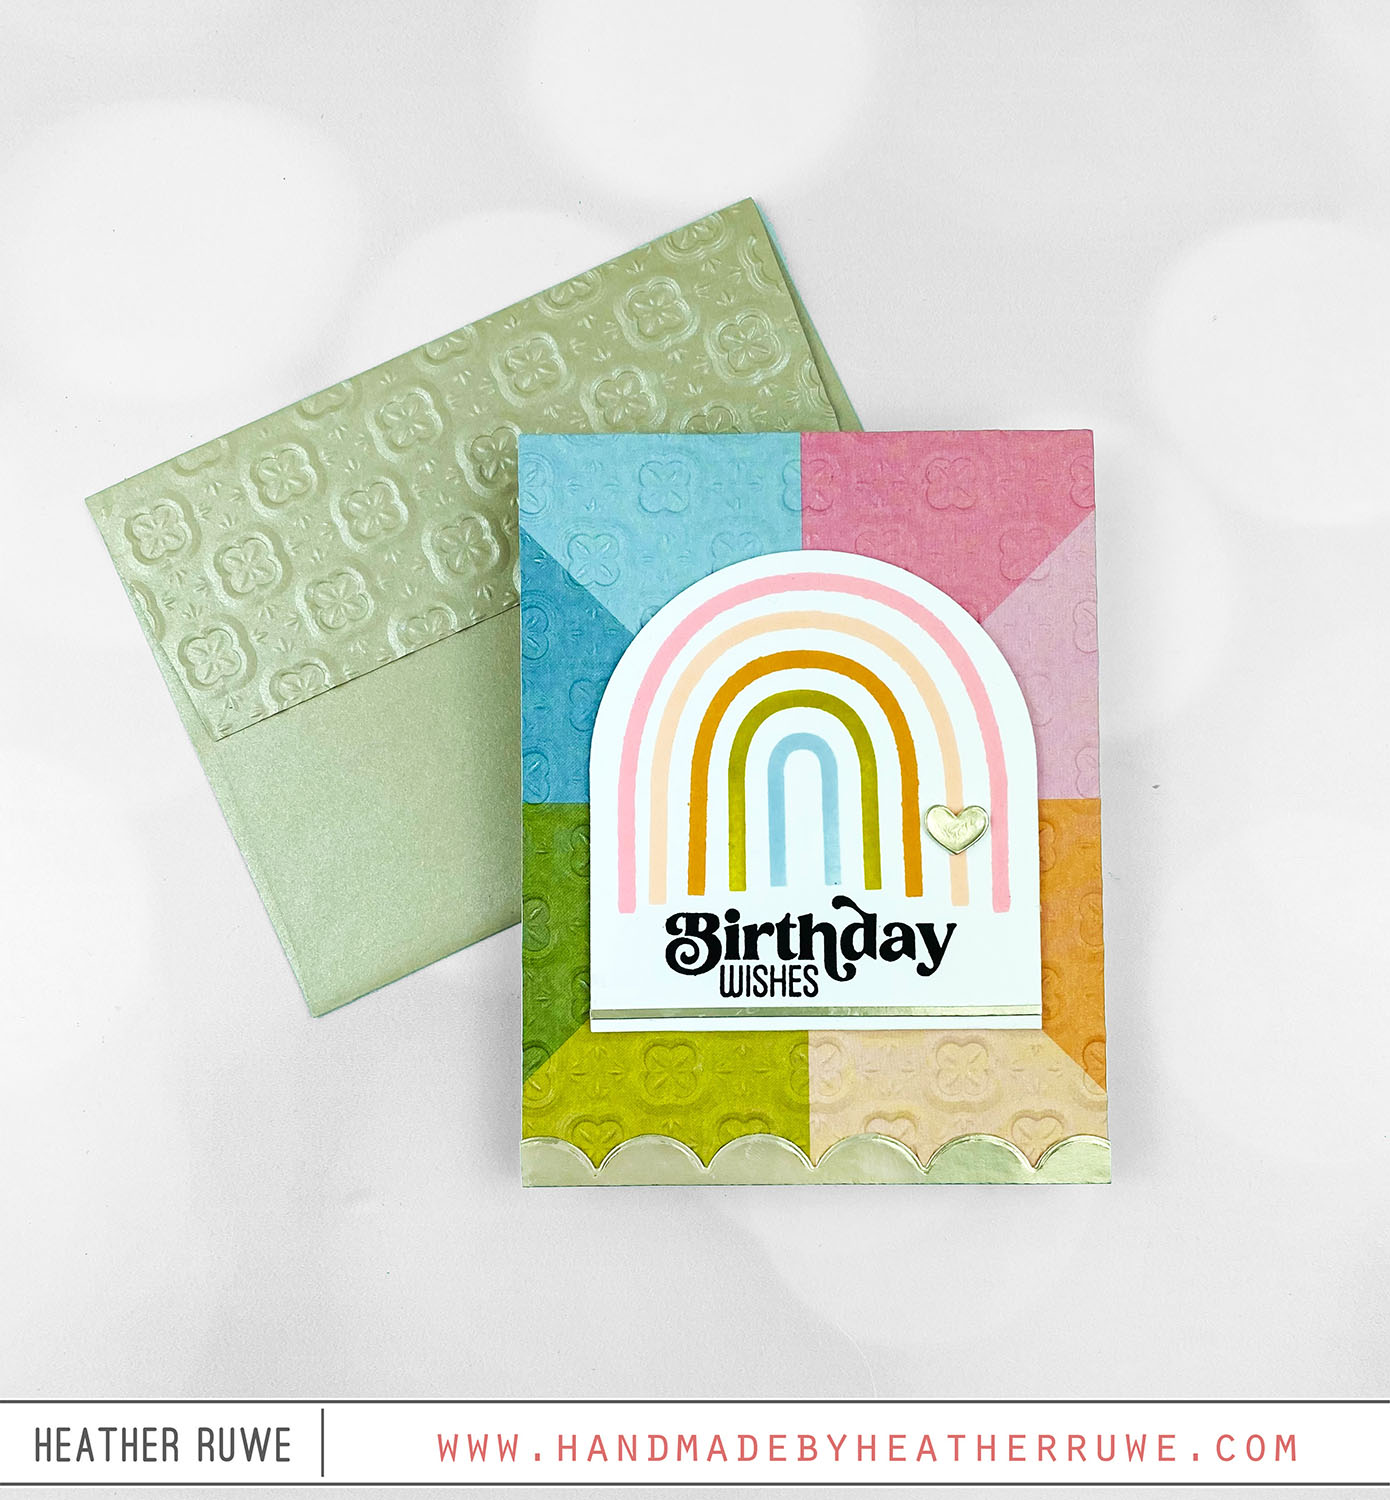
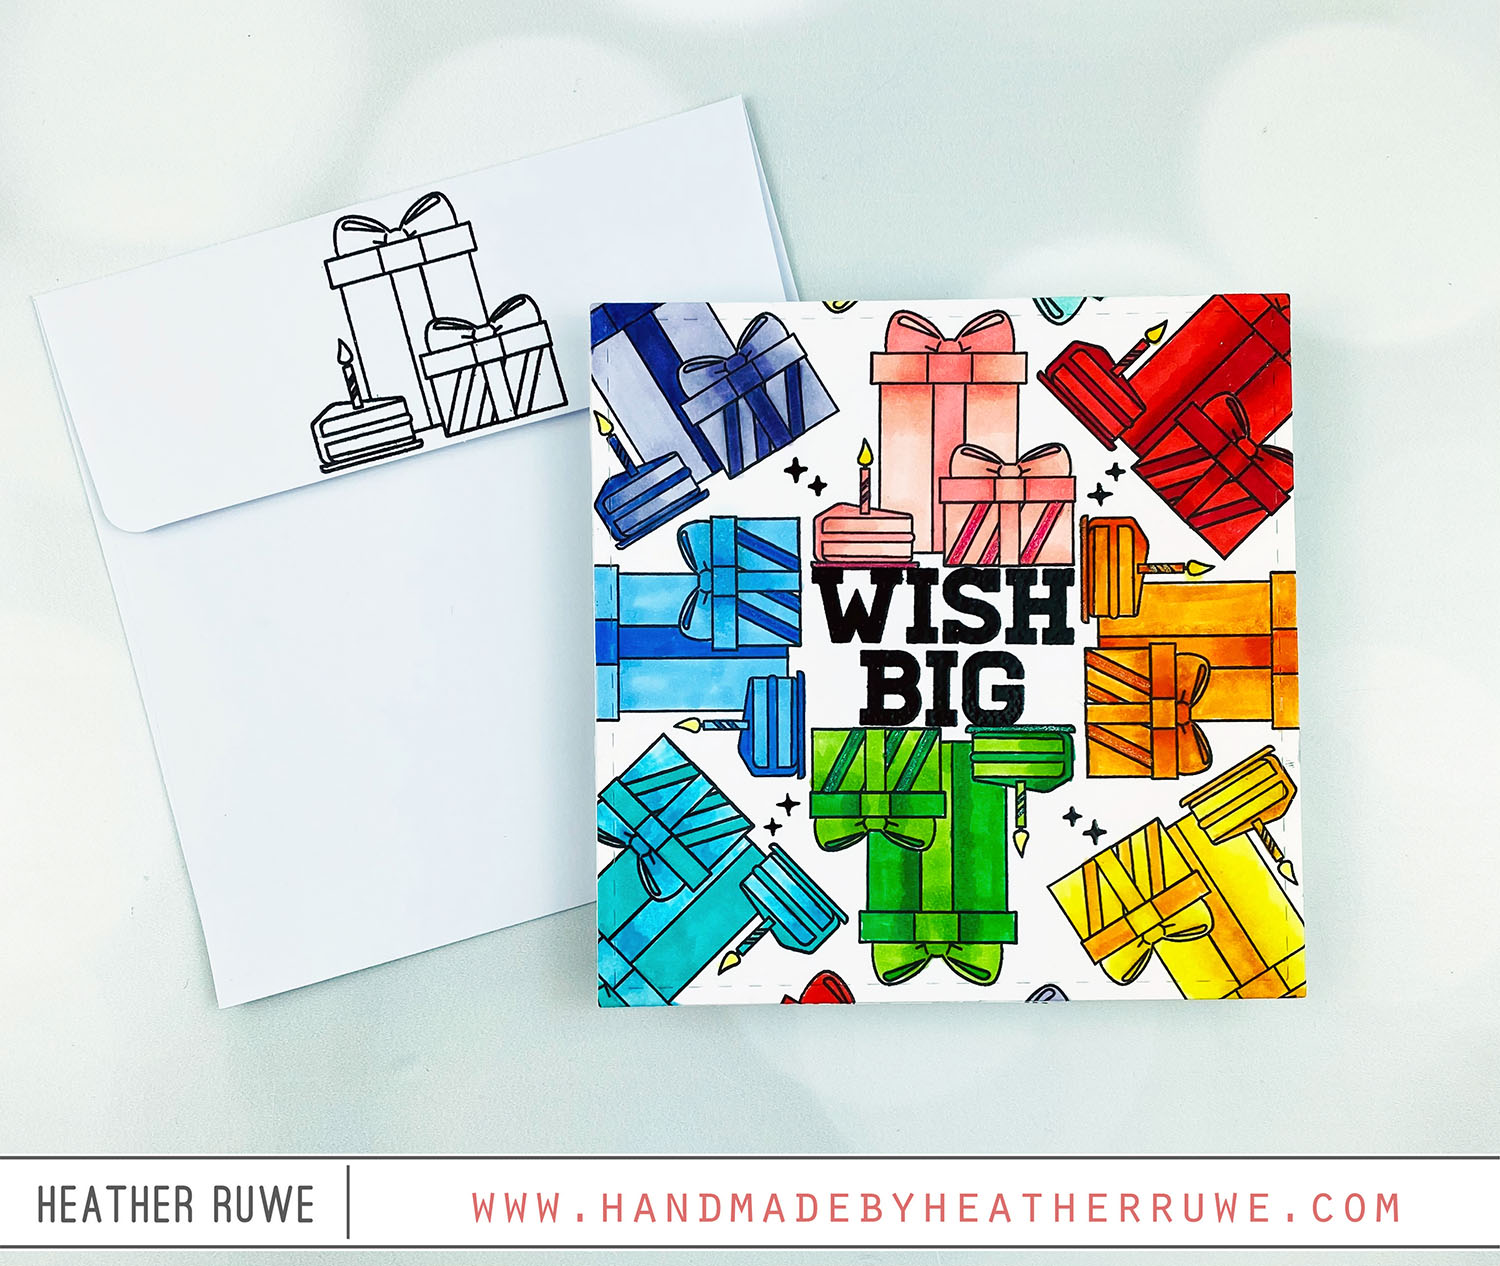
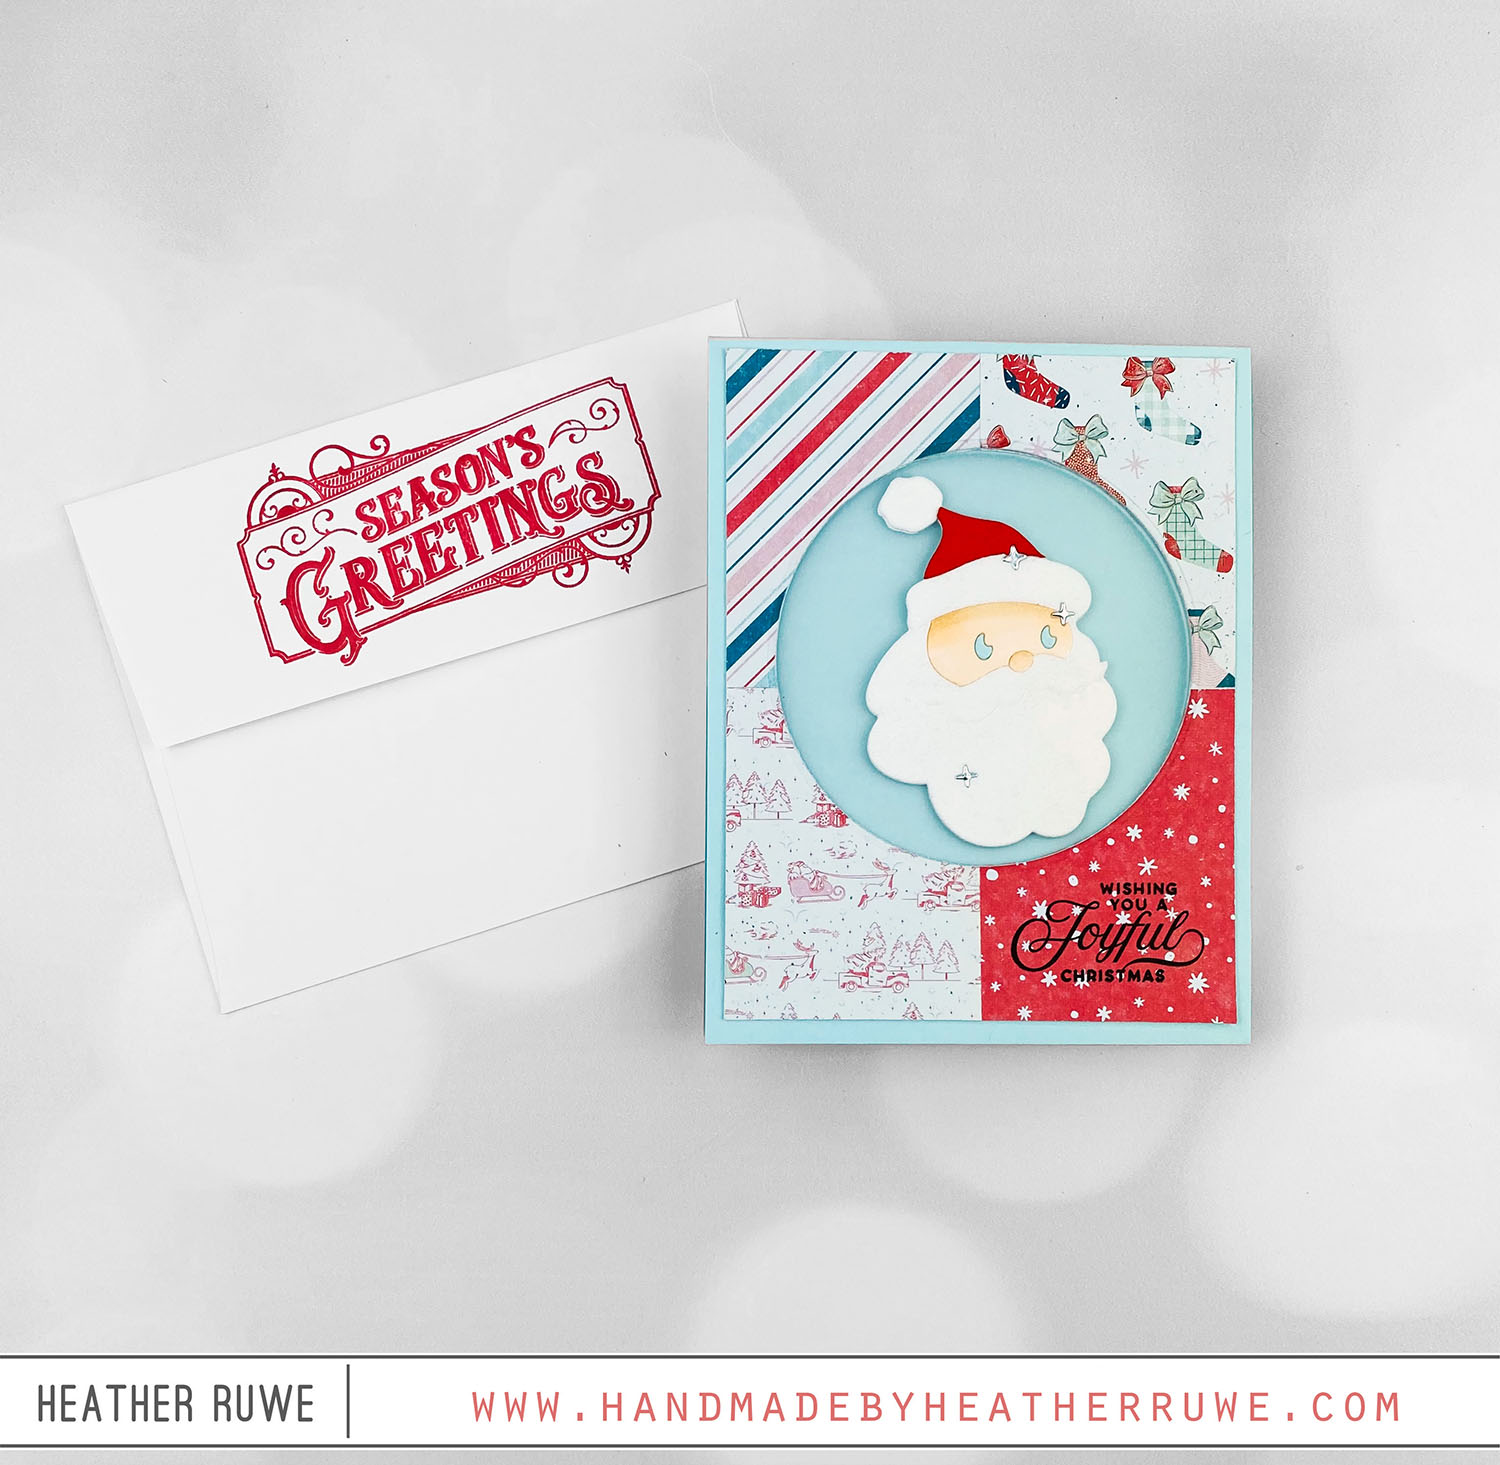
Howdy, crafty friends. I have more inspiration to share today using THIS new card kit… To create his card, I stamped the rainbow layers of the kit’s stamp set and stamped a sentiment under it. I trimmed down the arch and adhered it to one of the kit’s patterned papers that I embossed with the embossing folder included. I added a strip along the bottom of the arch with the specialty paper included and cut...
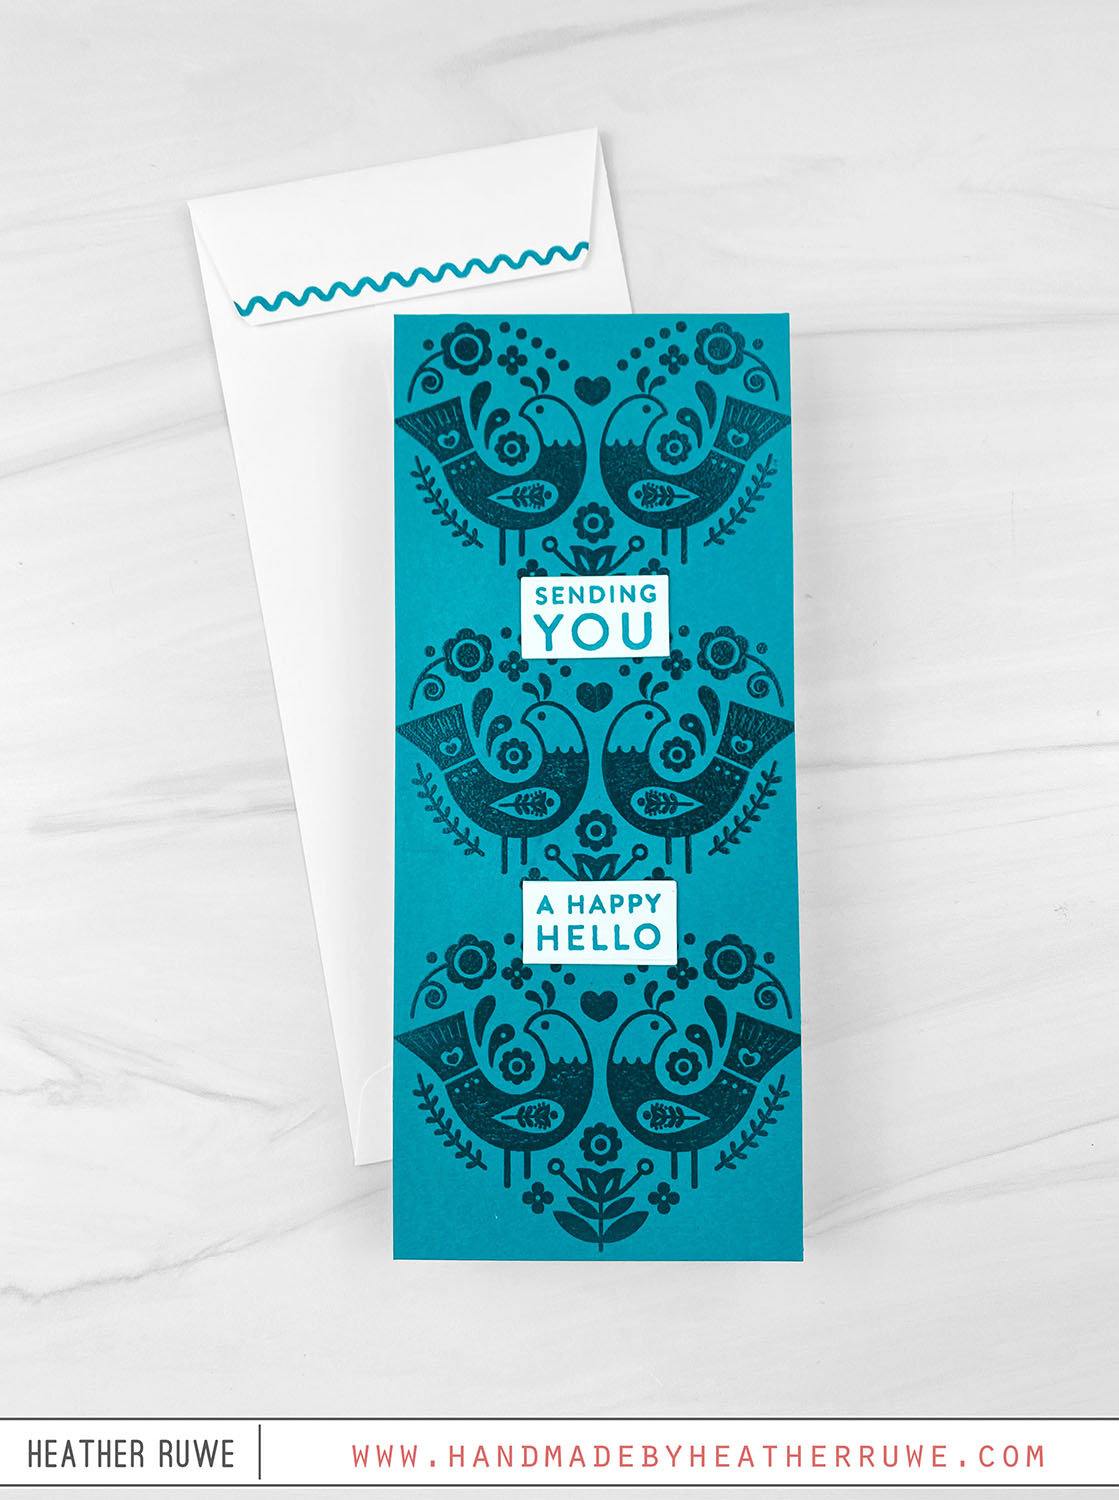
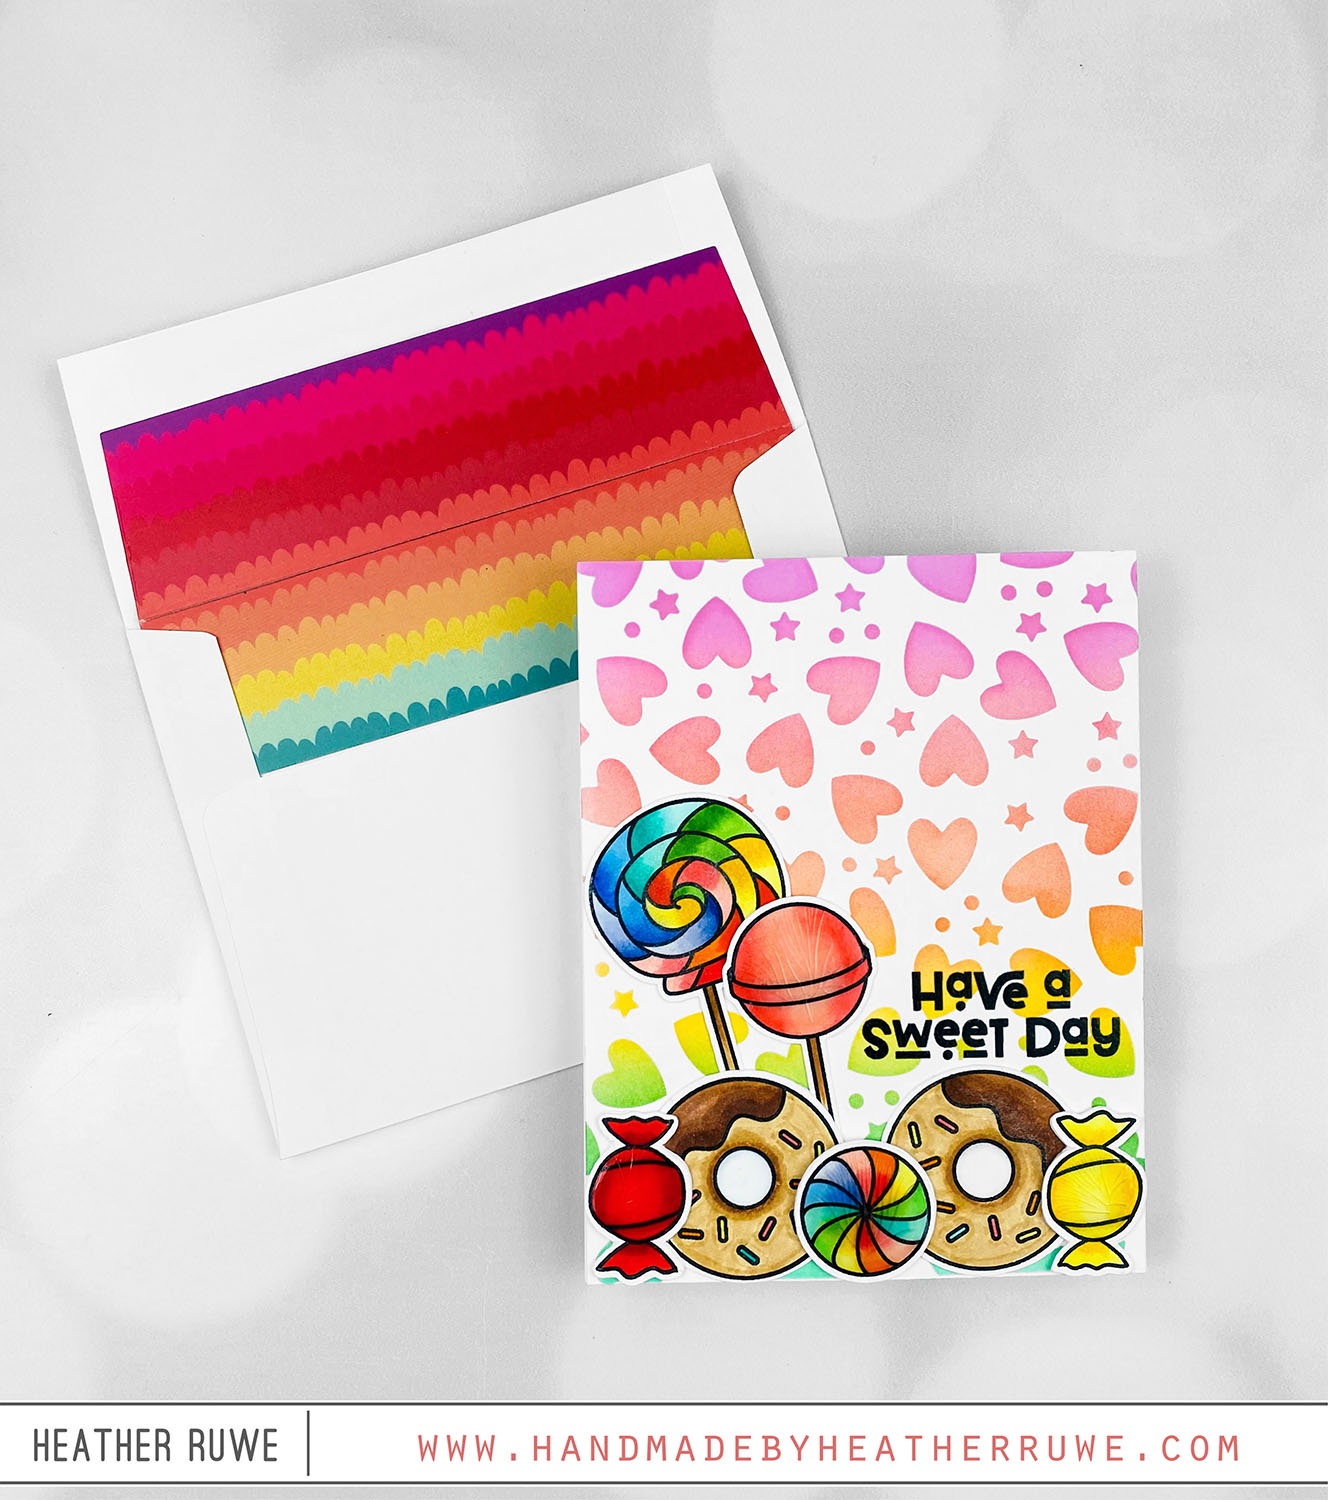
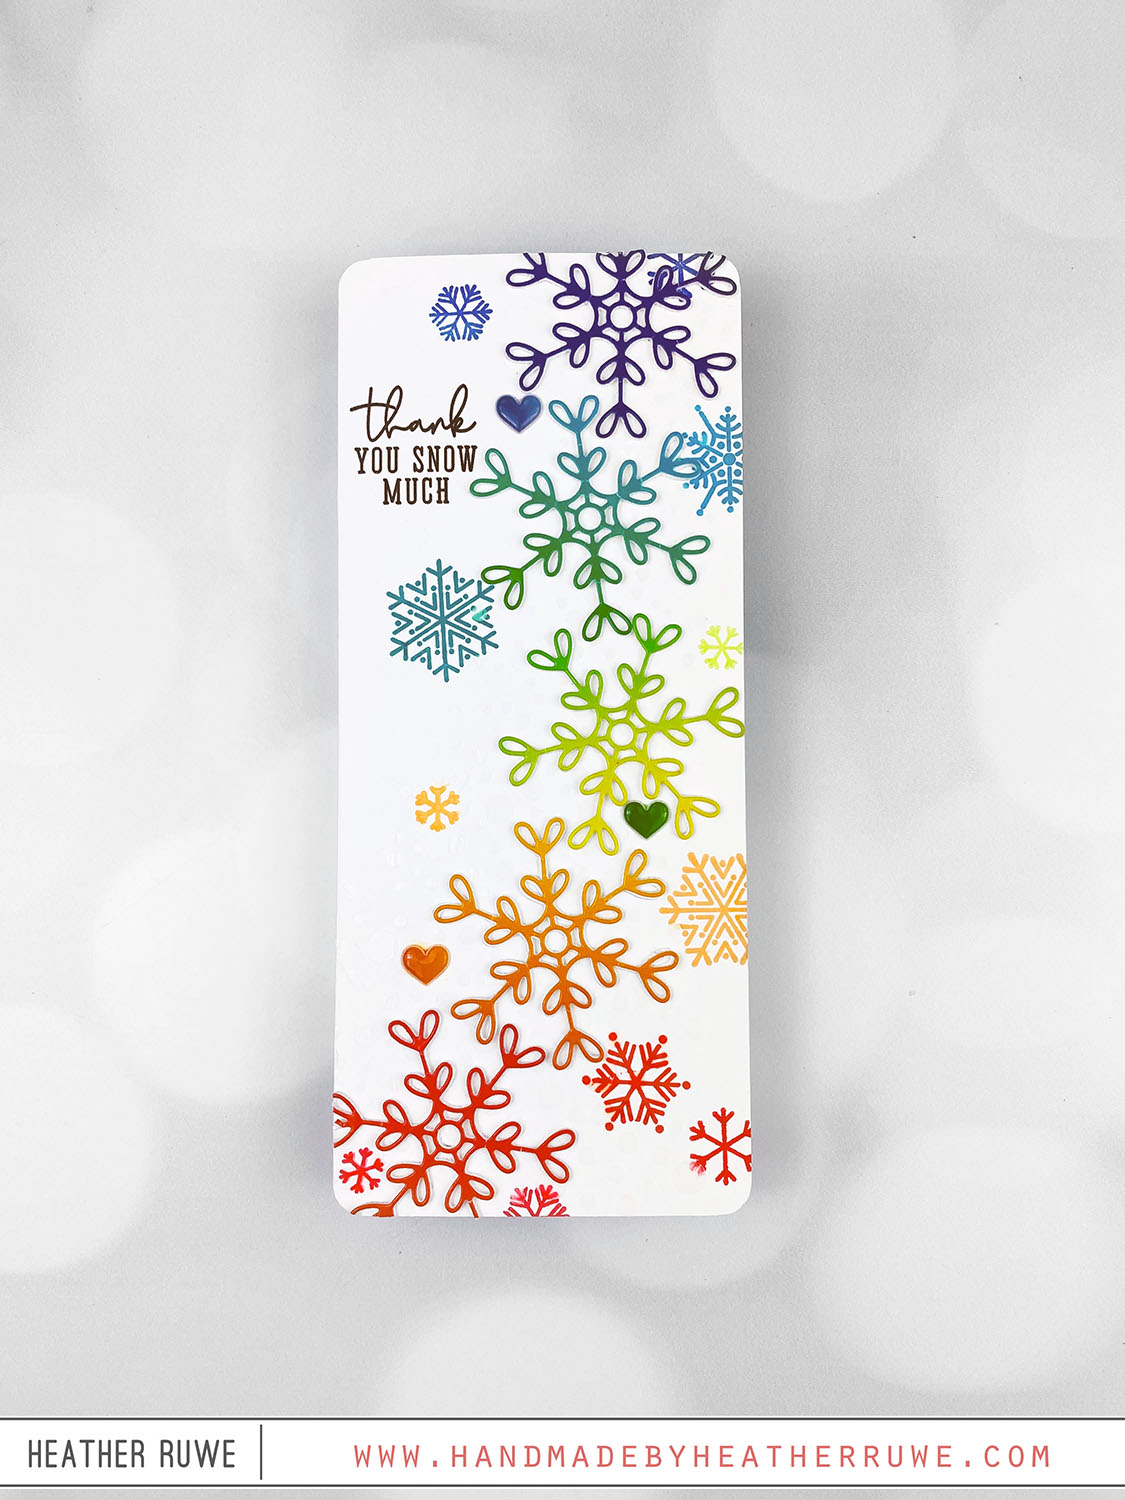
Retro Wishes Card Kit

Hi, crafty friends. Today’s card features THIS new card kit from Simon Says Stamp… To create this card, I die cut many of the kit’s patterned papers using one of THESE dies. I white heat embossed a sentiment on one of the die cuts using the stamp set included in the kit. I adhered them at a diagonal to a kraft background that I embossed with the kit’s embossing folder. I die cut a...

Tri-fold Card featuring the Flower Happy Card Kit

Howdy, crafty friends. I have a trifold card share today featuring THIS new card kit from Simon Says Stamp… To create this card, I stamped the images from THIS stamp set (included in the kit). I started by stamping the sentiment in the center and working my way out with the flower images, filling an A2 panel. I used THIS die to cut out the pattern and added a black mat created from black...

Etched Greetings Card Kit

Howdy, crafty friends. Today’s card features THIS new card kit from Simon Says Stamp… To create this card, I stamped a floral image from the kit’s stamp set using VersaMark ink. I cut it with THIS stitched rectangle die and added a green cardstock mat around it. I adhered that piece to a side folding note card. Next, I cut the kit’s pattern paper into thin strips and weaved the paper for some added...

Best Year Yet Card Kit

Hi, crafty friends. I have a Birthday card to share today featuring THIS new card kit…  To create this card, I started with a 6×6 piece of white cardstock and stamped an image from THIS stamp set (included in the kit) towards the top center. I rotated the cardstock 180 degrees in my MISTI and stamped again. I did the same process for the image on the right and left. I continued in the corners...

Happy Hello Card Kit

Hello there, crafty friends. Today’s card share features THIS new card kit form Simon Says Stamp. To create this card, I cut a slimline sized panel from a piece of the kit’s colored cardstock. I used the kit’s embossing glaze to emboss the main image from the kit’s stamp set. I just love the image so I embossed it three times down the panel. I cut apart the sentiment stamp in the stamp set...

More Sweet Days Card Kit Inspiration

Hi, crafty friends. I recently shared THIS card using THIS new card kit. I’m back today with more inspiration using the same card kit… I started by stamping the row of hearts image from the kit’s stamp set repeatedly on a white A2 panel. I went in rainbow order and filled the entire panel creating a background. I die-cut a circle from the panel as well as the front of a side fold card...

Sweet Days Card Kit

Hi, crafty friends. Today’s card share features THIS new card kit from Simon Says Stamp… I started by creating the background. I applied a rainbow of inks through the kit’s stencil on a white A2 panel. Next, I stamped the images from the stamp set, colored them with Copics, and cut them out. I adhered the images along the bottom of the panel and stamped a sentiment from the kit. I also added some...

Snow Love Card Kit

Hi, crafty friends. Today’s card share features THIS new card kit. I decided to create some rainbow snowflakes… I started by die-cutting the snowflake die (included in the kit) form the Kit’s Color Blend Cardstock. Next, I applied THIS paste through THIS stencil on one of THESE slimline card bases. After it was dry, I stamped snowflakes from the kit’s stamp set in rainbow colors. I adhered the snowflake die-cuts on top and stamped...

Joy to You and Yours Card Kit

Howdy, crafty friends. I used THIS new card kit to create today’s card… I cut the kit’s patterned papers down into four rectangles and adhered them together to cover a panel. I die-cut a circle from the center and from the front panel of a blue note card. I sandwiched a piece of vellum in between the note card and the patterned paper panel. I die-cut the Santa die from the kit from white...