
Hello. Today’s card features a technique I recently discovered from Mr. Distress Ink himself, Tim Holtz. I took one of his classes at a stamping convention all about Distress Oxide Inks and Smudge Stamping was my favorite technique he shared.
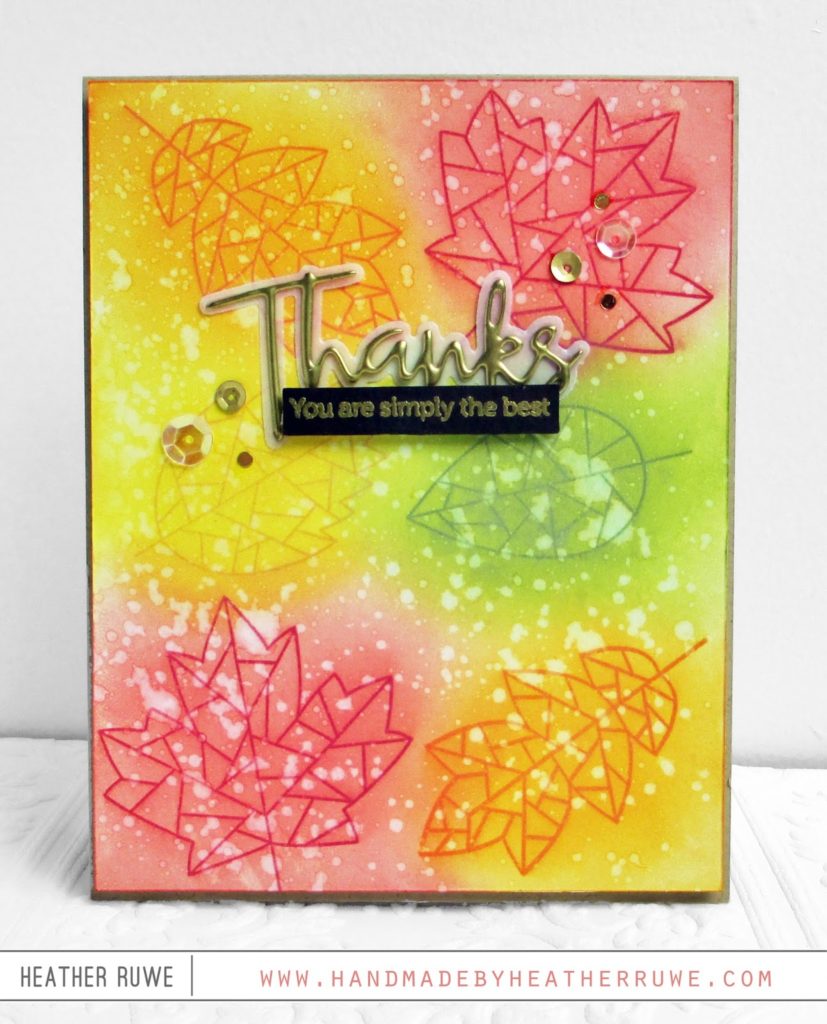
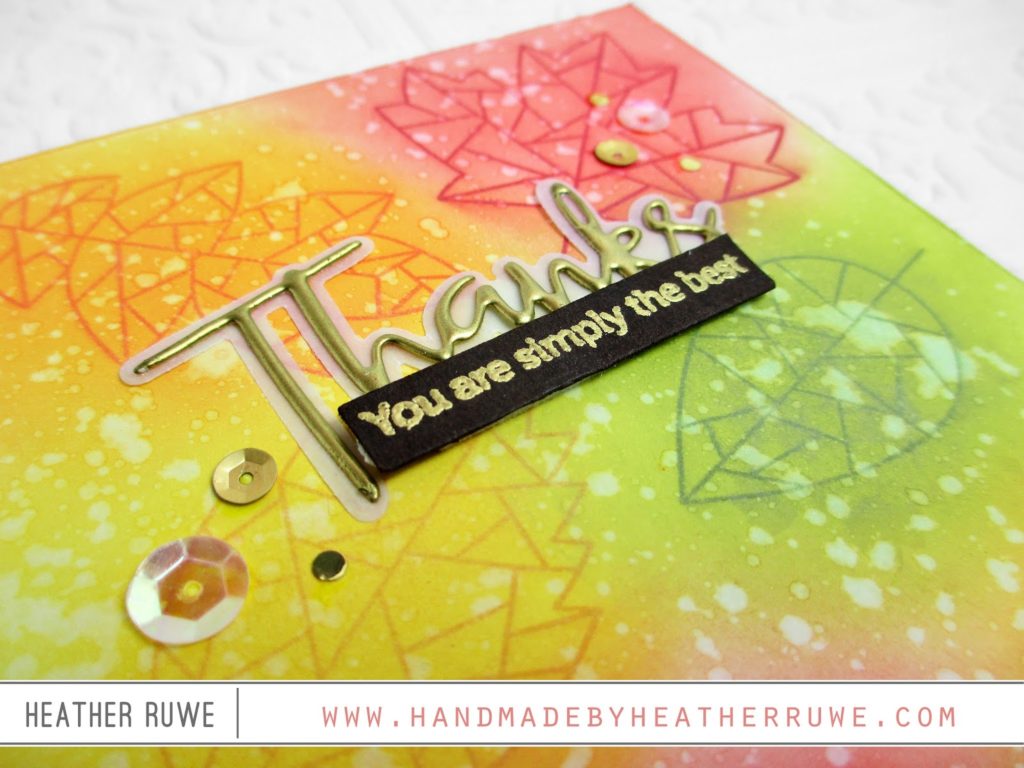
I started by stamping the images from THIS stamp set using Distress Oxide Inks. Once the image is stamped, you immediately use one of THESE to smear or smudge the ink. I used circular motions right on top of the image just as I would to ink blend. Since Distress Oxide Inks have dye and pigment ink properties, the image stays crisp like a dye ink but the wet ink like pigment smears or smudges. It’s so much fun! I also sprayed some water on top to achieve a bleached look.

I die-cut THIS die from white and vellum. I heat embossed several layers of gold embossing powder on the white cardstock word to give an embellishment look. I also heat embossed a sentiment from THIS set underneath. I finished off the card with a sprinkling of sequins.
I hope this inspires you to try smudge stamping.
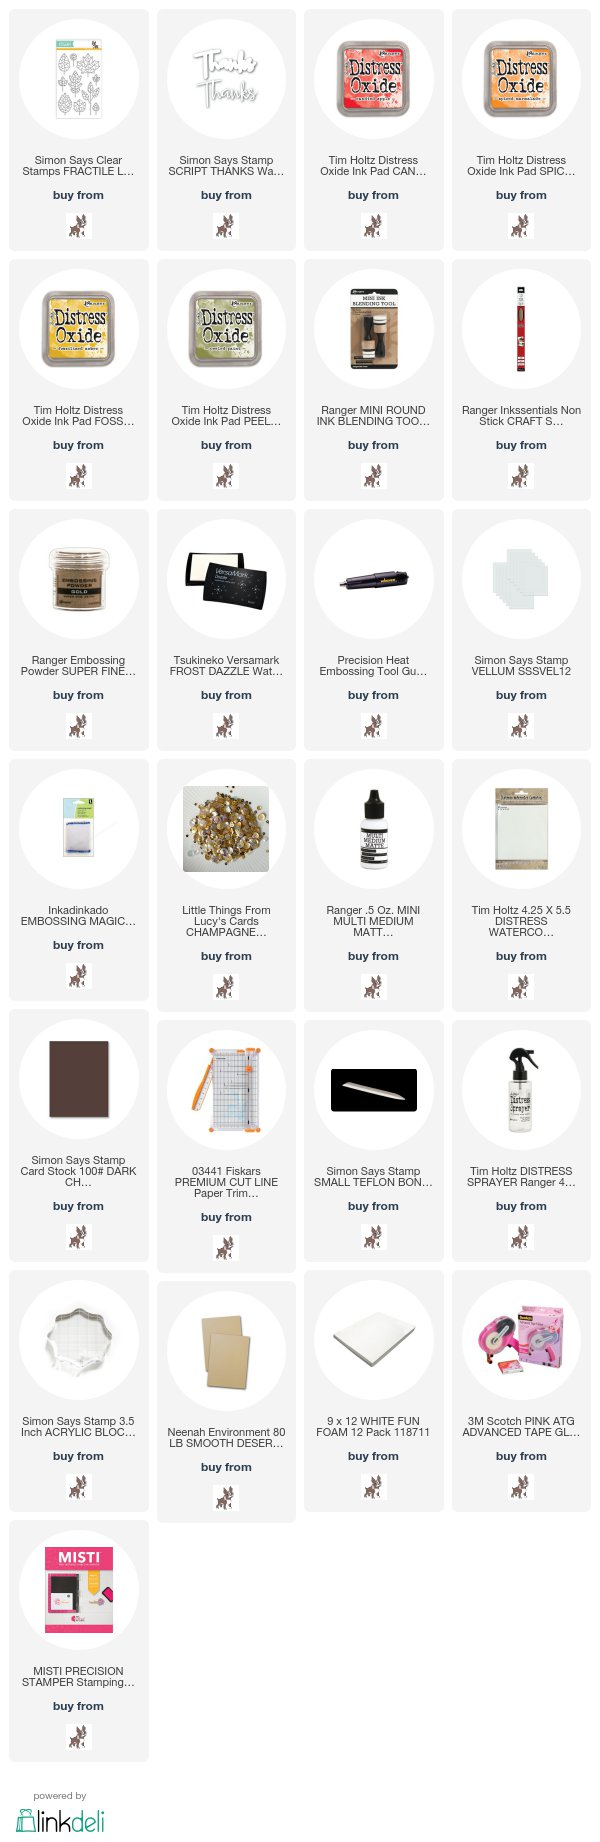
LINKS TO SUPPLIES USED:


September 14, 2017
Thanks for sharing your creativity with us
September 12, 2017
How clever is that that it smudges and the image stays crisp… I have a lot to learn about distress oxides! A stunning card, gorgeous colours 😍. Added to my list to try!
September 10, 2017
Very cool! I love your color choices. Thank you for sharing!
September 10, 2017
What a great technique! Came from IG to learn your 'secret'! Such a pretty card!