
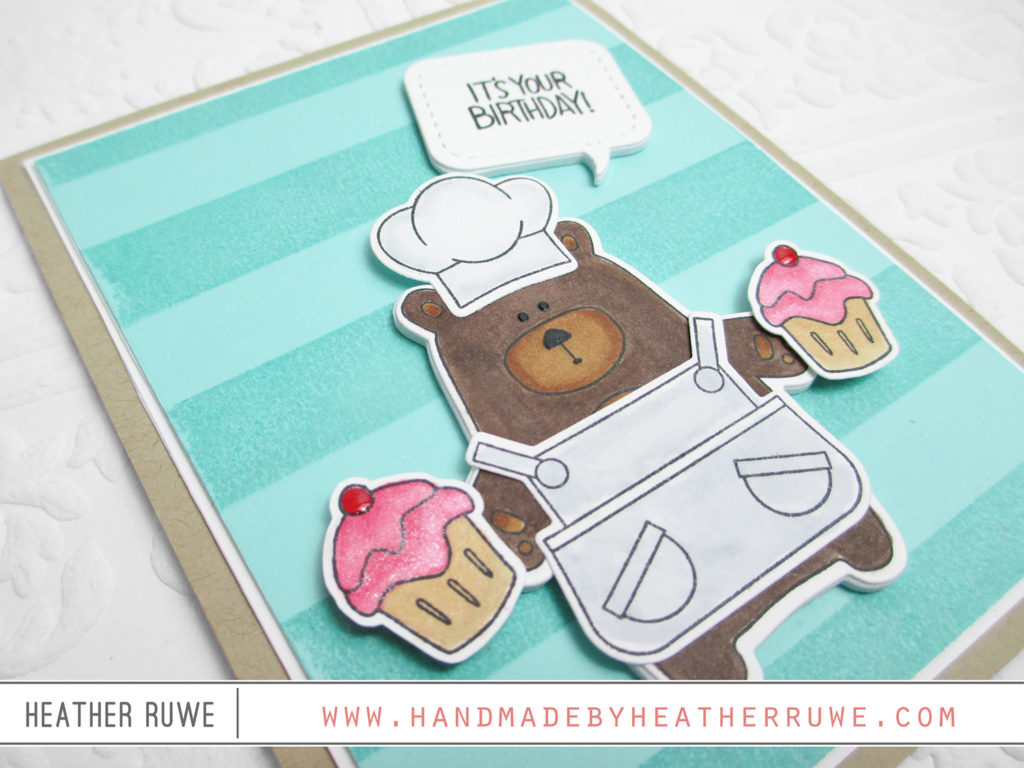
Hi there. I’ve been sharing a lot of Holiday projects lately so I decided to take a break for today and share a fun birthday card…
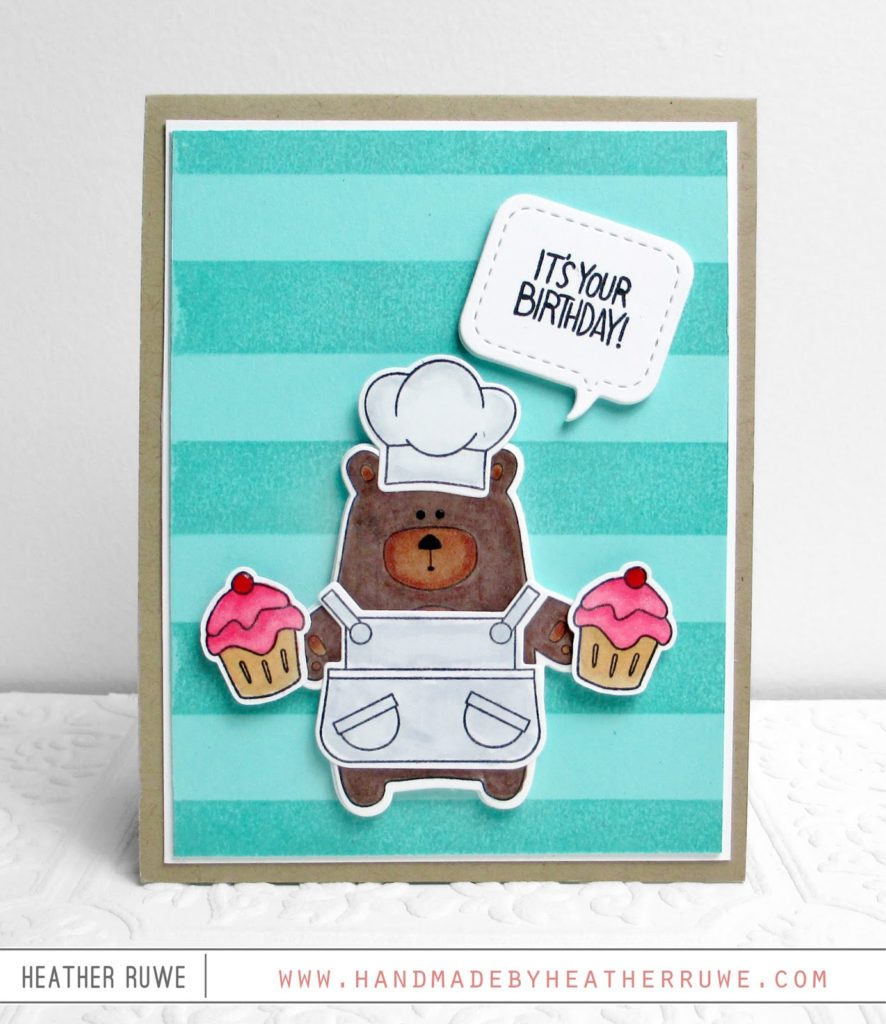
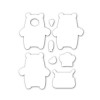
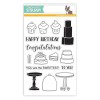
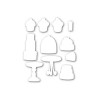
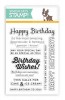
I stamped the bear and accessories from THIS stamp set using THIS copic friendly ink and die-cut them using THESE coordinating dies. I did the same thing with the cupcake images from THIS stamp set along with THESE coordinating dies. After coloring all the images, I stamped a sentiment from THIS stamp set on to THIS paper and die-cut it using THIS die.
I wanted to continue the design to the inside of the card. We spend so much time on our cards that it’s nice to do a finishing touch on the inside to pull it all together. Here’s a peek at the inside of the card…
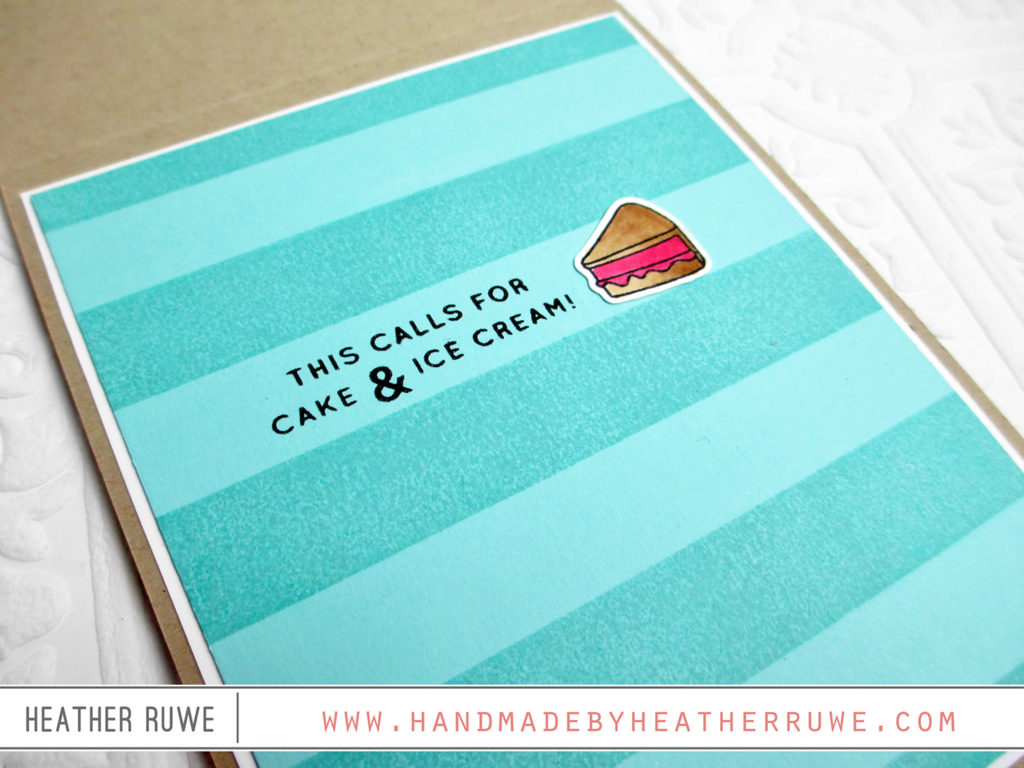
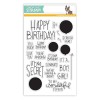
I stamped another background panel the same way as the front of the card and stamped a message from THIS stamp set as well as a die-cut image from THIS stamp set. Since my supplies were already out, it didn’t take that much time.
I hope this inspires you to add a fun surprise to the inside of your next card. Thanks for stopping by!
LINKS TO SUPPLIES USED:


November 30, 2016
This is so timely – yesterday I added the Online Card Classes "Insider" class to my cart, as the insides of cards never get much attention from me and I want to change that! So, how fun to see this post today, I love the way you have incorporated the elements into the inside – I think it looks fabulous!
November 28, 2016
Oh, love this! The colors are so pretty and that bear?!…Adorable!